When an orchid’s plump growths begin to wrinkle, it is tempting to reach for the watering can immediately. Sometimes that is exactly what the plant needs. Just as often, however, shrivelled pseudobulbs point to damaged roots that can no longer absorb water. The key is to understand what you are looking at before you add more moisture.
Many orchids sold as “bulb orchids” do not have true bulbs like tulips or daffodils. They have pseudobulbs—swollen stem sections that store water and nutrients. Cattleyas, Oncidiums, Dendrobiums, Encyclias and many related orchids use these storage organs to survive dry spells, produce new growth and support flowering.
With a few simple checks, you can learn whether a wrinkled growth is naturally mature, temporarily thirsty, or warning you about root loss. You can also plant orchid divisions successfully by matching the pot, medium and watering routine to the orchid’s growth pattern.
What an orchid pseudobulb does
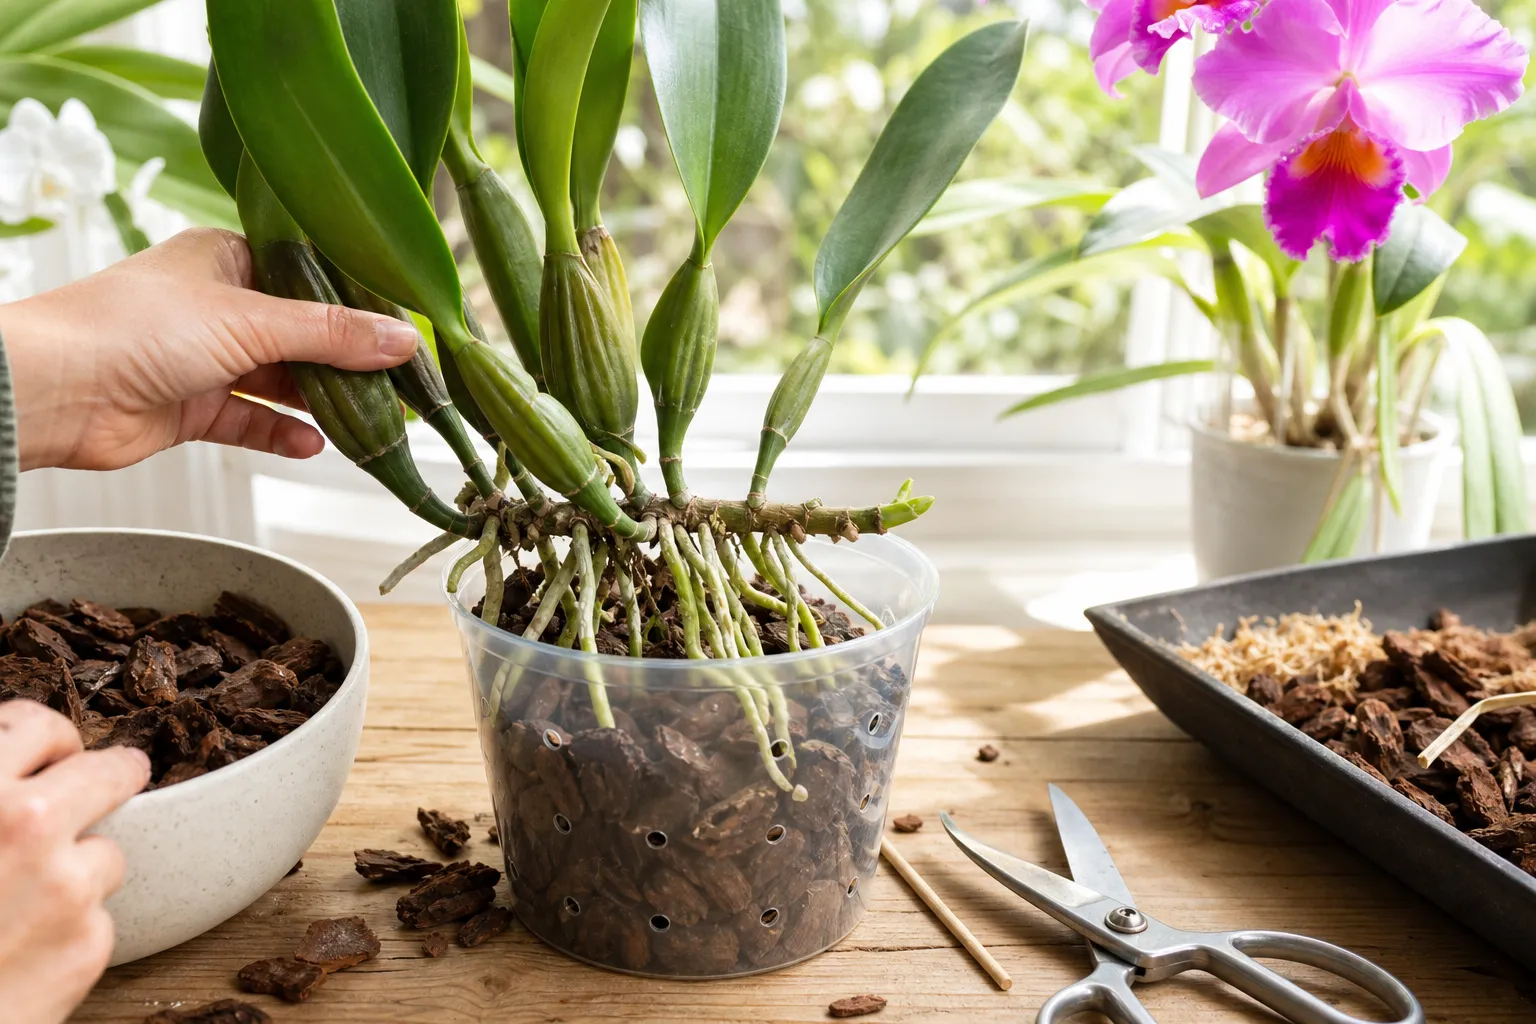
A pseudobulb develops along a horizontal stem called a rhizome. New growths usually emerge from the front or leading end of the rhizome, while older growths remain behind as “backbulbs.” A pseudobulb may carry one leaf, several leaves, or a tall cane-like stem, depending on the orchid.
Think of it as a built-in pantry. During active growth, the plant fills the pseudobulb with stored water and carbohydrates. Later, those reserves help support new roots, leaves and flower spikes when conditions become drier or the plant enters a rest period.
Bulbous and cane-type growths
- Bulbous pseudobulbs: Cattleyas, Brassavolas and many Oncidium relatives form compact, swollen growths along a rhizome.
- Cane pseudobulbs: Dendrobiums produce elongated, jointed canes. Some stay leafy for several seasons; others lose their leaves during dormancy.
- Reduced or absent pseudobulbs: Phalaenopsis orchids do not form obvious water-storage bulbs, so their watering routine differs from that of a Cattleya or Oncidium.
This difference matters. An orchid with substantial storage organs can usually tolerate a brief dry interval better than one with thin roots and no pseudobulbs. It does not mean you should let every orchid become bone-dry.

Choosing an orchid “bulb” for planting
When growers divide a sympodial orchid, they often sell or share a section of rhizome with one or more pseudobulbs. A division with several connected growths is generally easier for a beginner than a single old backbulb because it has more stored energy and a better chance of producing a new lead.
Before planting, inspect the division in bright, indirect light. Choose growths that are firm rather than hollow, wet, black or foul-smelling.
- Look for a firm rhizome with no soft, collapsing sections.
- Keep healthy roots that are white, cream or green when hydrated.
- Remove only roots that are clearly dead, mushy or papery and hollow.
- Leave a firm, leafless backbulb attached if it is not rotting; it may still provide stored energy.
- Avoid divisions with spreading black or brown decay unless you are prepared to cut well back into clean tissue.
Orchid divisions vary by genus, so do not assume that every plant should be split into the same size. Many Cattleya-type orchids perform better when a division contains several pseudobulbs. Some Catasetinae can be divided into smaller sections when dormant, while other orchids resent being reduced too severely.
How to plant an orchid pseudobulb division
1. Choose the smallest practical pot
Select a container that fits the remaining roots with room for roughly one or two years of new growth. An oversized pot holds moisture too long and makes root problems more likely. A small pot also helps anchor a division that has not yet established.
Use a pot with generous drainage holes. Clear plastic pots are useful because you can inspect roots and moisture, while clay pots provide weight and dry more quickly. Either can work if you adjust your watering routine.
2. Use an airy, fresh medium
Most epiphytic orchids need a mix that holds some moisture but leaves plenty of air around the roots. A suitable home mix may include medium-grade fir bark, coarse perlite and a small amount of sphagnum moss. The exact blend should reflect your home’s humidity, the pot size and the orchid’s natural growth cycle.
In a dry, heated home, a little more moisture-holding material may be helpful. In a humid room or greenhouse, use a coarser mix and allow it to dry more quickly. Avoid using ordinary garden soil for epiphytic orchids; it stays too dense around their roots.
3. Position the new growth correctly
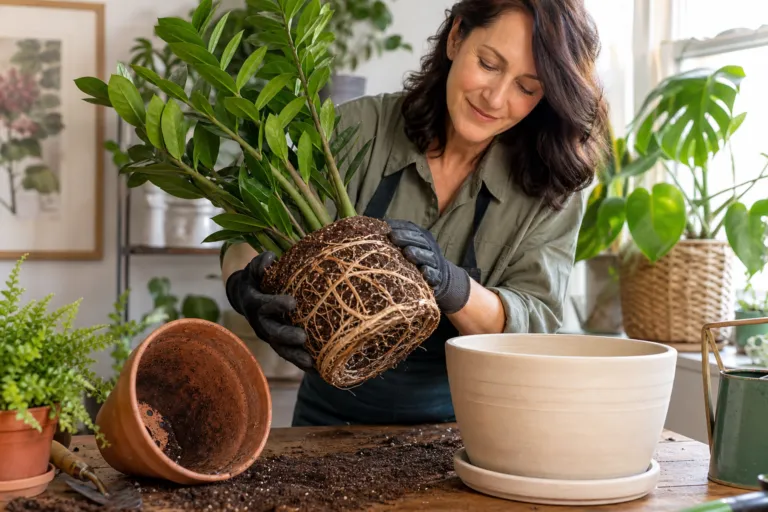
Place the oldest pseudobulb toward the back or edge of the pot and point the newest growth toward the open space. That gives the lead room to expand. Keep the rhizome near the surface rather than burying it deeply.
Anchor the division with a stake, clip or soft tie if it wobbles. Movement can damage newly forming root tips. Do not pack the medium tightly; firm it just enough to hold the plant upright while preserving air spaces.
4. Water with restraint after planting
If you had to remove many roots, wait a short time before giving the first thorough watering, particularly if the plant was cut or damaged. Keep the medium only lightly moist until new roots begin to grow. A rootless or nearly rootless orchid cannot absorb water efficiently, so constant wetness creates more risk than benefit.
Once new roots are visible, gradually return to the normal watering pattern for that genus. Keep the plant warm, bright but protected from intense midday sun, and provide gentle air movement.
Watering: measure the plant, not the calendar
There is no dependable rule that says an orchid should be watered every seven days. Indoor conditions change with season, pot size, bark age, heating and air conditioning. Instead, check the medium and the plant together.
For a simple home trial, record the pot’s weight after a thorough watering and again when it is almost dry. You can use a kitchen scale for a small orchid or simply lift the pot and note the difference. In one practical routine, water only when the pot feels noticeably lighter, the bark looks dry at the surface and a wooden skewer inserted into the center comes out nearly dry.
When you water, soak the medium thoroughly and allow excess water to drain away. For a potted orchid, aim for water to run freely from the drainage holes rather than delivering a few spoonfuls to the surface. This helps wet the entire root zone and reduces the concentration of fertilizer salts in the mix.
Compare the main orchid groups
- Cattleya and many Oncidium relatives: Let the mix approach dryness between waterings, especially after pseudobulbs mature. Avoid keeping the roots continuously wet.
- Dendrobiums: Water more actively while new canes and roots are growing. Some types need a cooler, drier rest after the canes mature, while evergreen types need a less dramatic reduction.
- Catasetinae: These orchids commonly have a pronounced dry dormancy after the pseudobulbs mature. Water very sparingly while dormant, increasing only as new growth and roots resume.
- Moisture-loving genera such as some Coelogynes: Do not force a long, bone-dry interval if the particular species naturally grows in more consistently moist conditions.
Always identify the orchid as accurately as possible. “Orchid care” is not one universal recipe, and a routine that suits a Cattleya can harm a moisture-loving species—or encourage rot in a dormant Catasetum.
Why pseudobulbs shrivel
A slight change in shape is not automatically a crisis. Older pseudobulbs often become more angular or furrowed as they age, and some deciduous orchids naturally lose leaves and shrink during dormancy. A newly mature growth may also firm up and look less glossy than it did while expanding.
Deep wrinkles, soft tissue, yellowing, limp leaves or a plant that continues to decline deserve closer inspection.
Cause 1: The orchid is genuinely too dry
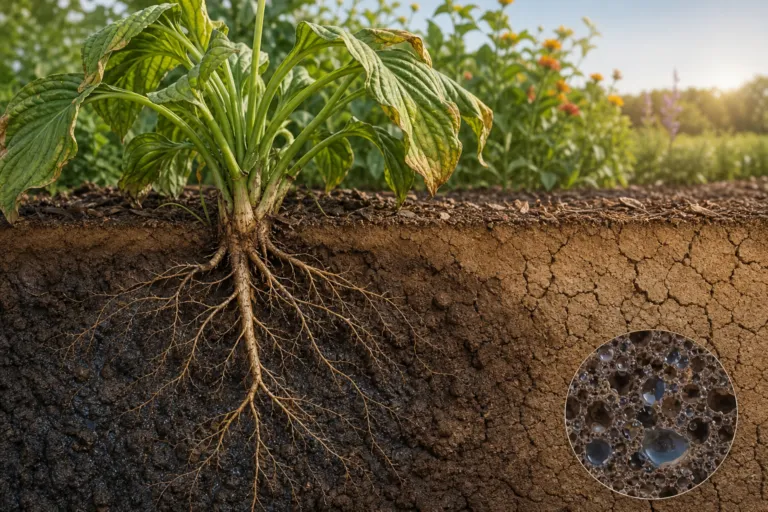
If the roots are firm and light-colored, the pot is very light, and the mix has become dry far sooner than usual, underwatering is a likely cause. Low indoor humidity, hot windows, a fan blowing directly on the plant or a small pot can accelerate moisture loss.
Give the plant a thorough watering, then watch how quickly it dries. Increase frequency only as needed. A humidity tray may modestly slow drying, but it should not leave the pot sitting in water. Gentle air movement is still important.
Cause 2: The roots are damaged
Overwatering can produce the same shrivelled appearance as drought. When roots remain wet and airless, they may turn brown, mushy or hollow. The plant then lacks functioning roots, so adding more water cannot correct the problem.
Slide the orchid from its pot and inspect the root system if the pseudobulbs continue to wrinkle despite frequent watering. Trim dead roots with a sterile cutting tool, remove degraded medium and repot into fresh, airy material. Use a smaller pot if the remaining root system is much reduced.
Cause 3: The plant is dormant
Some orchids are expected to rest after their pseudobulbs mature. During dormancy, a little wrinkling can be normal. The goal is not always to keep every pseudobulb perfectly plump; it is to prevent severe dehydration while avoiding wet roots that cannot use the water.
For dormant orchids, reduce watering gradually according to the species. Do not apply regular fertilizer to a plant that is not actively growing unless reliable care guidance for that orchid specifically recommends it.
Cause 4: Heat, light or low humidity
Strong sun through glass can raise leaf and pseudobulb temperatures quickly. If the plant feels hot, leaves look bleached or growths wrinkle during a heat wave, move it behind a sheer curtain or to a brighter location without harsh midday exposure. Improve air circulation, but avoid a strong, drying blast directly onto the plant.
How to treat a shrivelled orchid: a practical checklist
- Identify the orchid. Find out whether it is a Cattleya, Oncidium, Dendrobium, Catasetum relative or another type.
- Check the medium. Is it dry and fresh, or dark, sour-smelling and decomposed?
- Inspect the roots. Healthy roots are generally firm. Brown, mushy or hollow roots need removal.
- Check the pseudobulb itself. Firm wrinkles suggest dehydration or age; soft, black or rapidly spreading damage suggests rot.
- Correct one factor at a time. Do not move the plant, soak it repeatedly and increase fertilizer all at once.
- Provide moderate recovery conditions. Use bright indirect light, appropriate humidity and gentle air movement.
- Wait for new growth. A damaged pseudobulb may not plump dramatically again, but the plant can still recover by producing a healthy new lead.
Be cautious with homemade remedies, concentrated fertilizer dips and fungicides. If disease is suspected, remove affected tissue, improve drainage and follow the label of any product approved for orchid use in your area. Never apply a chemical treatment simply because a pseudobulb is wrinkled; first determine whether the real issue is drought, root loss or normal dormancy.
Should you cut off an old pseudobulb?
Not necessarily. A leafless backbulb may look unattractive, but it can still store resources and support a new shoot. Keep it attached while it remains firm and free of rot. Remove it only when it is clearly dead, collapsing or diseased, or when a healthy division can be made without weakening the plant.
After flowering, do not remove a green cane or pseudobulb just because it has finished blooming. Dendrobium canes, for example, may flower again from older sections depending on the type. Let the plant show you whether the growth is still useful.
A calm routine produces better orchids
Orchid pseudobulbs are helpful indicators, but they are not a watering schedule. Learn the plant’s seasonal rhythm, inspect its roots when symptoms do not make sense, and change conditions gradually. A modest amount of wrinkling during dormancy may be perfectly acceptable; severe shrivelling combined with root loss requires prompt correction.
If you plant a healthy division in a snug pot, keep the rhizome near the surface and provide an airy medium, you give the new growth its best start. And if an established orchid looks tired, do not assume it is beyond saving. Check the roots, correct the watering pattern and give the plant time to use its remaining reserves and begin again.