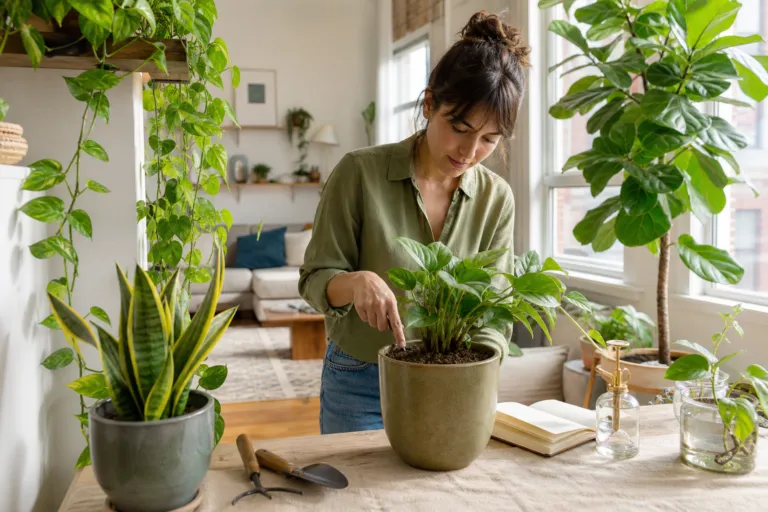
Repotting feels productive. You loosen the roots, add fresh mix, choose a prettier container and give your plant a generous drink. Then, almost immediately, you may feel tempted to do more: move it to a sunnier window, add fertilizer, trim a few leaves, mist the foliage and check the roots again.
Resist that urge. For many houseplants, the kindest care after repotting is a calm, uneventful week. The plant needs time to settle into its new container, adjust to the fresh potting mix and repair small root injuries. Your job is not to force new growth. It is to create steady conditions and watch carefully without constantly intervening.
Why repotting can temporarily unsettle a healthy plant
Even a careful repotting changes several things at once. Roots may be loosened from a tight root ball, old mix may fall away, and the plant may suddenly have more moist potting mix around its roots. Above the soil, leaves may also experience a different balance of water loss, humidity and light.
This short adjustment period is often called transplant shock. It does not automatically mean that something has gone wrong. A plant may look slightly limp, pause its growth or lose an older leaf while it redirects energy toward settling in. Some plants recover quickly; others take a few weeks to look fully composed again.
The important distinction is between a mild, temporary wobble and a worsening problem. A little droop after repotting can be normal. Soil that stays saturated for many days, a sour smell, collapsing stems or rapidly darkening roots deserves action.
The first decision: water once, then stop guessing
After repotting, water thoroughly enough to settle the potting mix around the roots. For most plants in containers with drainage holes, pour slowly until a small amount runs from the bottom. This helps reveal whether water is moving through the entire root ball rather than slipping down one channel at the edge.
Let the pot drain completely. If the container sits inside a decorative cachepot or saucer, empty standing water after about 15 to 20 minutes. A freshly repotted plant does not benefit from sitting in a reservoir of water.
A practical watering check
Do not schedule the next watering simply because seven days have passed. Check the mix and the weight of the container instead:
- Push a finger about 1 to 2 inches into the potting mix for a small or medium houseplant. If it still feels moist, wait.
- Lift the pot after watering and notice its weight. Check again over the following days; a noticeably lighter container often indicates that moisture has been used or evaporated.
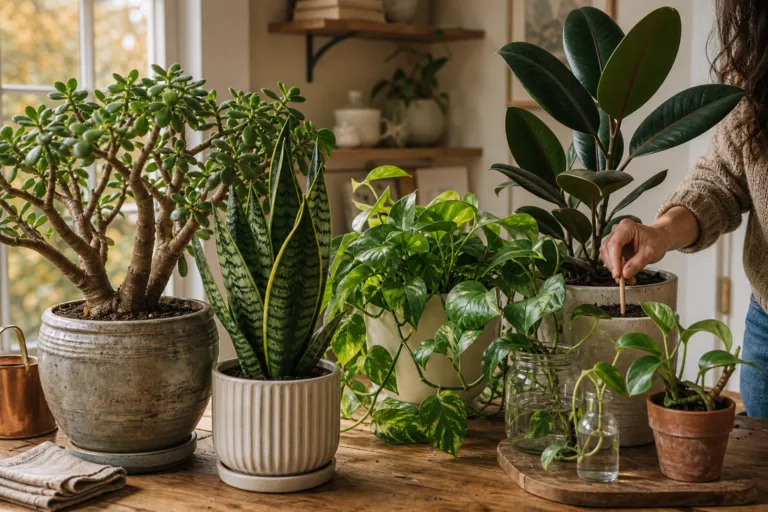
- Look at the plant’s natural preferences. A pothos or peace lily generally needs more frequent checking than a snake plant, jade plant or many cacti.
- Make sure the drainage hole remains open and that the pot is not standing in water.
There is no universal number of ounces that suits every plant. Pot diameter, mix ingredients, indoor temperature, humidity, airflow and leaf area all change how quickly the pot dries.
A small measuring experiment for your own home
If you tend to overwater, try a simple one-week observation. Weigh or estimate the amount of water you use for each plant, and record the pot’s condition rather than watering automatically.
- For a 6-inch foliage plant, begin with enough water to produce a small trickle from the drainage hole – often roughly 12 to 20 fluid ounces, depending on how dry and absorbent the mix is.
- For a 4-inch plant, the amount may be closer to 4 to 8 fluid ounces.
- Record the date, approximate volume, whether water drained freely and how moist the mix felt on days 3, 5 and 7.
These figures are starting points for observation, not prescriptions. If 16 fluid ounces leaves the pot heavy and wet for a week, your next watering should wait. If the mix becomes dry and the plant begins to wilt sooner, reassess the plant’s light, pot size and water needs rather than blindly repeating the same volume.
Give the plant steady light – not a dramatic makeover
Place the repotted plant in the kind of light it already tolerated well. Bright, indirect light is a sensible temporary position for many common foliage plants, but it is not a rule for every species. A cactus, succulent or flowering plant may require stronger light, while a shade-tolerant plant may struggle in hot afternoon sun.
The key is stability. Avoid moving the plant from a dim corner straight into intense sunlight, especially if the leaves were previously protected by a window screen, greenhouse shade or indoor furnishings. Sudden increases in light can add stress and may scorch foliage.
For the first week, try to avoid:
- placing a newly repotted plant against a hot south- or west-facing window without acclimation;
- moving it between several rooms to “find the perfect spot”;
- putting it directly beside a heat register, air-conditioning vent or drafty exterior door;
- rotating it repeatedly while the roots are settling.
A stable location makes it easier to understand what the plant is telling you. If you change light, temperature and watering all at once, you will have trouble identifying the cause of any decline.
Do not fertilize immediately unless the plant has a specific need
Fresh commercial potting mixes may contain starter nutrients, and recently disturbed roots may not be ready to use extra fertilizer efficiently. Adding a strong feed immediately after repotting can create another variable while the plant is already adjusting.
For a typical houseplant, it is reasonable to wait until you see signs of renewed growth and the plant has had time to settle. Follow the fertilizer label for dilution and frequency, and remember that “more” does not mean “faster.” If your plant was repotted because of suspected root damage, poor drainage or a serious decline, concentrate first on correcting those conditions.
Hold off on pruning, propagation and leaf polishing
Repotting is already a substantial job for the plant. Unless you need to remove dead, diseased or badly damaged material, postpone major pruning for at least a week. Avoid taking cuttings or dividing the plant during the same recovery window unless propagation was the main reason for the work.
There is also no need to polish the leaves. Dust can wait. If a leaf needs cleaning, use plain room-temperature water and a soft cloth when appropriate for that plant. Hairy or delicate leaves may be damaged by rubbing, so leave them alone if you are unsure.
Different plants, different versions of a quiet week
“Do nothing” does not mean treating every plant identically. The best quiet week respects the plant’s natural rhythm and the type of root system you have just disturbed.
Foliage plants: pothos, philodendrons and monstera
These plants often tolerate routine repotting fairly well, particularly when you move them into a pot only 1 to 2 inches wider than the original. They appreciate even moisture but not permanently soggy mix. Watch for drooping caused by either a dry root ball or an overly wet one; the leaves alone cannot tell you which problem you have.
Peace lilies and prayer plants
These may show a dramatic temporary slump after their roots are handled. Keep them warm, out of harsh direct sun and consistently monitored. Do not respond to every droop with another watering. Check the mix first.
Snake plants, jade plants and other succulents
These plants generally prefer a more cautious approach after repotting. If roots were damaged or cut, allowing the mix to dry appropriately can reduce the risk of problems. The exact interval depends on the plant, pot and growing conditions, so judge moisture at the root zone rather than following a calendar.
Orchids and plants with specialized mixes
Orchids are not simply foliage plants in a smaller pot. Their bark-based mix, roots and watering routine differ from those of a plant grown in peat- or coir-based potting mix. After repotting, focus on airflow, the correct orchid medium and the plant’s established watering pattern rather than copying advice intended for ordinary houseplants.
A side-by-side comparison you can try
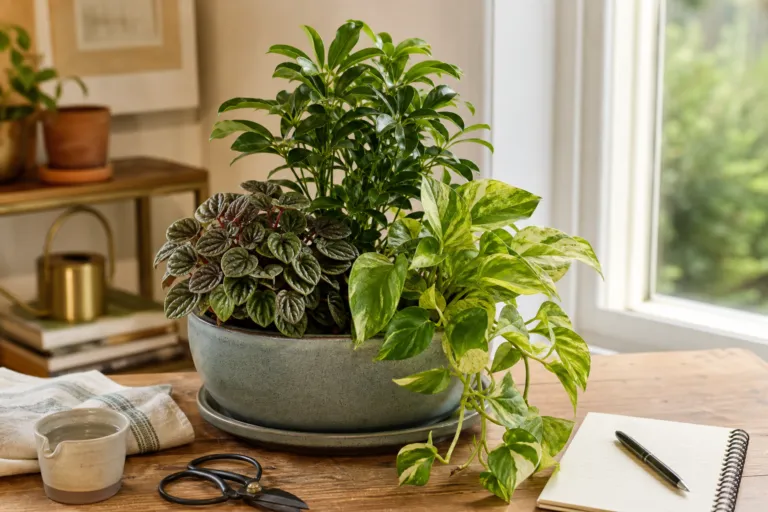
One useful home experiment is to compare two similar plants after repotting. Choose matching pothos, spider plants or another easy-care species, and keep the variables as similar as possible.
- Use containers with drainage holes that are the same size.
- Use the same potting mix and place both plants in the same type of light.
- Water each until a little drains from the bottom, then record the approximate amount.
- Leave one plant in place for seven days. Move the other once or mist it daily, but do not change its watering.
- Record leaf angle, pot weight, soil moisture and any yellowing on days 1, 3, 5 and 7.
This is not a controlled scientific trial, and two plants are never perfectly identical. Still, the comparison often reveals how much extra handling comes from gardener anxiety rather than plant need. The quieter plant may not grow faster immediately, but it often gives you clearer information and fewer competing stresses.
What to watch during the seven-day pause
Check the plant briefly once a day, preferably at roughly the same time. Observation is useful; constant adjustment is not.
Usually reassuring signs
- The plant holds its leaves at a similar angle from day to day.
- The potting mix gradually becomes lighter or drier at the expected pace.
- There is no foul odor, leaking cachepot or persistent puddle.
- A small amount of leaf yellowing is limited to an older leaf and does not spread rapidly.
- The plant begins to look slightly firmer after several days.
Signs that deserve a closer look
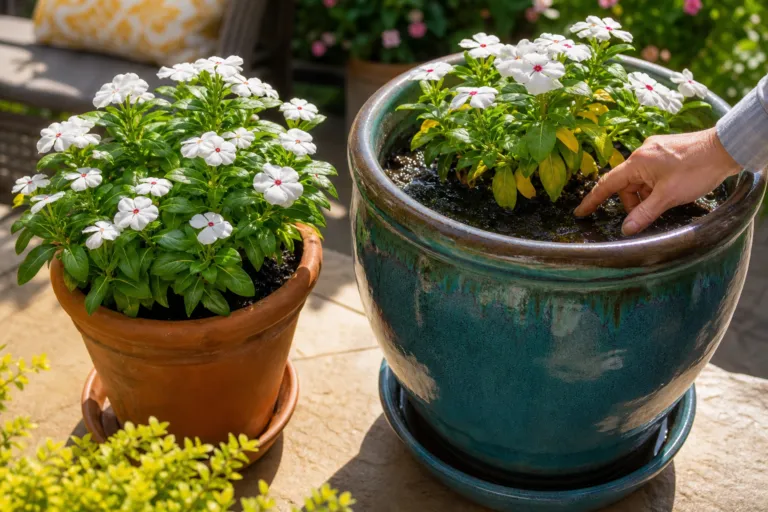
- Leaves continue to collapse even though the mix remains wet.
- Stems become soft or dark near the soil line.
- The potting mix smells sour or remains saturated far longer than it did before repotting.
- New damage spreads quickly across several leaves.
- The plant was repotted into a much larger container and now stays wet for an unusually long time.
If you see these warning signs, inspect the drainage and the root zone carefully. A plant that is declining rapidly may need corrective action, but avoid repeatedly pulling it from the pot simply to check. Every unnecessary disturbance adds another recovery event.
The pot itself can make the quiet week easier
Choose a container with a drainage hole and avoid a dramatic jump in size. A pot that is only slightly wider than the old one usually gives roots room to expand without surrounding them with a large volume of unused, wet mix.
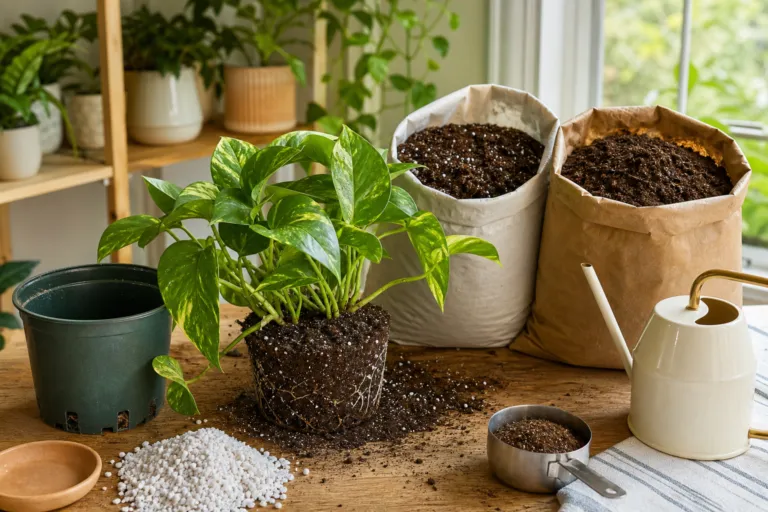
Use a quality potting mix made for containers rather than heavy soil dug from the yard. The mix should provide both water-holding capacity and air spaces. Do not add a gravel layer to the bottom as a shortcut for drainage; it does not solve a poorly draining container and can leave the root zone wetter than expected.
When the quiet week should end
After seven days, reassess rather than automatically resuming a full care routine. If the plant looks stable, the mix is drying normally and the container drains well, you can gradually return to its ordinary light and watering pattern.
Wait longer before fertilizing if the plant still looks stressed. Likewise, postpone major pruning if the plant has not begun to stabilize. Recovery is not a race, and a plant that is quietly rebuilding roots may show little visible progress above the soil.
Let patience become part of your plant-care toolkit
Repotting is a reset, not a command for immediate growth. Once the fresh mix is in place, the container drains properly and the plant sits in steady conditions, your most valuable tools are time, observation and restraint.
Give the plant one thorough watering, check its moisture intelligently, protect it from sudden extremes and let it settle. That quiet week may feel like doing nothing – but in practical houseplant care, it is often exactly what allows the roots and leaves to get back to work.