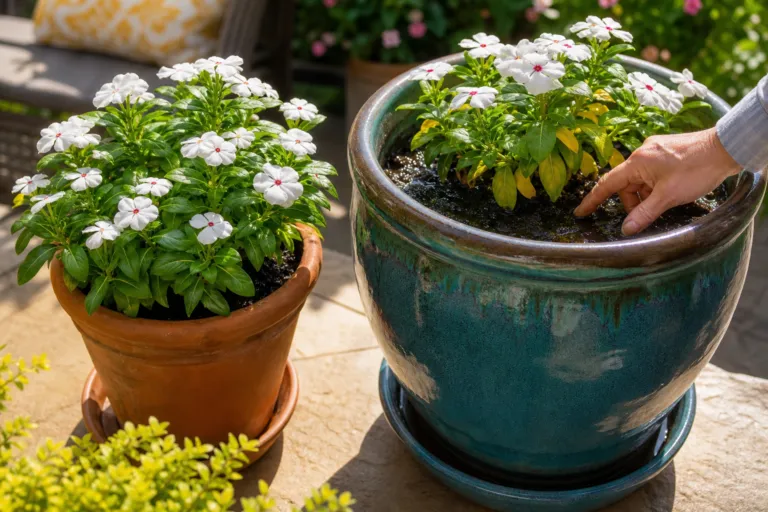
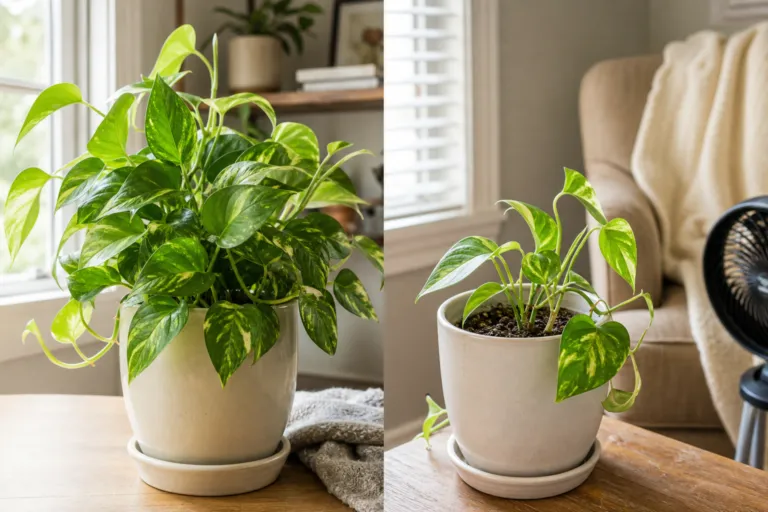
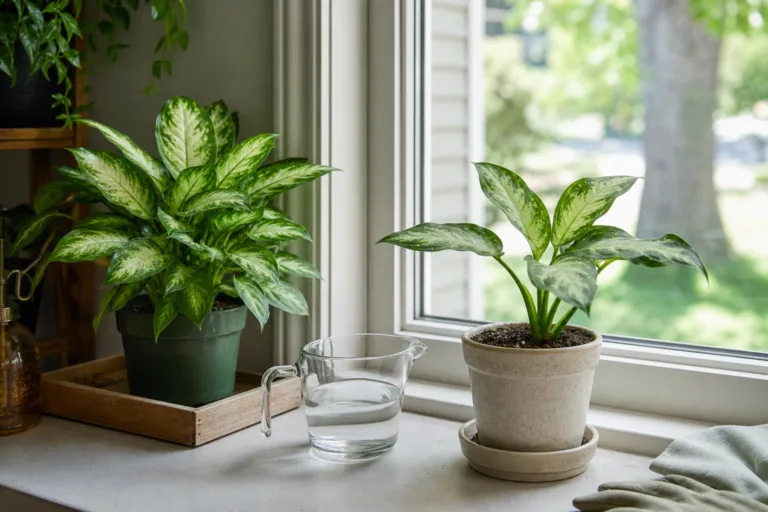
You have a bag of topsoil left from a raised bed project, and a houseplant that needs repotting. It seems sensible to use what you already have—but indoors, that shortcut can create more problems than it solves.
The short answer is this: you generally should not use topsoil or garden soil by itself for houseplants. These products are designed for open ground, where soil has room to spread, water can move through a broad soil profile, and roots can explore far beyond the original planting hole. A flowerpot is a very different environment. Its small, enclosed volume can stay wet, lose air, compact easily, and concentrate salts from fertilizer and tap water.
That does not mean soil is “bad.” It means your plant needs a growing medium designed for containers. Once you understand the difference, choosing the right bag becomes much easier.
Topsoil, garden soil, and potting mix are not the same thing
Product names can be confusing because bags labeled “potting soil” may contain little or no actual soil, while “topsoil” may look rich and crumbly. The important question is not whether a product contains the word soil. The important question is whether it can provide the right balance of air, water, support, and nutrients inside a pot.
- Topsoil is usually intended to add volume or fill low spots outdoors. Its texture and composition can vary considerably.
- Garden soil is formulated for in-ground beds. It may contain mineral soil, compost, or other amendments, but it is still generally too dense for indoor containers when used alone.
- Potting mix is made for containers. It is usually lightweight, porous, and blended from materials such as peat moss, coconut coir, perlite, vermiculite, composted bark, or other ingredients.
In everyday gardening language, people often use “topsoil” and “garden soil” interchangeably. For houseplants, the practical advice is the same: do not fill the pot with either product straight from the bag.
Why garden soil behaves differently indoors
1. It can become too dense
In the ground, soil benefits from a large surrounding volume and natural channels made by roots, insects, weather, and organic matter. Inside a pot, the same soil becomes confined. Fine particles can settle into the spaces between larger particles, reducing the air available to roots.
Roots need oxygen as well as water. When a container stays saturated for too long, roots may grow slowly, leaves may yellow, and the plant can become vulnerable to root problems. The issue is not simply “too much water”; it is also too little air around the roots.
2. It drains poorly in a small container
Many indoor pots are only 6 to 12 inches deep. That shallow column of soil cannot behave like a garden bed. Water may drain from the hole at the bottom, yet the mix above it can remain wet for a long time—especially if the soil contains a lot of clay or fine organic material.
Adding gravel or stones to the bottom does not fix this problem. A coarse layer beneath fine soil can shift the saturated zone upward rather than improving drainage. The better solution is to use a properly textured mix throughout the container and choose a pot with a drainage hole.
3. It may bring unwanted passengers indoors
Outdoor soil can contain weed seeds, insects, and disease-causing organisms. In a garden, these may be manageable parts of the outdoor ecosystem. Inside your home, they can become an unwelcome surprise around windowsills, furniture, and other plants.
Commercial potting mixes are not automatically sterile, and no product should be treated as completely risk-free. However, a reputable mix made for containers is generally a more suitable starting point than soil dug from the yard or a heavy outdoor product.
4. It may not hold its structure
Good container media need to stay open enough for water and air to move through them over time. A soil that starts loose can compact after repeated watering. Once compacted, it may shrink from the sides of the pot, drain unevenly, or become difficult to re-wet.
What should you use instead?
For most foliage plants, choose a high-quality, all-purpose indoor potting mix. Look for a blend that feels light and springy rather than muddy or exceptionally heavy. Ingredients such as perlite, bark, coir, or peat help create air spaces and improve water movement.
“Soilless” does not mean the mix is useless or incomplete. It simply means the product relies mainly on materials other than mineral garden soil. Because these mixes may contain limited nutrients, check the label for fertilizer information and follow the product directions rather than adding extra fertilizer automatically.
Match the mix to the plant
- Tropical foliage plants: An all-purpose indoor mix often works well. A little extra perlite or bark can help if you tend to overwater.
- Cacti and succulents: Choose a fast-draining cactus and succulent mix, or amend a regular mix with a suitable coarse component. These plants generally prefer the mix to dry more thoroughly between waterings.
- Orchids: Use an orchid mix containing coarse bark or another blend designed for orchid roots. Regular potting mix can hold too much moisture around many commonly grown orchids.
- African violets: Choose a light mix labeled for African violets or one that drains freely while retaining moderate moisture.
- Citrus, herbs, and edible plants indoors: Use a container mix labeled for the crop, and make sure the pot has excellent drainage and enough light.
Can you mix topsoil into a houseplant medium?
Some extension recommendations allow a small amount of garden soil in a container mix, provided it is combined with materials that improve aeration and drainage. A commonly cited soil-based approach uses equal parts garden soil, peat moss, and perlite or coarse builder’s sand.
For indoor houseplants, however, this is usually more work and more risk than simply buying a suitable potting mix. If you decide to experiment, use soil from a healthy, uncontaminated area—not soil from a bed that recently had serious disease or pest problems—and avoid bringing outdoor soil indoors without considering the possibility of insects or weed seeds.
Do not confuse coarse builder’s sand with fine beach sand or play sand. Fine particles can make a mix denser rather than improving drainage. When in doubt, use a commercial container mix and adjust it with perlite, bark, or another product specifically sold for horticultural use.
A simple side-by-side growing experiment
If you enjoy learning by observation, try a small comparison using two similar, easy-care plants such as pothos cuttings or spider plants. The goal is not to prove that every topsoil behaves the same way; bagged products vary. The goal is to see how texture affects watering and root-zone conditions in your own home.
Set up the test
- Use two clean 6-inch pots with drainage holes.
- Plant similar-sized plants at the same depth.
- Fill one pot with a standard indoor potting mix.
- Fill the second with topsoil only, clearly labeled as the comparison pot.
- Place both plants in the same bright location, away from direct heating or cooling vents.
- Water only when the top 1 to 2 inches of mix feels dry, and record the date and amount.
Do not treat the results as a scientific trial with a universal answer. One topsoil may be sandy; another may be heavy and compost-rich. Still, you may notice that the topsoil pot feels heavier, takes longer to dry, develops a hard surface, or drains more slowly than the potting mix.
Measure your watering instead of guessing
Here is a practical recording method. For a 6-inch pot, start with 2 cups of water, poured slowly around the surface. Record how much drains into the saucer after 5 minutes. If 1/4 cup drains from the potting mix but only a few tablespoons drain from the topsoil, that difference is worth noting—but it does not by itself prove which pot is healthier.
For the next watering, wait until the top layer has dried to the same depth in both pots. You may find that the potting mix needs water after 5 or 6 days, while the topsoil remains damp for 8 days or longer. Indoor temperature, light, pot material, plant size, and season will all affect the timing, so use your measurements as a guide rather than a fixed schedule.
Never leave either pot sitting in collected water. Empty the saucer after the excess has drained. A decorative cachepot can hide a nursery pot, but check that water is not pooling inside the outer container.
Repotting with the right mix
When your plant is ready for a new container, choose a pot only about 1 to 2 inches wider than the current root ball. A dramatically oversized pot holds more wet mix than the plant can use and may take too long to dry.
- Water the plant lightly a few hours before repotting if the root ball is very dry.
- Use a clean container with at least one drainage hole.
- Moisten the new potting mix so it is evenly damp, not soggy.
- Set the plant at the same soil level it occupied before.
- Fill around the root ball without packing the mix tightly.
- Leave about 1 inch between the mix and the rim for watering.
- Water thoroughly, allow the pot to drain, and empty the saucer.
A coffee filter or piece of mesh over a large drainage hole can help keep mix from falling out. Skip a deep layer of gravel at the bottom; it does not replace a well-draining medium.
What if you already used topsoil?
Do not panic. If the plant looks healthy and the mix is draining well, you do not necessarily need to disturb it immediately. Watch for warning signs such as a sour smell, persistently wet soil, fungus gnats, wilting despite damp soil, yellowing leaves, or water running down the sides without soaking in.
If problems appear, repot into fresh indoor potting mix. Gently remove as much of the old heavy soil as you can without tearing healthy roots. If the root system is damaged or mushy, trim only clearly dead material with clean tools and adjust your watering afterward.
The bottom line
Topsoil can be useful outdoors, but it is rarely the best choice for a houseplant pot. Indoor roots need a medium that stays open, drains reliably, holds enough moisture, and remains manageable in a small enclosed space.
For most houseplants, choose a quality potting mix, match the texture to the plant, use a container with drainage, and measure your watering until you learn how quickly the pot dries. You do not need a complicated recipe or a perfect routine. Give the roots air, avoid standing water, and let the plant’s response guide your next adjustment.
With that simple shift—from “What soil do I have?” to “What growing medium does this plant need?”—repotting becomes easier, cleaner, and much more successful.