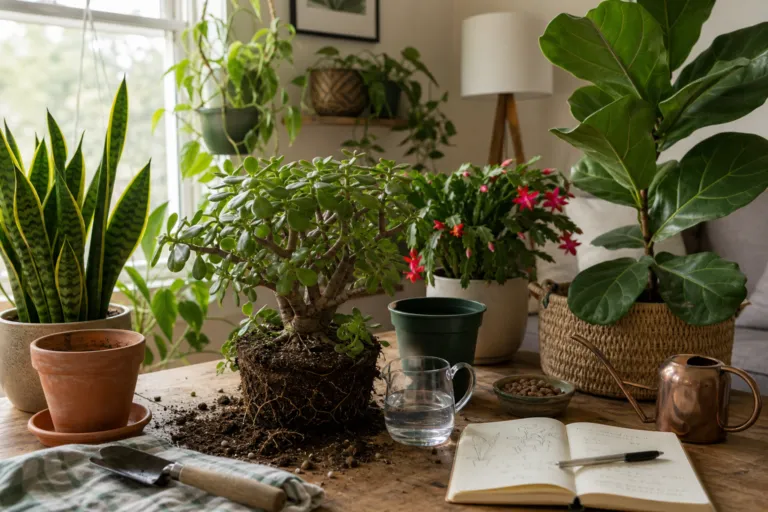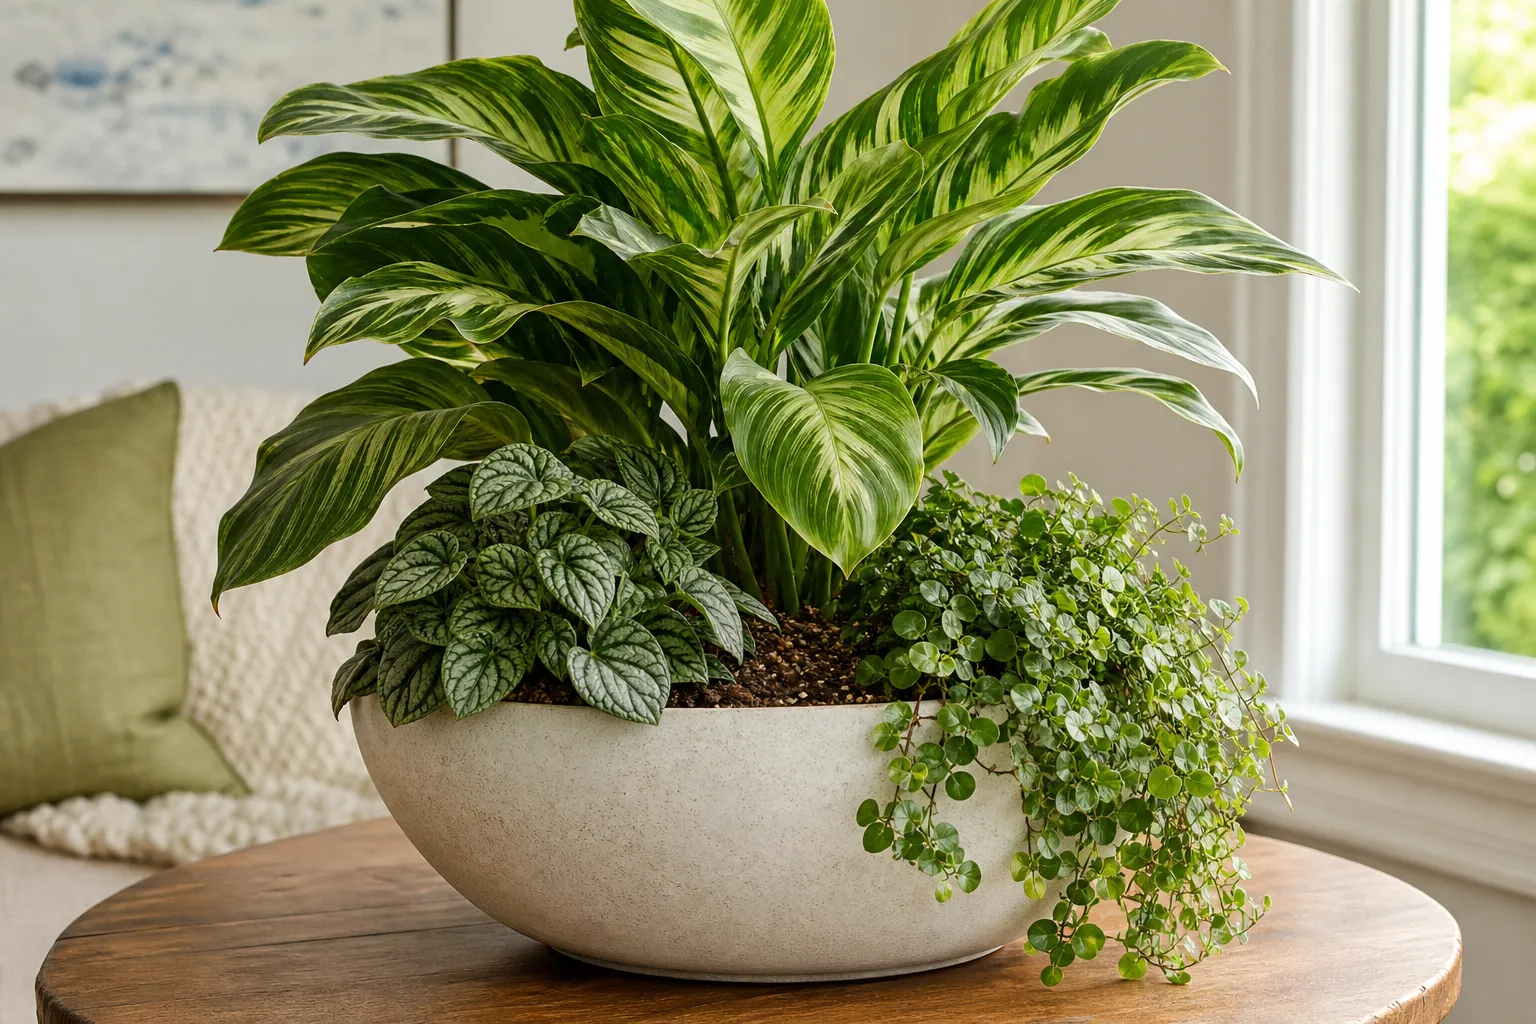
Combining several houseplants in one container can create the lush, layered look of a miniature indoor garden. A tall plant can provide structure, a trailing plant can soften the edges, and a low-growing companion can cover bare potting mix. Done well, the result looks abundant and intentional. Done poorly, it can become a crowded pot where one plant stays wet, another dries out, and neither thrives.
So, can multiple houseplants share the same pot? Yes—but success depends less on appearance than on compatibility. Before you reach for a large planter, compare the plants’ light, water, soil, growth rate, root habits and long-term size. If those needs are close enough, a shared container can work beautifully. If they are not, keep the plants in separate nursery pots and group them inside one decorative planter instead.
The short answer: compatibility matters more than quantity
Several plants can share a pot when they enjoy similar growing conditions and have enough room for their roots. Think of the arrangement as a small community: every plant needs access to moisture, air, light and nutrients, but not every plant uses those resources at the same speed.
The easiest combinations usually involve plants with broadly similar care requirements, such as tropical foliage plants that prefer bright, indirect light and moderately moist potting mix. The most difficult combinations pair plants from very different environments—for example, a cactus that wants the mix to dry substantially with a fern that prefers more consistent moisture.
Before planting, ask yourself:
- Do these plants need the same amount of light?
- Do they prefer the potting mix to dry at a similar rate?
- Will they remain manageable at the same container size?
- Do they have similar temperature and humidity preferences?
- Can you separate them later if one becomes crowded or diseased?

Good candidates for a shared container
Look for plants whose care routines overlap. A mixed planter might include a compact upright plant, a mounding plant and a trailing plant, provided all three enjoy comparable conditions.
Combinations worth trying
- Tropical foliage group: A compact peperomia, a small-leaved vining plant and a low-growing pilea may work in bright, indirect light with a fast-draining indoor mix.
- Moisture-friendly foliage: A small fern, fittonia and baby’s tears can create a woodland effect if you can provide steady moisture, gentle light and good airflow.
- Dry-side collection: Several small succulents or cactus species can share a shallow container when they have similar light needs and the mix drains quickly.
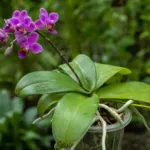
- Orchid display: Orchids can sometimes be grouped decoratively, but keeping each plant in its own slotted nursery pot is usually easier than combining their roots in one mass.
These are starting points, not guarantees. Even plants sold together in a gift arrangement may have different needs. Check each plant’s care requirements and observe how quickly the shared mix dries in your home.
Plants that should usually stay separate
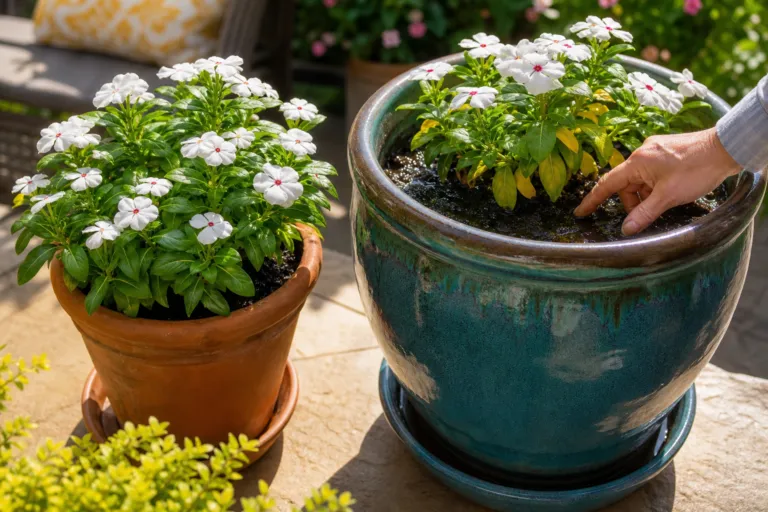
Some pairings create problems because the plants disagree about moisture or root space. Succulents and moisture-loving tropicals are a classic mismatch. One plant may be at risk of staying too wet while the other wilts from a lack of water.
It is also wise to separate plants when one has an aggressive growth habit. A vigorous vine can quickly shade a slower companion, while a spreading plant may occupy the entire surface of the pot. Large plants with thick, heavy roots can also overwhelm delicate neighbors.
Keep plants apart when:
- One needs frequent watering and the other needs a pronounced dry period.
- One requires intense direct light while the other prefers low or filtered light.
- One is likely to outgrow the container quickly.
- One plant is stressed, infested or showing signs of root problems.
- You are unsure whether the plants tolerate the same fertilizer routine.
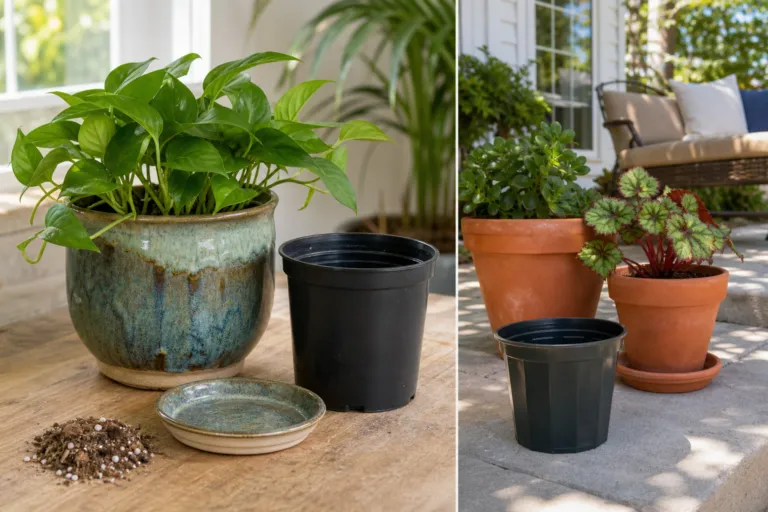
When in doubt, use the “plants together, roots apart” method. Place several individual pots inside a broad decorative planter, then remove each pot for watering, inspection or repotting. You get the visual effect without forcing incompatible plants to share one root zone.
Drainage is the non-negotiable rule
A shared container needs a real drainage route. Choose a planter with one or more drainage holes, and place it on a saucer or waterproof tray. Water should be able to pass through the mix and leave the container instead of collecting around the roots.
Do not rely on a layer of gravel at the bottom to solve drainage problems. A gravel layer does not replace a drainage hole, and it can reduce the depth of usable potting mix. If your favorite decorative pot has no hole, keep the plants in individual containers with drainage and use the decorative pot as an outer cachepot.
After watering, allow the planter to drain fully. Empty water from the saucer or outer pot rather than letting the container sit in it. This is especially important with a large shared planter, because a substantial volume of wet mix can remain damp for a long time.
Choose the container carefully
Start with a container only modestly larger than the combined root balls. A very large planter may look generous, but excess potting mix holds more water and dries more slowly. That can create a persistently wet center, particularly in a cool room or during winter.
Choose a shape that gives every plant space to grow without forcing the roots into a tight bundle. A wide, shallow planter suits small plants with compact root systems. A deeper container is more useful for plants that develop stronger vertical roots, but it should still be proportional to the plants’ current size.
Leave about an inch of space below the rim so you can water thoroughly without washing potting mix over the edge. Use a quality indoor potting mix rather than garden soil, which can be heavy and may not provide the air and drainage houseplants need.
How to plant several houseplants in one pot
1. Arrange before you plant
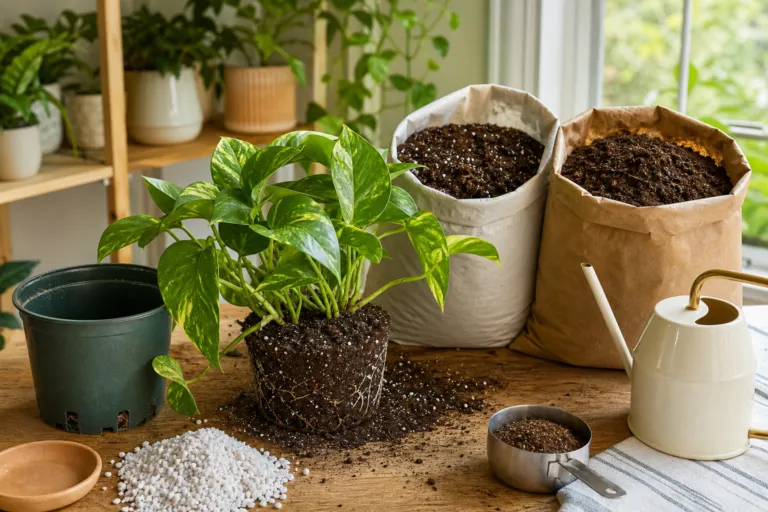
Set the plants, still in their nursery pots, inside the empty container. Place the tallest plant toward the back or center, medium-height plants beside it and trailing plants near the rim. Turn the container as you work so the arrangement looks balanced from the main viewing angle.
2. Check the root balls
Slide each plant from its pot and inspect the roots. Healthy roots should hold the mix together without smelling sour or appearing soft and mushy. If a plant has serious root damage, isolate it rather than placing it into a new shared container.
3. Use moistened potting mix
Slightly moisten the mix before planting so it absorbs water evenly. Add enough mix to raise the plants to the correct depth. The top of each root ball should sit close to the final surface, not buried deeply beneath a thick layer of new mix.
4. Give each plant a little breathing room
Avoid pressing every root ball tightly against its neighbor. Leave enough space for young growth and airflow between the stems. Crowding may look lush on planting day but can become a maintenance problem within a few months.
5. Water thoroughly once
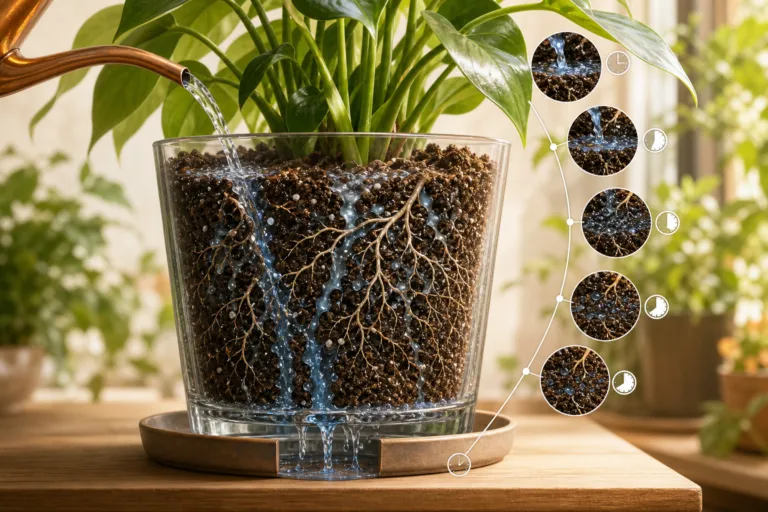
After planting, water slowly until a small amount drains from the bottom. This settles the mix around the roots and helps reveal whether water is moving through the container. Allow the planter to drain completely before returning it to its display location.
Watering a shared pot: measure, don’t guess
Watering is the most common reason mixed planters fail. The surface may look dry while the lower portion remains wet, or the outside plants may dry faster than the plant in the center.
For a simple home trial, choose a planter that weighs about 12 pounds after thorough watering. Record that number. Check it again every day or two without watering. If it falls to about 9 pounds and the top inch of mix feels dry, that may be your signal to water—but treat the numbers as a guide for that particular planter, not a universal rule.
When watering, apply water gradually rather than adding a small splash every day. For a 10-inch planter, begin with roughly 24 fluid ounces of water, pause for a minute, then add more if the mix remains dry and no water has drained yet. Once water begins to emerge from the drainage hole, stop and allow the container to drain. The actual amount may vary considerably with the mix, plant size, pot material and room conditions.
For a more useful measurement, record three observations over two weeks:
- Day 1: Container weight immediately after watering.
- Day 3 or 4: Container weight, top-inch moisture and leaf condition.
- Next watering: Weight, moisture depth and the amount of water needed to produce drainage.
This small log helps you learn the rhythm of your own planter. A clay pot may dry faster than a plastic one. A planter near a sunny window may need water sooner than one several feet away. Indoor heating and air conditioning can also change the drying rate.
What if one plant needs water before the others?
This is the central challenge of mixed planting. If one plant is dry but the rest of the container is still wet, avoid automatically soaking the entire planter. You can add a small amount of water near the thirsty plant, but this is only a temporary solution and may not wet its root ball evenly.
A better long-term answer is to keep plants with noticeably different watering needs in separate inner pots. You can still arrange them together visually, but each plant can then receive the amount of water it actually needs.
Use your finger to check the mix about an inch below the surface for many common houseplants. For succulents and cactus, wait until the mix has dried much more deeply. Always adjust for the individual plant rather than watering by the calendar.
Light, roots and growth rate can change the arrangement
A mixed planter may be compatible at first and become difficult later. One plant may grow rapidly and shade the rest. Another may develop a dense root system and leave little room for its companions. Watch for roots circling heavily, roots emerging from drainage holes, unusually rapid drying or stalled growth.
Rotate the planter occasionally if the plants lean toward the window. Prune trailing growth when it begins to smother neighboring plants, and remove yellowing leaves promptly. If one plant is clearly dominating, divide the arrangement instead of trying to keep every plant at the same size.
Repotting is also easier when you have planned for separation. Before planting, take a quick photo of the arrangement and note which plant is where. If you need to dismantle the pot later, you will know how the roots were positioned and can rebuild the display—or move each plant to its own container.
A practical beginner formula
If you are trying shared planting for the first time, use this simple formula:
- Choose two or three small plants rather than five or six.
- Match their light and moisture preferences as closely as possible.
- Use a container with drainage holes.
- Keep the planter only slightly larger than the combined root balls.
- Use an airy indoor potting mix.
- Leave room between plants for growth and airflow.
- Track watering for the first two weeks.
- Be prepared to separate a plant that struggles.
The verdict: beautiful, but not always practical
Multiple houseplants can share the same pot, and the effect can be wonderfully full and decorative. The best results come from treating the arrangement as a carefully matched planting rather than a random collection of plants.
For the easiest care, combine plants with similar light, moisture and growth habits. For the greatest flexibility, keep each plant in its own drainage pot and group those pots inside one larger decorative container. Either approach can work. The important thing is to protect the roots from standing water, observe how quickly the mix dries and give yourself permission to change the arrangement when the plants’ needs change.
Start small, measure what happens and adjust with confidence. Your first shared planter does not have to be perfect—it only needs to teach you what your plants are telling you.