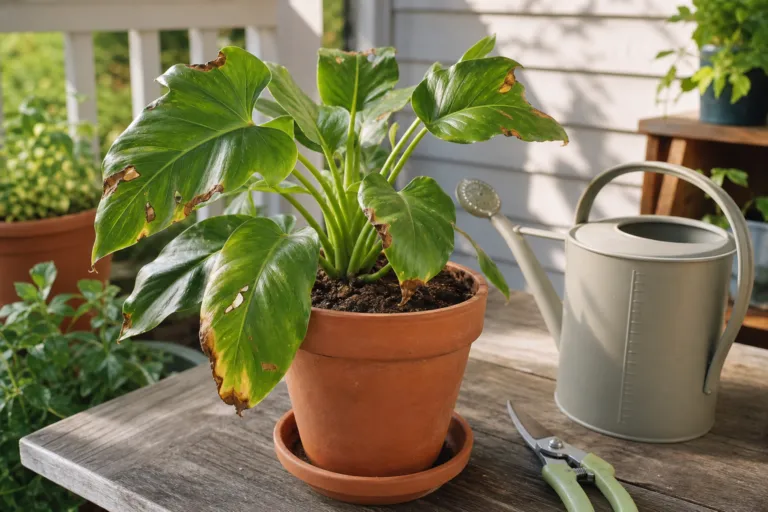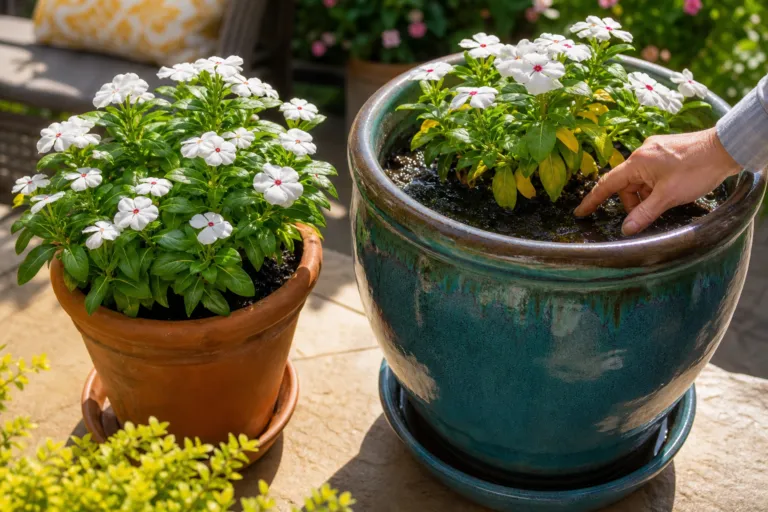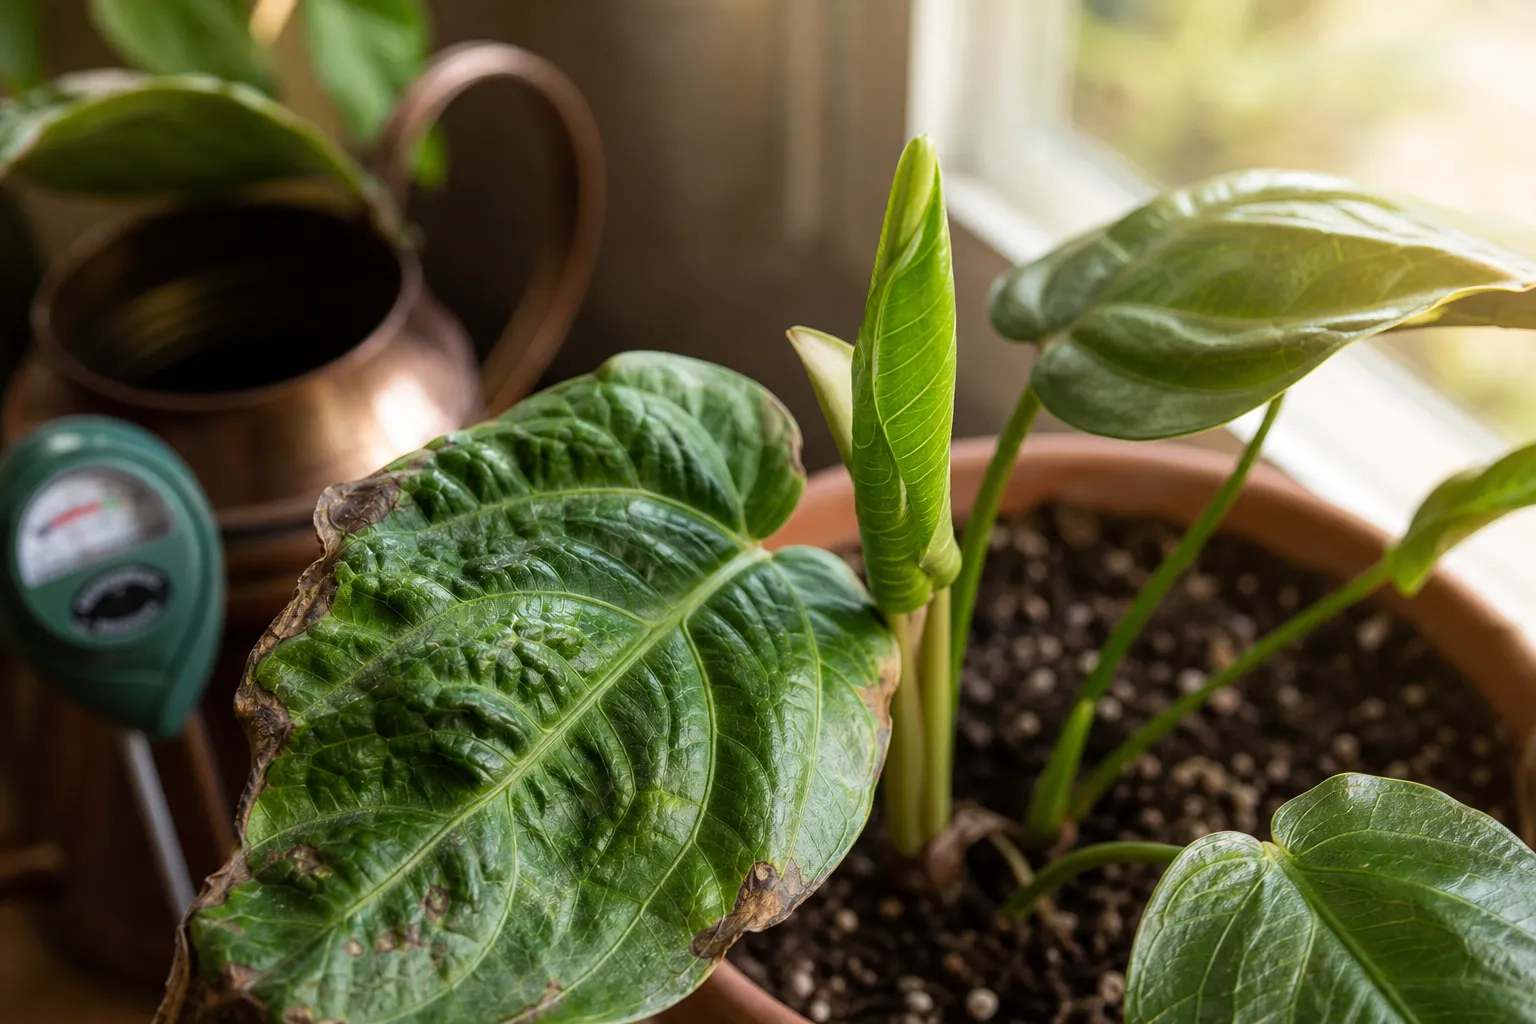
Few gardening moments feel more discouraging than this: you finally correct a plant’s watering, move it into better light, or plant it in the garden – and the next leaves look worse than the old ones. They may emerge pale, puckered, curled, scorched, or oddly small.
Before you reach for fertilizer or decide the plant is doomed, take a breath. New leaves often reveal what happened during the plant’s most stressful days. They may have started forming before you changed the conditions, then finished developing while the roots were adjusting. In many cases, the damaged leaves will not repair themselves, but the plant can still produce better growth next.
The key is to judge the trend, not one imperfect leaf.
New growth is a record of recent stress
A leaf does not appear fully formed overnight. It develops from a growing point at the tip of a stem or branch. During that process, the plant needs a steady supply of water, light, minerals, and energy from healthy roots.
If any of those supplies fluctuate, the developing leaf may show the effects later. A plant that went bone-dry, suffered a chilly night, endured a sudden move into strong sun, or lost roots during repotting may produce a leaf that looks disappointing even after conditions improve.
That does not necessarily mean the recovery failed. It may simply mean the leaf was already “in progress” when the problem occurred.
Why old leaves can look better than new ones
Older leaves developed under an earlier set of conditions. They may have formed when the plant had a larger root system, steadier moisture, or a gentler light level. New leaves are more vulnerable because their tissues are soft and still expanding.
Once a leaf has been scorched, torn, or badly distorted, it usually cannot return to perfect shape. The better question is whether the next leaf is larger, greener, and more normally shaped.
The most common reasons new leaves look rough
1. Transplant shock or repotting stress
Moving a plant disturbs the delicate roots that absorb water. Even when the plant looks fine on planting day, it may temporarily struggle to keep up with the water demand of expanding foliage.
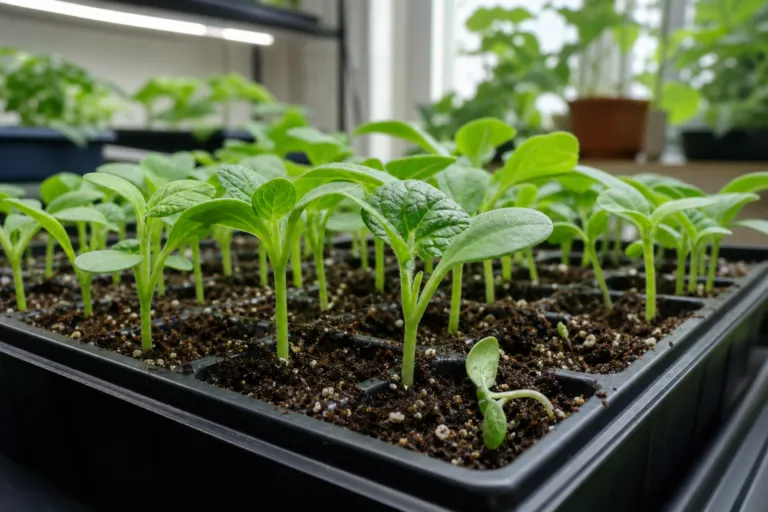
Seedlings moved from a sheltered windowsill to a sunny garden face an additional challenge: outdoor sunlight, wind, and changing temperatures. If you skip the gradual transition known as hardening off, young leaves may scorch or wilt.
After transplanting, watch for a brief pause in growth, mild wilting, or one imperfect flush of leaves. Give the plant consistent moisture, protect it from harsh afternoon conditions when appropriate, and avoid piling on extra fertilizer while the roots settle.
2. Uneven watering while a leaf is developing
Stop-and-start watering is a frequent cause of crinkled or creased leaves, especially on tropical houseplants. The plant may grow rapidly after a dry spell, then slow down when moisture becomes limited again. The result can be a leaf with folds, ripples, or an uneven edge.
Try to keep the root zone moderately and consistently moist without leaving it soggy. For container plants, water thoroughly until a little drains from the bottom, then wait until the upper portion of the potting mix has dried to the level appropriate for that plant.
Do not follow a calendar blindly. A small pot in a bright, warm window may need water much more often than a large pot in a cool room.
3. Sudden changes in light
Light drives leaf production, but a plant accustomed to low indoor light can suffer when moved directly into intense sun. New leaves may bleach, develop tan patches, or curl at the edges. Wind can make the stress worse by increasing water loss.
When moving a houseplant outdoors or placing a nursery plant into a brighter location, increase exposure gradually over one to two weeks. Start with bright shade or gentle morning light, then add more sun as the plant adapts.
For garden plants, temporary shade cloth or a lightweight row cover can soften the transition. Make sure the cover does not trap excessive heat against the foliage.
4. Temperature swings
Young leaves are especially sensitive to abrupt changes between hot days and cold nights. A chilly window, air-conditioning vent, drafty doorway, or late spring cold snap can interrupt normal expansion.
Cold-related stress may leave new growth pale or slow, while dry heat can cause curled edges. Move indoor plants away from radiators, vents, and drafty glass. Outdoors, wait for suitable planting conditions rather than assuming a calendar date guarantees warm soil.
5. Roots that cannot keep up
A plant can have plenty of water in its pot and still behave as if it is thirsty. Waterlogged soil displaces the air roots need, while a tightly root-bound container may leave little usable growing medium. Compacted garden soil can create a similar problem.
Check the roots and potting mix before adding more water. If the mix stays wet for many days, improve drainage and review the container size. If roots circle densely around the pot and water runs straight down the sides, repotting may help – but avoid combining repotting with several other major changes at once.
A simple watering experiment you can actually measure
When you are unsure whether watering is the issue, replace guesswork with a short observation experiment. Choose two similar plants, or mark two comparable branches on one plant.
- Check the potting mix at the same depth each day, such as 2 inches below the surface.
- Record whether the mix feels dry, slightly moist, or wet.
- Weigh a small container before watering and again after it drains. The difference gives you a useful picture of how much water the pot holds.
- For a 10-inch container, begin by measuring about 3 cups of water, apply it slowly, and note how much drains out.
- Repeat only when the plant’s moisture check says it needs water, not simply because the calendar says so.
The exact amount will vary with the plant, potting mix, temperature, and drainage. The value of the test is consistency. If one plant receives small splashes every day while another receives a thorough watering only when needed, their new leaves may tell very different stories.
Different varieties can react very differently
Do not assume every variety of a plant responds identically. In a side-by-side trial, compare two cultivars under the same light, container size, soil, and watering routine. Take a photo when each new leaf unfurls, then photograph the plants again seven and fourteen days later.
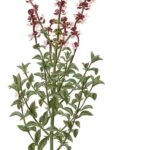
For example, a compact basil cultivar may stay shorter and produce smaller leaves than a vigorous Genovese type, even when both are healthy. A variegated houseplant may also appear less green simply because some of its leaf tissue naturally contains less chlorophyll. A red-leaved or bronze-leaved variety can produce new growth with colors that look unusual until the leaf hardens.
Use the plant’s own previous growth as the best comparison. A variety that naturally produces narrow, twisted, coppery, or heavily textured leaves should not be judged by the standard of a different cultivar.
When pale or distorted growth signals a real problem
One imperfect leaf is usually less concerning than a pattern that continues across several new leaves. Investigate more closely if growth remains stunted, the growing tip dies back, or discoloration spreads rapidly.
Look for pests first
Small pests often target tender shoot tips. Aphids may cluster around new growth, while thrips can leave silvery flecks, dark specks, and distorted leaves. Check both sides of leaves, the stem tips, and the folds around unopened growth.
Use a bright flashlight and inspect regularly for a week. If you find pests, identify them before choosing a control. A strong spray of water may dislodge some soft-bodied insects, but always follow product labels when using a registered garden treatment.
Check for disease clues
Persistent distortion accompanied by mosaic-like color patterns, rings, spreading spots, or severe stunting deserves attention. Fungal problems often become more likely when foliage stays wet, air movement is poor, or plants are crowded.
Remove badly affected fallen leaves, improve spacing and airflow, and avoid handling several plants with wet hands. If symptoms continue across an entire group of plants, contact your county extension office or a local plant diagnostic clinic rather than guessing.
Consider chemical drift or contaminated materials
Herbicide exposure can cause twisted, cupped, narrow, or misshapen new growth, especially on sensitive broad-leaved plants. Think back to recent lawn treatments, roadside spraying, compost or manure sources, and wind direction.
If several unrelated plants show similar distortion at the same time, look for a shared environmental cause. Do not add more fertilizer in an attempt to “push through” unexplained damage.
What to do while the plant recovers
Keep your response simple. Plants often recover more reliably when you correct the main stress and then give them time.
- Place the plant in the light level recommended for its species and variety.
- Water deeply enough to moisten the root zone, then allow the appropriate amount of drying between waterings.
- Protect recently moved plants from extreme wind, heat, and cold.
- Hold off on heavy feeding until you see active, stable growth.
- Remove only leaves that are fully dead, diseased, or badly damaged; green tissue still contributes energy.
- Photograph new growth every week so you can compare progress objectively.
Be especially cautious about changing several things at once. Repotting, pruning, relocating, and fertilizing on the same day can make it difficult to identify what helped or caused additional stress.
How to tell recovery from decline
Recovery usually appears gradually rather than dramatically. The first encouraging signs may be subtle: a firm growing tip, a leaf that opens a little farther than the previous one, or a return of normal color at the newest node.
Decline tends to move in the opposite direction. New leaves become progressively smaller or more distorted, stems soften, the plant repeatedly wilts despite moist soil, or discoloration spreads to multiple branches.
Give a recently stressed plant at least one or two growth cycles when conditions are favorable before making a final judgment. Fast-growing annuals may show progress within days or weeks; woody plants and many houseplants may take longer.
Give the next leaf a fair chance
Garden plants do not always look better immediately after you help them. Sometimes the first new leaf is the evidence of yesterday’s problem, not proof that today’s care is failing.
Focus on steady light, even moisture, healthy roots, and protection from sudden extremes. Compare varieties fairly, measure watering when you can, and watch the direction of change over time.
That awkward leaf may never become beautiful – and that is okay. Its real job is to teach you what the plant experienced. The next leaf is the one that tells you whether your care is working.