One day, your seedlings are upright, green, and full of promise. The next morning, they are sprawled across the soil surface as if someone switched them off overnight. It is one of the most discouraging moments in gardening – but it is also one of the most diagnosable.
In many cases, the culprit is damping-off, a group of seedling diseases caused by soilborne fungi and fungus-like organisms. The disease can move quickly because a young plant has very little stem tissue between the roots and leaves. Once that narrow section is damaged, the whole seedling may collapse within hours.
The good news is that damping-off is usually less about bad luck than about a combination of moisture, temperature, crowding, and cleanliness. Once you know what to look for, you can often prevent the next tray from meeting the same fate.
The overnight mystery: what actually happened?
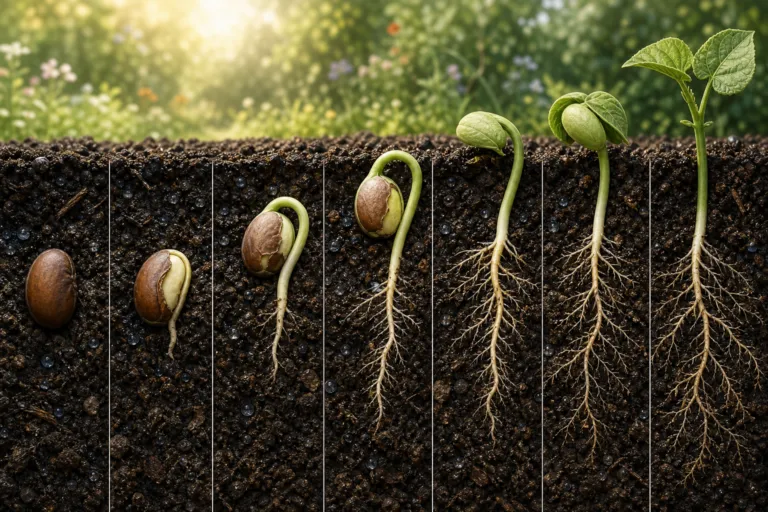
Damping-off can occur before or after a seedling emerges. Before emergence, the seed or tiny root decays underground, leaving empty spaces where seedlings should have appeared. After emergence, the disease attacks the stem at or just below the soil line.
That damaged area may look pinched, brown, water-soaked, or soft. The seedling may wilt even though the potting mix is wet. Eventually, the stem can no longer support the leaves, and the plant folds over at the soil surface. Under humid conditions, you may also notice fine white or grayish fungal growth around the stem or on the soil.
The collapse seems sudden, but the infection usually began earlier. A seedling can continue looking green while its stem or roots are already failing. Overnight humidity, a cool windowsill, a covered propagation tray, or one heavy watering can push a borderline situation past the point of recovery.
Four conditions that make collapse more likely
1. The potting mix stays wet too long
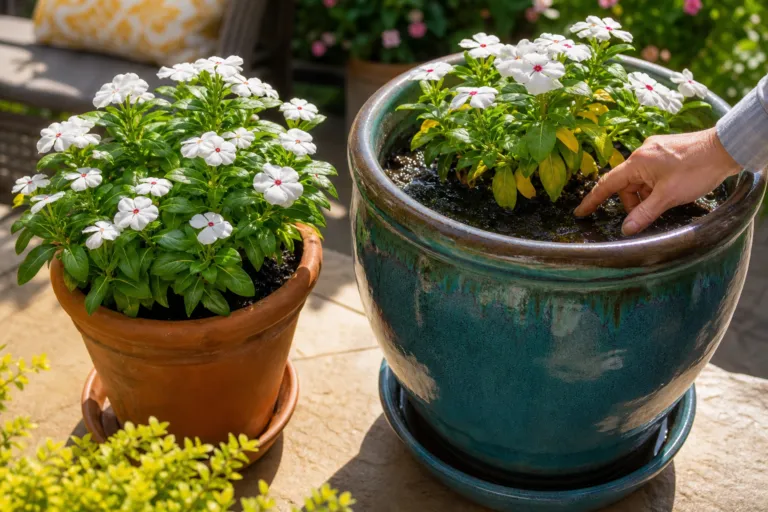
Constantly saturated mix is the most common problem in home seed starting. Roots need oxygen as well as water. When all the air spaces in the mix fill with water, roots become stressed, and several damping-off pathogens spread more easily through wet conditions.
Overhead misting can make the problem worse by leaving stems and leaves wet while also splashing contaminated particles from one cell to another. A tray does not need to be bone-dry between waterings, but the surface should not remain glossy, muddy, or waterlogged for days.
2. Air movement and light are inadequate
A clear humidity dome is useful during germination, but it can become a miniature greenhouse once seedlings emerge. Warm, still, humid air slows drying and creates the conditions that favor disease.
Low light adds another challenge. Seedlings stretch toward a window or grow light, producing long, slender stems that are physically weaker. Leggy growth does not cause damping-off by itself, but it makes a collapse more dramatic and can disguise early stem damage.
3. Seedlings are crowded
Broadcast sowing is convenient, but a dense carpet of seedlings traps humidity near the soil surface. Crowded stems also stay wet longer and make it difficult to inspect individual plants.
Thin seedlings promptly, or sow into individual cells when possible. Removing a few seedlings may feel wasteful, but it gives the remaining plants better airflow and root space.
4. The tray, tools, or mix carried contamination
Damping-off organisms can move on old potting mix, dirty pots, reused trays, tools, hands, and splashing water. Garden soil is especially risky in indoor seed trays because it can be heavy, drain poorly, and introduce organisms into a warm, moist environment.
For reliable results, start with a fresh commercial seed-starting or soilless mix. Clean reused containers thoroughly, remove stuck-on soil, and allow them to dry before filling them again. If a tray has already suffered a serious outbreak, discard the affected mix rather than trying to rescue it.
How to tell damping-off from other seedling problems
Not every fallen seedling has damping-off. A little detective work can help you avoid treating the wrong problem.
- Damping-off: the stem is pinched, discolored, soft, or water-soaked at the soil line; roots may be brown or rotted.
- Drying out: the mix is very dry, the entire seedling looks limp, and the stem usually remains firm rather than constricted.
- Excess fertilizer: leaf tips may burn, growth may be stunted, or seedlings may look distorted rather than abruptly toppled.
- Cold stress: growth slows, leaves may droop, and the mix may stay wet for a long time without obvious stem lesions.
- Root disturbance: a seedling may fall after being pulled, bumped, or loosened, but the stem at the soil line is not typically rotting.
- Stem-chewing pests: damage may appear as a clean cut or missing section, sometimes with seedlings falling in a pattern near the soil surface.
Inspect the fallen plant with a magnifying glass if you have one. Gently brush away a little mix around the stem and compare it with a healthy seedling. A narrow brown lesion right at the soil line is a strong warning sign.
A simple home experiment: measure moisture instead of guessing
Many gardeners water by calendar: every morning, every other day, or whenever the surface looks lighter. Seedlings respond better when you check the actual condition of the mix.
Try this small comparison with two identical trays or two groups of cells. Label one group “lightly moist” and the other “wet.” Water both groups thoroughly once, then allow the lightly moist group to approach dryness at the surface before watering again. Keep the wet group consistently damp. Record the results for seven to ten days.
For a more precise measurement, weigh one cell or small pot immediately after watering. A 3-inch pot filled with moist seed-starting mix might weigh around 8 to 12 ounces, depending on the container and mix. The exact number is not important; the change over time is. Weigh it again before watering. If it has lost 1 to 2 ounces and the surface is beginning to dry, water slowly until a small amount drains from the bottom. If it has lost almost no weight, wait.
Use a kitchen scale for the experiment, but do not treat one number as a universal rule. Peat-, coir-, bark-, and compost-based mixes hold different amounts of water, and a tomato cell will dry differently from a lettuce cell. The useful habit is to connect watering to moisture loss rather than to the date on the calendar.
Do different varieties react differently?
Yes, although the growing conditions usually matter more than the variety name. Fast-growing seedlings can move through their most vulnerable stage quickly, while slower-growing types may spend longer with delicate stems close to the soil surface.
In a practical comparison, try sowing one tray of lettuce, one tray of tomato, and one tray of pepper using the same fresh mix and watering routine. Lettuce emerges quickly and is often sown densely, so overcrowding can become the main risk. Tomatoes usually develop sturdy stems once they receive strong light, but they can struggle in cool, dim conditions. Peppers often germinate more slowly and may remain vulnerable longer if the mix stays wet while you wait for emergence.
You can also compare two cultivars of the same crop. For example, sow a compact cherry tomato beside a vigorous indeterminate tomato. Keep the seed depth, light, temperature, and watering identical. If one group performs better, do not immediately assume it has disease resistance. Differences in germination speed, seed quality, seed size, or growth rate may explain the result.
Some seed packets identify disease resistance, but resistance labels do not guarantee protection against every damping-off organism. Treat variety choice as one part of prevention, not a substitute for clean materials and careful moisture management.

What to do when a seedling collapses
Act quickly, but resist the urge to flood the tray with water or spray several products in desperation. Once damping-off has badly damaged a seedling, it rarely returns to vigorous growth.
- Remove the collapsed seedling. Lift it out with the surrounding bit of mix, especially if the stem is soft or discolored.
- Discard affected material. Place the plant and nearby contaminated mix in the household trash rather than adding it to a small backyard compost pile.
- Separate healthy seedlings. If several plants share one tray, move healthy individuals only if you can do so without disturbing their roots excessively.
- Improve ventilation. Remove the humidity dome after emergence and use gentle air movement. A small fan should not blast the seedlings; leaves should barely move.
- Adjust watering. Empty standing water from the tray and let the mix surface dry slightly before watering again.
- Clean the equipment. Wash trays, cell inserts, tools, and work surfaces before starting another batch.
Do not assume that a fungicide will cure a rotted stem. Products differ by pathogen, crop, and label, and many home gardeners do not have a reliable diagnosis. Prevention and sanitation are usually the most practical approach for a small indoor tray. If you use any pesticide or seed treatment, follow the product label exactly and confirm that it is labeled for the intended crop and use.
A prevention routine that works in ordinary homes
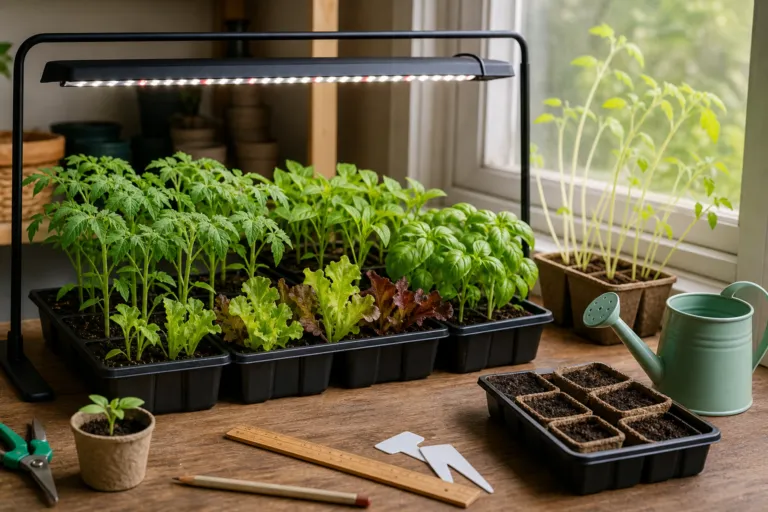
You do not need a professional greenhouse to raise sturdy seedlings. Aim for a clean, bright, moderately ventilated setup.
- Use fresh, lightweight seed-starting mix rather than garden soil.
- Choose containers with open drainage holes.
- Wash and dry reused trays before filling them.
- Sow thinly and follow the seed packet’s recommended depth.
- Give seedlings bright light as soon as they emerge.
- Remove humidity covers once most seedlings are up, or vent them widely.
- Water at the base or from below, then drain excess water.
- Use clean tap or other reliably clean water for indoor trays.
- Keep the root zone evenly moist, not constantly saturated.
- Avoid strong fertilizer until seedlings have developed true leaves, and then use a diluted product according to its label.
- Inspect the soil line every day during the first week after emergence.
Temperature matters too. Extremely cool mix can slow germination and prolong the vulnerable stage, while excessive heat after emergence can increase stress and humidity. Aim for the temperature range recommended for the specific crop rather than trying to make every seedling tray equally warm.
When the problem keeps returning
If damping-off appears repeatedly, keep a brief growing log. Write down the crop, variety, sowing date, room temperature, light source, watering amount, and whether the tray had a dome. Also note whether the first symptoms appeared in one corner, along an edge, or throughout the tray.
A localized patch may point toward uneven drainage, a wet spot, or contaminated equipment. A whole tray collapsing after several cloudy days suggests a broader moisture and airflow problem. If losses continue despite clean containers, fresh mix, good drainage, and careful watering, take clear photos and contact your state or county Extension office for help with diagnosis.
Healthy seedlings are built on boring consistency
The most effective seed-starting habits are not complicated: fresh mix, clean containers, bright light, gentle airflow, and measured watering. The goal is not to keep seedlings pampered and permanently damp. It is to help them germinate quickly, develop sturdy stems, and gradually grow beyond the stage when damping-off is most destructive.
So if a seedling collapses overnight, do not write off your entire gardening season. Inspect the stem, remove the affected plant, correct the moisture and airflow, and start a fresh sowing if necessary. A small adjustment – often watering a little less frequently or opening the dome earlier – can make the next tray dramatically stronger.