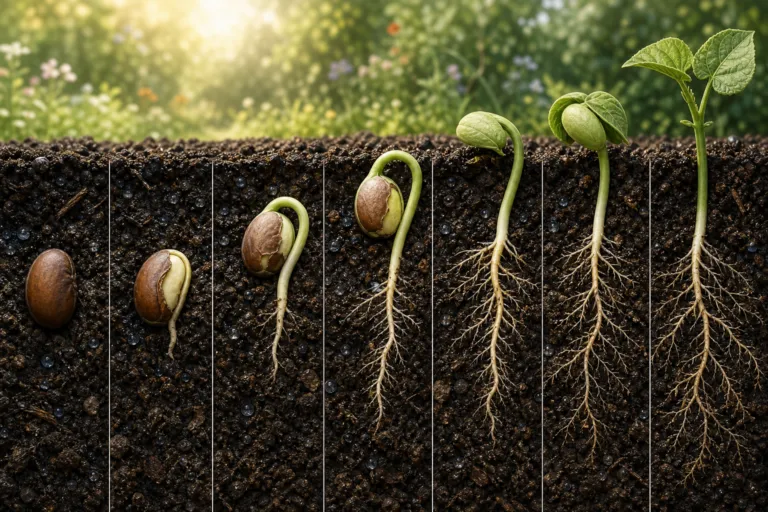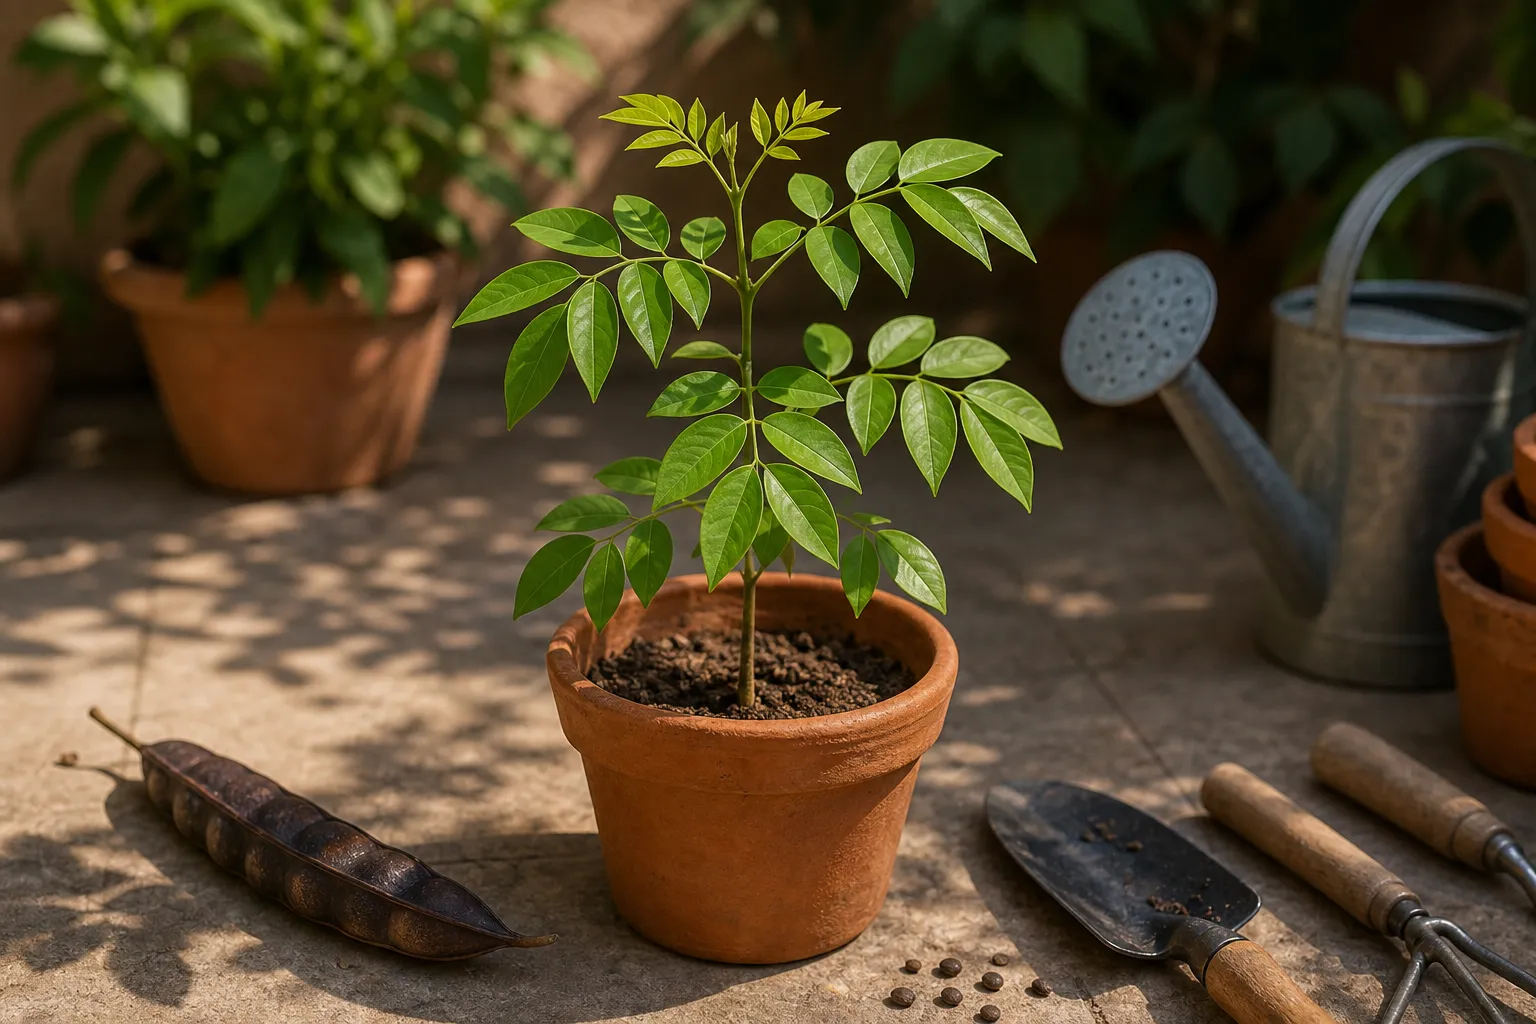
Cassia fistula, commonly called golden shower tree, earns its name honestly: mature trees can carry long, pendulous clusters of bright yellow flowers that transform the canopy into a living curtain of gold. Raising one from seed takes patience, warmth, and good drainage, but the early stages are wonderfully manageable for a home gardener.
In the United States, this is primarily a warm-climate tree. It is best suited to frost-free areas, especially USDA Zones 10 and warmer, while gardeners elsewhere will usually need to grow it in a container and protect it from freezing weather. The seedling may look modest during its first year, but careful watering and strong light can set the foundation for a handsome specimen.
What to expect from a golden shower tree
Golden shower tree is a tropical to warm-subtropical member of the bean family. In favorable conditions, it can eventually become a substantial landscape tree, commonly reaching about 30 to 40 feet tall and wide. Young plants often grow upright and somewhat unevenly, so early staking and selective pruning can help create a balanced framework.
The tree prefers full sun and well-drained soil. It can tolerate a range of soil textures, including sandy, loamy, and clay soils, provided excess water drains away. Established trees have some drought tolerance, but a newly planted seedling should never be left to swing repeatedly from bone-dry soil to heavy saturation.
Seedling, nursery tree, or named selection?
Most home gardeners will encounter golden shower tree in one of three forms:
- Seed-grown seedlings: The most economical choice and the usual way to produce several plants. Seedlings may vary slightly in vigor, branching, and eventual flowering performance.
- Container-grown nursery trees: More expensive, but they give you a larger starting plant and may be easier to shape into a landscape tree.
- Selected or hybrid forms: Some related cassias and hybrids are sold under different common names. Do not assume that a plant labeled “cassia” is Cassia fistula; check the botanical name before buying.
For a first experiment, fresh, correctly identified seed is a sensible choice. If your goal is a predictable flower color, mature size, or habit, ask the nursery for the exact species and any available cultivar information rather than relying on a common name.
How to prepare golden shower tree seeds
The seeds develop inside long, dark brown, cylindrical pods. Mature seeds often have a very hard outer coat, which can slow water absorption and produce uneven germination. A simple pre-sowing treatment improves the odds that several seeds will start within a reasonable window.
Choose and inspect the seed
Use plump, undamaged seed from a mature, fully dried pod or purchase seed from a reputable supplier. Discard seeds with obvious mold, insect holes, cracks, or a soft texture. If you collect pods yourself, label them with the collection date and botanical name.
Use a gentle treatment first
For home propagation, begin with the least hazardous method:
- Soak the seeds in room-temperature water for 12 to 24 hours.
- Alternatively, lightly nick or sand one small area of the seed coat without cutting into the seed inside.
- Do not combine aggressive treatments or use concentrated acids at home. Those methods belong in controlled professional propagation settings.
After soaking, sow immediately. A seed that has absorbed water should not be left sitting in a sealed container, where it can begin to deteriorate.
Sowing Cassia fistula seeds step by step
Start seeds indoors in late winter or spring if you live outside a frost-free climate. In warm regions, you can sow outdoors once nights remain reliably mild. The aim is to give the seedling a long period of warmth and bright light before cool weather arrives.
Use a fast-draining seed mix
Choose a clean commercial seed-starting mix or a similarly light medium that holds moisture without staying muddy. Avoid using heavy garden soil in a small pot; it can compact around the seed and reduce air movement around the roots.
Use a small container with drainage holes. Sow the seed about one-half to three-quarters of an inch deep, then cover it lightly with mix. Water slowly until the medium is evenly moist and excess water drains from the bottom.
Provide warmth and bright light
Place the container in a warm location with bright light. A temperature around 75 to 85°F is a practical target for warm-season germination. Keep the medium consistently moist, but not saturated. A clear humidity dome can reduce drying, but remove it as soon as seedlings emerge so the foliage receives good air circulation.
Germination may be uneven. Some seeds can sprout within a few weeks, while others take longer, particularly if the seed coat was not adequately softened. Continue providing suitable warmth and moisture before deciding that a seed has failed.
My simple seed-starting trial
A useful home experiment is to compare three small groups rather than treating every seed identically. This gives you practical information about your seed lot without requiring specialized equipment.
- Group A: Seeds soaked in room-temperature water for 24 hours.
- Group B: Seeds lightly nicked or sanded, then soaked for several hours.
- Group C: Untreated seeds as a comparison group.
Sow five to ten seeds from each group in identical containers. Label each group, record the sowing date, and check every day for emergence. Keep a simple table showing how many seeds have sprouted after 14, 21, and 28 days.
Do not treat the results as a guaranteed germination percentage. Seed age, storage, temperature, moisture, and genetic variation all affect the outcome. The value of the trial is that it helps you discover which gentle preparation works best with the seed you actually have.
Early seedling care: light, water, and airflow
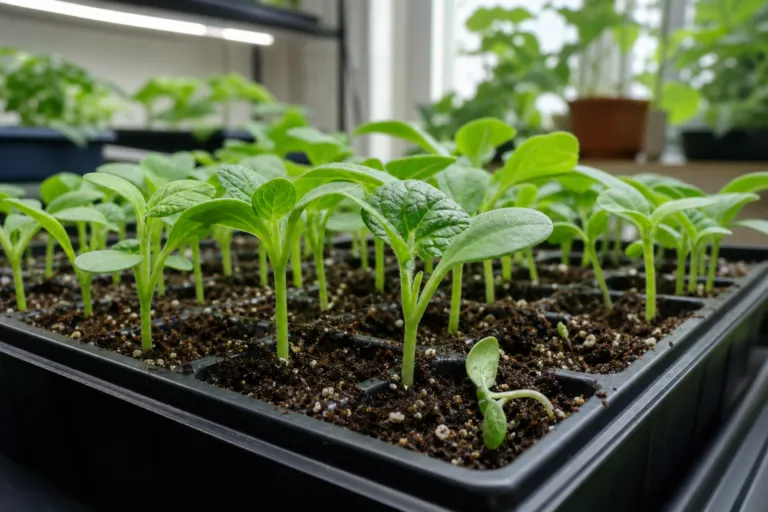
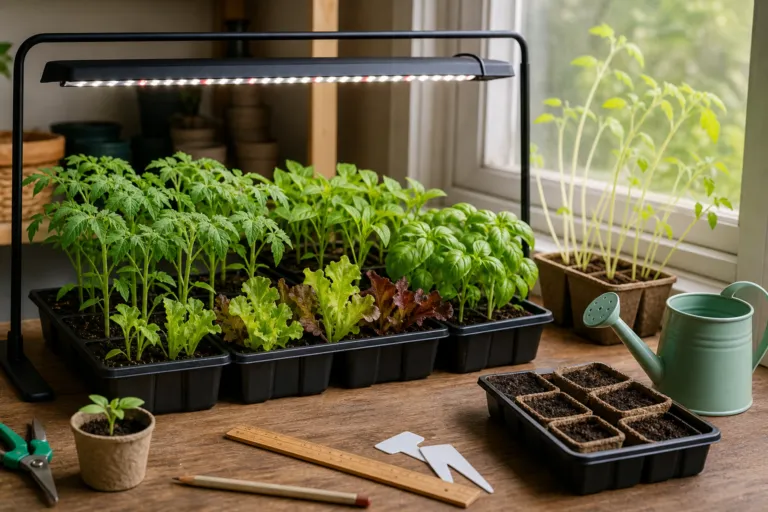
Once the first leaves unfold, move the seedling into the brightest light available. A sunny south- or west-facing window may work temporarily, although a grow light is often more reliable indoors. Keep the light close enough to prevent a thin, stretched stem, while following the fixture manufacturer’s distance recommendations.
Turn the pot a quarter turn every few days if light comes from one direction. This encourages straighter growth. If the seedling becomes tall and floppy, it usually needs more light rather than more fertilizer.
Measure watering instead of guessing
There is no single correct watering schedule because pot size, temperature, humidity, and soil mix change the drying rate. Instead, use a repeatable measurement method:
- Check the top inch of the mix with your finger every day or two.
- When that layer feels dry and the pot feels noticeably lighter, water slowly.
- For a 4-inch pot, begin with about 6 to 8 fluid ounces of water, then add enough to produce a small amount of drainage.
- Empty any saucer within 10 minutes so the pot does not stand in water.
In a warm indoor growing area, this may mean watering every three to five days. In a cool room or a larger pot, the interval may be seven days or more. Use the moisture of the mix and the weight of the container as your guide, not the calendar.
During the first two weeks after transplanting, a young seedling may need closer observation. If the leaves droop while the soil is damp, suspect poor drainage, root disturbance, or excessive heat before adding more water.
When and how to pot up
Move the seedling when it has several healthy leaves and roots begin reaching the sides or bottom of the starter container. Choose a pot only one or two sizes larger. A very large pot holds extra moisture around a small root system and makes overwatering easier.
Handle the seedling by the leaves or root-ball edges rather than the fragile stem. Set it at the same depth it was growing before, firm the mix gently, and water thoroughly. Keep it in bright, indirect light for a few days if the roots were disturbed, then gradually return it to stronger sun.
Encourage a strong central stem
Seedlings sometimes lean or produce a thin, wandering stem. Place a slender stake beside the plant and attach the stem loosely with soft ties. Leave room for the trunk to thicken, and remove the support once the plant stands upright on its own.
Do not heavily prune a young seedling. Wait until it has established a vigorous root system. Later, remove crossing, damaged, or badly placed shoots so the tree develops a clear central structure and well-spaced branches.
Moving the tree outdoors
In frost-free parts of the United States, gradually acclimate a container-grown seedling to outdoor conditions. Start with a few hours of bright shade, then increase exposure over 7 to 14 days. This hardening-off period reduces the risk of leaf scorch and transplant shock.
Choose a site with:
- Full sun, ideally at least six hours of direct light.
- Excellent drainage and no standing water after rain.
- Protection from strong winds, especially while the trunk is young.
- Enough room for a large mature canopy and long seedpods.
Plant at the same depth as the container. Water deeply after planting, then apply a 2- to 3-inch layer of organic mulch over the root zone. Keep mulch several inches away from the trunk to reduce excess moisture against the bark.
Winter care in U.S. gardens
Cold is the main limitation for golden shower tree. Young plants are particularly vulnerable to freezing temperatures, and even established trees may suffer damage when temperatures drop below freezing. Gardeners in colder regions should plan to grow the tree in a container rather than gamble on its survival outdoors.
Before the first forecast freeze:
- Move a container-grown tree into a bright, frost-free location.
- Inspect the plant for pests before bringing it indoors.
- Reduce watering as growth slows, but do not allow the root ball to become completely dry.
- Return the plant outdoors gradually in spring after freezing weather has passed.
Indoor winter growth may be slower and less attractive than summer growth. That is normal. Prioritize bright light, modest watering, and protection from cold drafts rather than trying to force rapid growth with frequent feeding.
Feeding, pests, and common problems
A seedling growing in fresh potting mix usually needs little or no fertilizer for the first several weeks. Once it is actively growing, use a balanced, water-soluble fertilizer at the label rate. Avoid applying extra fertilizer to compensate for weak light or poor drainage; it will not correct either problem.
Watch for common indoor and nursery issues such as aphids, scale insects, caterpillars, leaf spots, and root problems caused by persistently wet soil. Inspect the undersides of leaves weekly. If you find pests, isolate the plant and identify the problem before choosing a treatment. Follow every product label carefully, especially on a young plant.
Golden shower tree seeds should not be eaten. Store seed pods and loose seed away from children and pets, and wear gloves if the pod pulp irritates your skin. Avoid experimenting with the plant as food or medicine.
Patience pays off
Growing Cassia fistula from seed is a long-term gardening project, not a quick annual display. Your best results will come from three simple habits: provide warmth during germination, give the seedling strong light, and water thoroughly only when the mix has begun to dry.
Keep notes on sowing dates, watering amounts, pot sizes, and outdoor temperatures. Those details turn each season into a better experiment. With steady care and a frost-free home—or a dependable container routine—you can nurture a small seedling into one of the most spectacular flowering trees suited to warm American gardens.