The best time to deal with houseplant pests is before they become a problem. That may sound impossible – how can you control insects you cannot see? The answer is to build a few quiet habits into your plant routine: choose healthy plants, inspect every new arrival, keep newcomers separate, water with purpose, and make your home less welcoming to pests.
You do not need a greenhouse, a cabinet full of products, or a perfect memory. A simple weekly check can catch trouble while it is limited to one leaf, one pot, or one newly purchased plant. Prevention also helps your plants stay vigorous, which makes them better able to recover from occasional pests.
Start at the store: choose the healthiest plant
Many houseplant pest problems enter a home on a recently purchased or gifted plant. Before you put a plant in your cart, slow down and inspect it from several angles. A beautiful display does not guarantee that every plant is pest-free.
Use a two-minute shopping inspection
- Look closely at the newest leaves, where aphids and thrips often gather.
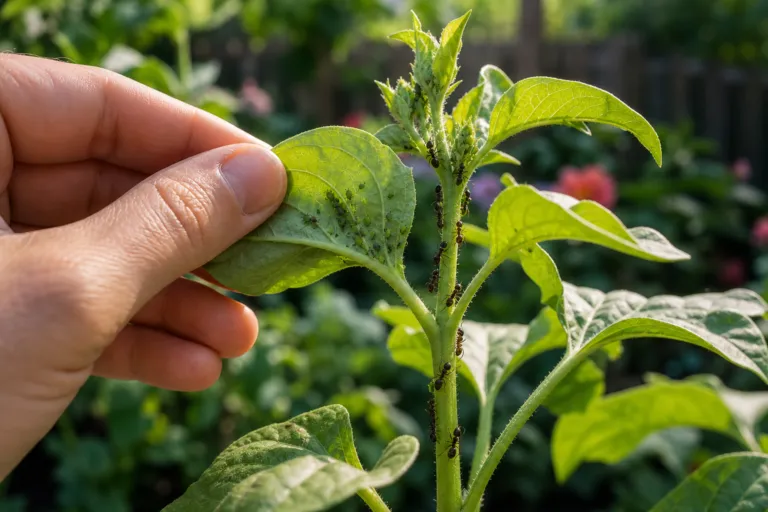
- Turn over several leaves and check the undersides for speckling, webbing, eggs, or tiny moving insects.
- Examine leaf joints, stems, growing tips, and the spaces around flower buds.
- Look for cottony white material, hard bumps, sticky residue, or black sooty-looking deposits.
- Check the pot rim, drainage holes, saucer, and soil surface for insects or excessive moisture.
- Pass on plants with widespread leaf spots, distorted new growth, wilted stems, or a strong sign of active infestation.
Healthy-looking does not mean “invincible,” but it is a useful starting point. Choose a plant whose light, temperature, and humidity needs match the spot you can provide. A plant struggling in a dark corner or sitting in constantly wet soil is more likely to develop problems than one growing steadily in suitable conditions.
Quarantine every newcomer – even the gift plant
Quarantine is one of the most effective prevention habits, yet it is also the one gardeners skip most often. Keep a new plant in a separate room or area where its leaves do not touch established plants. A bright bathroom, spare room, enclosed porch, or easy-to-clean office may work well.
A practical quarantine period is about two to three weeks. During that time, inspect the plant several times rather than assuming one clean look is enough. Some pests are tiny, hidden in leaf joints, or present in an immature stage that is easy to miss.
Your quarantine checklist
- Place the plant away from your main collection and avoid sharing watering cans, pruning tools, or plant stands.
- Inspect the upper and lower leaf surfaces every few days.
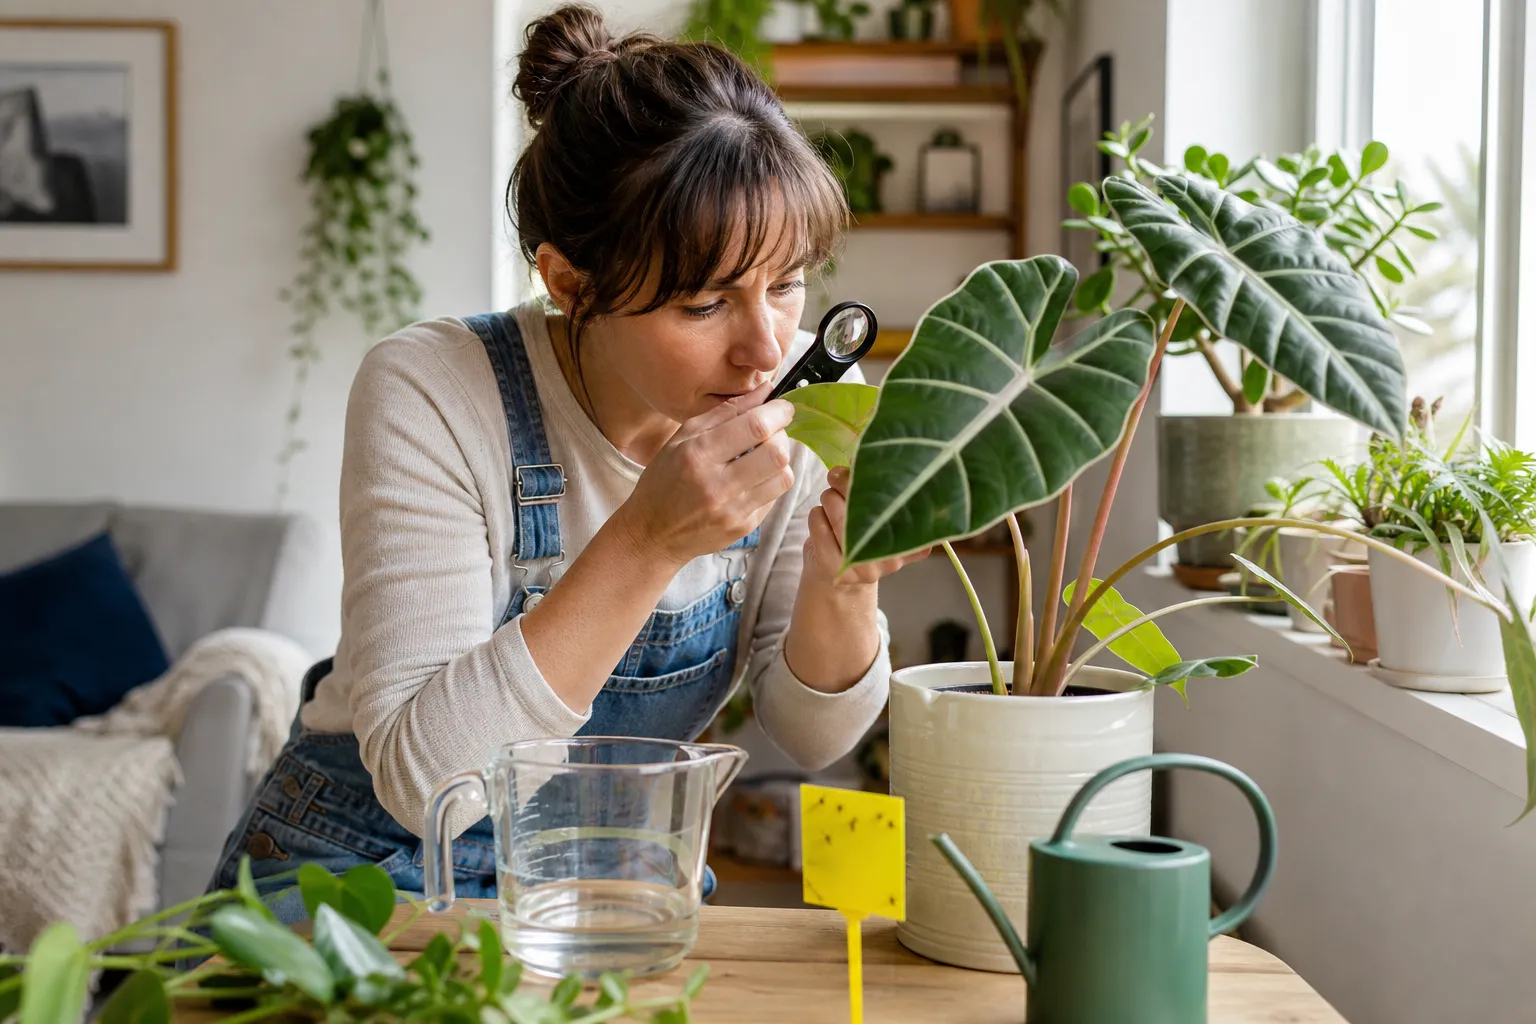
- Use a 10-power hand lens if possible; mites, eggs, and young insects can be difficult to spot unaided.
- Put a yellow sticky card near the pot to help detect flying pests such as fungus gnats, whiteflies, and winged aphids.
- Check the soil surface, pot rim, drainage holes, and saucer.
- Wash your hands after handling the plant, especially if you notice anything suspicious.
If you bring a plant indoors after it has spent the summer outside, treat it like a new arrival. Outdoor plants can pick up aphids, scale, mealybugs, mites, and other hitchhikers even when they looked healthy on the patio.
Build a weekly “plant health round”
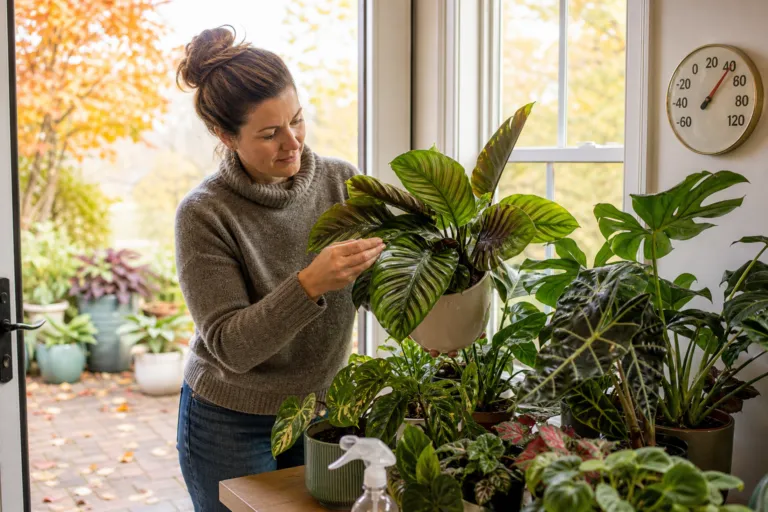
You do not need to examine every leaf with a magnifying glass every day. Instead, attach a short inspection to a routine you already have, such as watering, rotating pots, or dusting shelves.
Once a week, walk around your collection and look for changes. Pay special attention to new growth, leaf undersides, stems, and the area beneath each pot. Sticky honeydew on leaves or furniture can be an early clue that sap-sucking pests are present, even when you do not see the insects yet.
Look for clues, not just bugs
- Fine pale speckles or faint webbing: possible spider mite activity.
- Sticky leaves or a shiny film: possible aphids, scale, or mealybugs.
- White cottony patches: possible mealybugs.
- Small flies rising from the soil: possible fungus gnats.
- Curled, distorted, or unusually pale new leaves: stress or sap-feeding pests.
- Sudden leaf drop or declining vigor: investigate watering, light, roots, and pests together.
Do not assume every yellow leaf means insects. Overwatering, low light, temperature stress, compacted soil, and fertilizer buildup can create similar symptoms. Accurate identification prevents you from choosing a treatment that does nothing – or damages the plant.
Water precisely instead of watering by calendar
Watering is one of your strongest pest-prevention tools. Constantly wet soil encourages fungus gnat problems, while severe dryness can stress plants and create conditions that favor spider mites. The goal is not to keep every pot equally moist. The goal is to match watering to the plant, pot, soil, season, and growing conditions.
Try a simple watering experiment with three plants that have similar pot sizes but different varieties. For example, compare a pothos, a heartleaf philodendron, and a peace lily. Water each thoroughly until a small amount drains from the bottom, then record the date, the approximate amount used, and the soil condition before watering.
A practical measurement method
Use a measuring cup or kitchen scale for several watering cycles. As a starting observation – not a universal rule – you might find that a 6-inch pot needs roughly 12 to 20 fluid ounces of water, while a 4-inch pot may need around 6 to 10 fluid ounces. The correct amount depends on the potting mix and root system, so treat these figures as data for your home, not a fixed prescription.
Record three details:
- Soil check: dry at the top 1 inch, dry several inches down, or still damp?
- Water used: how many fluid ounces did the pot receive?
- Drying time: how many days passed before the plant needed water again?
After two or three weeks, you may see clear differences among varieties. A peace lily may wilt sooner and use water faster than a pothos in the same room, while a plant in a dense mix may remain wet much longer. This small experiment helps you stop watering by habit and start watering by evidence.
Always empty standing water from saucers after the pot has drained. Water at the soil line rather than repeatedly wetting the foliage, and make sure every container has a drainage hole. Do not force a plant to stay dry longer than its care needs allow; the aim is a sensible dry-down between waterings, not drought stress.
Keep leaves, tools, pots, and shelves clean
Dust can collect on leaves and make early pest signs harder to notice. It can also reduce the plant’s ability to use available light efficiently. Every few weeks, wipe broad, sturdy leaves with a clean, damp cloth or rinse them gently with lukewarm water when the plant can dry quickly afterward.
Use extra care with fuzzy-leaved plants such as African violets. Their leaves can be damaged by rough wiping or lingering moisture. For these plants, use a soft brush or a gentle stream of water only when appropriate for the species.
Good sanitation habits
- Remove fallen leaves and dead plant material from the soil surface.
- Clean pruning scissors between plants, especially when removing damaged tissue.
- Wash reused pots and saucers before planting.
- Do not leave spilled potting mix or stagnant water on shelves.
- Keep new potting mix closed and dry between uses.
- Wash hands after handling a plant with suspected pests.
Cleanliness will not prevent every infestation, but it reduces hiding places, improves visibility, and helps you notice changes early.
Use sticky cards as monitors, not magic erasers
Yellow sticky cards are useful for detecting flying insects near plants. They can reveal fungus gnats, whiteflies, and winged aphids before the population becomes obvious. Place cards close to the soil surface for fungus gnats and slightly above the foliage for flying insects.
Check the cards weekly and note what you find. A few captured insects do not automatically prove that the plant is in danger, and sticky cards will not remove pests living in the soil or on leaves. Think of them as an early-warning system. If numbers rise, inspect the plant and review watering and sanitation.
Match plant varieties to your actual home
Prevention starts with realistic plant choices. A plant that needs bright light will not thrive indefinitely on a dim bookshelf, and a moisture-loving plant may struggle if you forget to water for weeks. Stress does not always cause pests, but it can make pest damage more difficult for a plant to tolerate.
When comparing varieties, ask:
- Can this plant handle the light available in my room?
- Will its preferred soil dry at a reasonable rate in this pot?
- Can I maintain its temperature and humidity needs without constant fuss?
- Will its mature size allow good airflow around the leaves?
For beginners, resilient plants such as pothos, snake plant, cast-iron plant, and many dracaena varieties may be easier to manage than plants with very specific moisture or humidity requirements. That does not mean they are pest-proof. It means their care routine may be more forgiving while you learn how your home behaves through the seasons.
Make seasonal transitions carefully
Houseplants often encounter their greatest pest risk during moves: from a garden center to your home, from indoors to a summer porch, or from outdoors back inside in fall.
Before bringing plants indoors, inspect them in daylight. Check stems, leaf undersides, pot rims, and soil. Remove dead foliage, rinse suitable plants with water, and keep returning plants separate for several weeks. Pay particular attention to fungus gnats if the soil has stayed damp outdoors.
In homes with screened windows and doors, screens can also help reduce the chance of flying insects entering from outside. Good airflow and appropriate light are useful, but avoid placing plants where hot, dry air from a vent will stress the foliage.
What to do when you find the first sign
Do not panic and do not immediately spray the entire collection. Move the suspect plant away from others, take a clear photo, and inspect it carefully. Remove a single badly affected leaf if appropriate, or rinse loose pests from sturdy foliage with a firm but gentle stream of water.
Then identify the pest before choosing a product. If you use insecticidal soap, horticultural oil, or another pesticide, select a product labeled for indoor use, the plant, and the pest. Follow every label direction, test products on a small area when the label permits, and avoid treating drought-stressed or heat-stressed plants. Never assume that a product intended for outdoor ornamentals is suitable for indoor use.
For a heavily infested or repeatedly declining plant, discarding it may protect the rest of your collection and save considerable time. Starting fresh is not failure; it is sometimes the most practical part of prevention.
Your low-effort prevention routine
- Before buying: inspect leaves, stems, soil, pot, and saucer.
- After bringing it home: quarantine the plant for two to three weeks.
- Every week: check leaf undersides, new growth, soil, and sticky cards.
- At watering time: assess soil moisture instead of following the calendar.
- Every few weeks: remove debris, clean leaves when suitable, and wipe shelves.
- Before moving plants indoors: inspect, clean, and isolate returning plants.
- At the first warning sign: isolate, identify, and choose the least disruptive effective response.
You may never achieve a completely insect-free indoor garden – and you do not need to. The real goal is to stop small problems from becoming collection-wide emergencies. With careful buying, a short quarantine, measured watering, clean surroundings, and regular observation, you can make pests far less likely to surprise you.