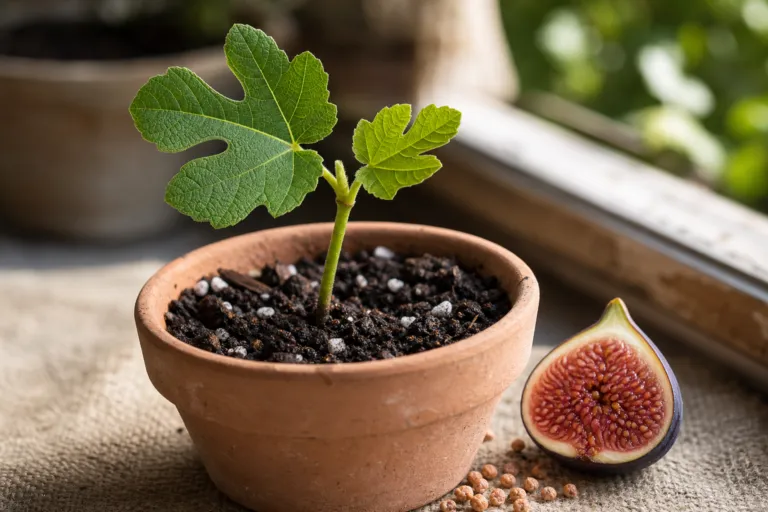
There is a tiny moment in every seed-starting season that deserves more attention than it usually gets: the appearance of the first true leaf. Until then, your seedling is living largely on the energy packed inside the seed. Once that recognizable little leaf unfolds, the plant begins to look and behave more like the mature crop it hopes to become.
That change is useful to you, too. The first true leaf helps you identify the plant, judge its health, decide when to thin or transplant, and adjust watering and feeding. Learn to read this stage, and a tray of mysterious green sprouts becomes much easier to manage.
First, find the difference between cotyledons and true leaves
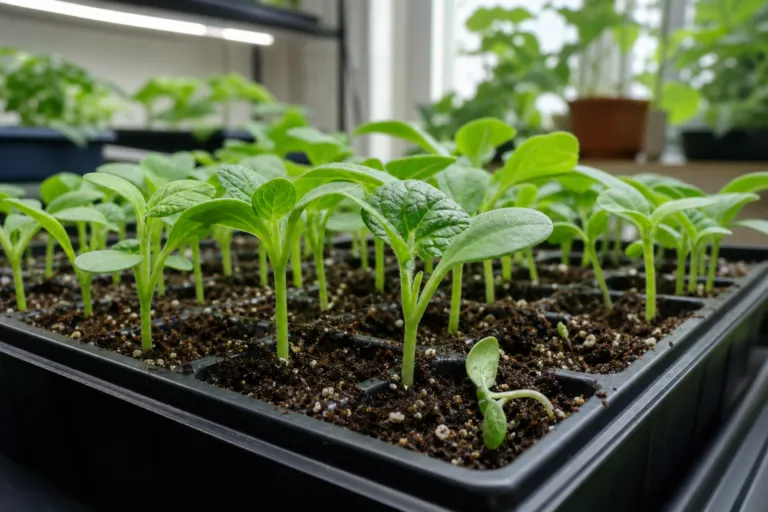
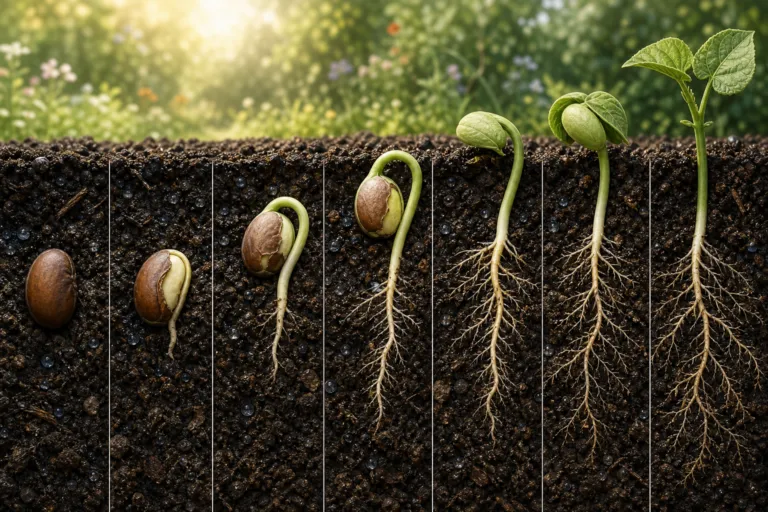
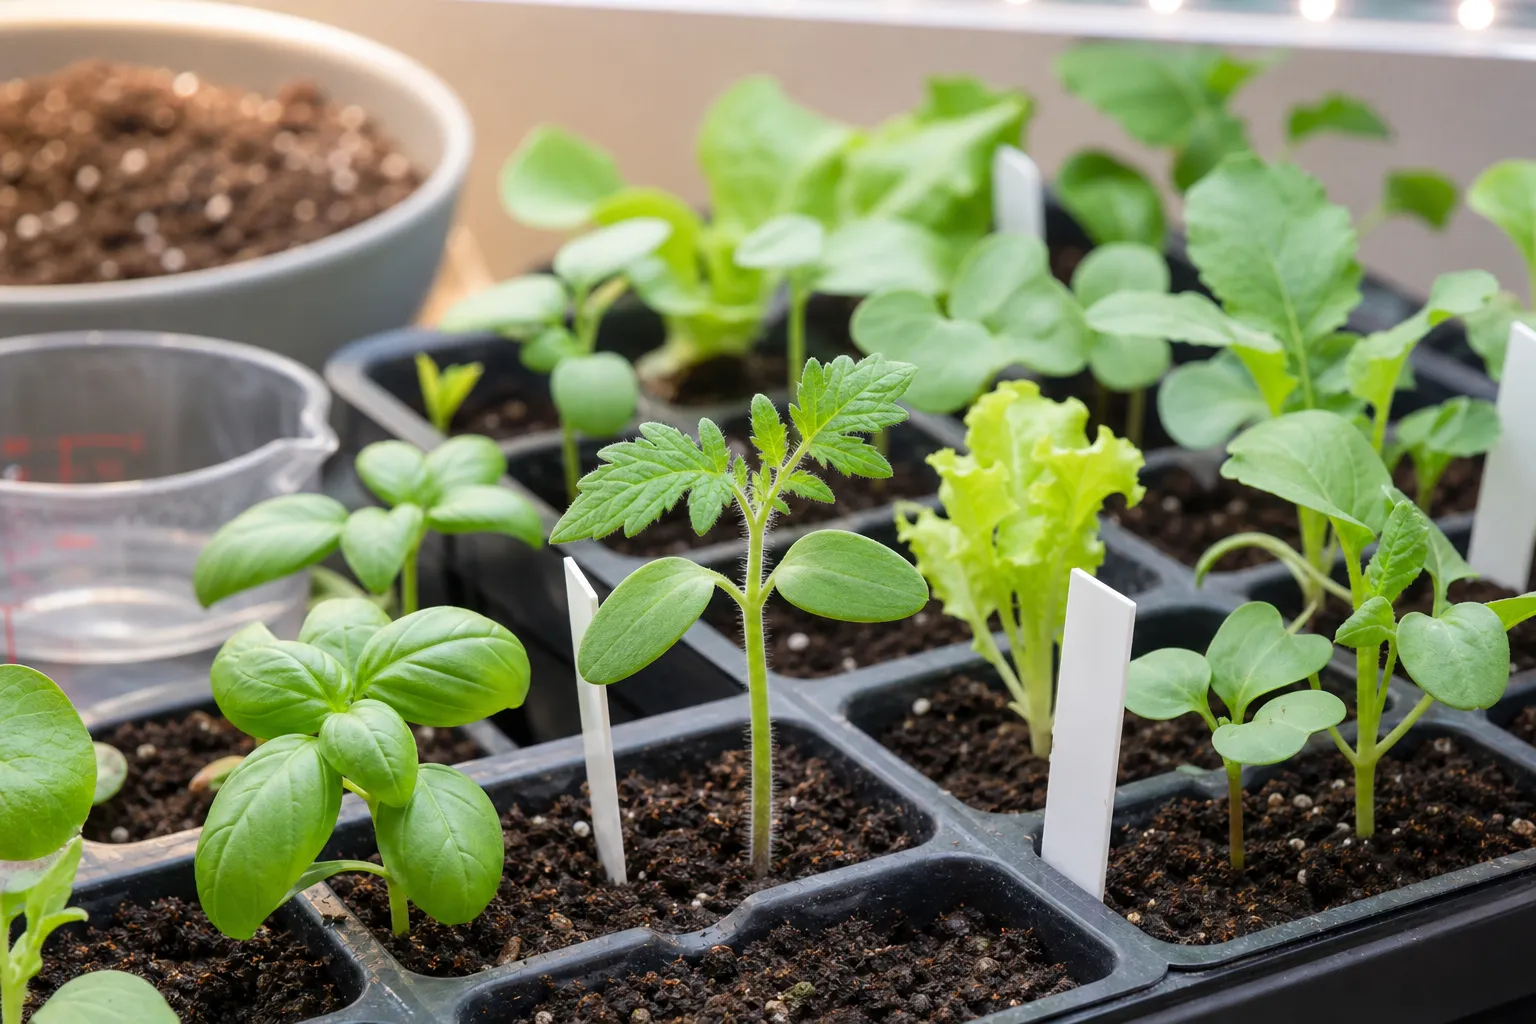
The first leaflike structures that emerge are called cotyledons. They are sometimes called seed leaves because they help nourish the young plant as it gets established. Their shape often differs from the leaves you will see later.
True leaves appear after the cotyledons. They usually resemble the foliage of the mature plant, although they may start smaller, paler, or less detailed. A tomato’s true leaves soon show the familiar divided shape, while a cucumber’s first true leaf is broader and more textured than its smooth, rounded cotyledons.
- Cotyledons: the first leaflike structures, often smooth, rounded, narrow, or simple in shape.
- True leaves: the next leaves, generally shaped more like the plant’s adult foliage.
- Growing point: the small center between the newest leaves, where further growth begins.
Do not worry if the cotyledons eventually yellow or drop. That can be a normal part of development. Focus instead on whether the newest true leaves are expanding, holding their color, and emerging from a firm, upright stem.
Why the first true leaf is a practical milestone
The first true leaf does not magically transform a seedling overnight, but it signals that the plant has moved beyond its most dependent stage. Its root system is developing, its growing point is active, and it is beginning to manufacture more of its own food through photosynthesis.
For gardeners, this milestone provides a helpful decision point:
- Thin crowded seedlings without disturbing the keeper’s roots.
- Begin considering a gentle feeding plan if the growing mix contains little or no fertilizer.
- Move seedlings into larger containers when roots and foliage need more room.
- Compare varieties by growth habit, leaf shape, color, and vigor.
- Start preparing sturdy plants for outdoor conditions.
Timing still depends on the crop. Some seedlings tolerate handling early, while others dislike root disturbance. Use the seed packet as your starting point, then let the plant’s condition – not the calendar alone – guide you.
What healthy seedlings should look like
A healthy young seedling is usually compact, upright, and evenly colored. The stem should look sturdy for its size, and the newest leaves should be free of widespread distortion, spotting, or collapse.
Do not expect every seedling to look identical. Natural differences occur between varieties, and some crops produce naturally slender or delicate seedlings. The most useful comparison is between plants of the same crop grown under the same conditions.
Signs that deserve a closer look
- Long, thin stems: usually a sign that the plant is stretching toward insufficient or distant light.
- Yellowing older leaves: may reflect normal cotyledon aging, excessive moisture, poor roots, or inadequate nutrition.
- Wilting in wet mix: can indicate root stress rather than a need for more water.
- A pinched stem at the soil line: a warning sign associated with damping-off disease.
- Collapsed seedlings: are often difficult to save, so prevention matters more than rescue.
Damping-off problems are encouraged by cool, wet conditions, poor drainage, contaminated containers, and overcrowding. Use clean containers, fresh seed-starting mix, and pots with drainage holes. Keep the mix moist, but avoid leaving seedlings in standing water.
Light: the fastest way to improve a leggy tray
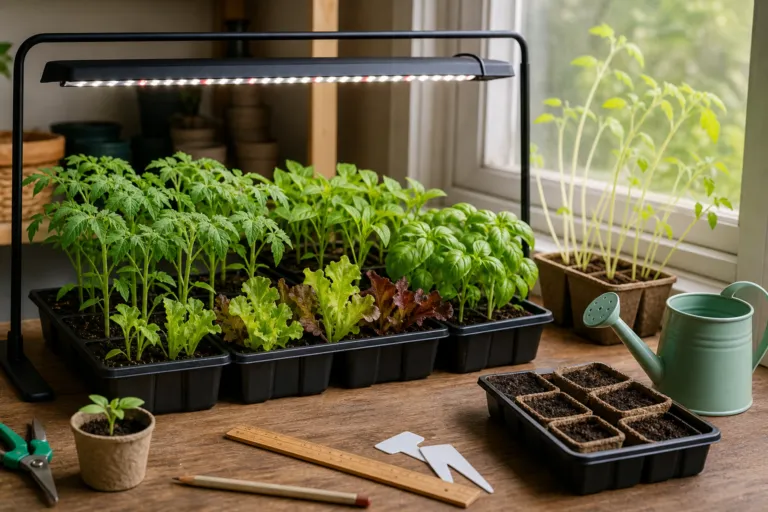
Once seedlings emerge, light becomes urgent. A bright window can work for some plants, but indoor light levels change with weather, glass, window direction, and the season. Seedlings that lean sharply or stretch several inches above the soil are telling you they need more consistent light.
For indoor growing, consider a grow light that you can position close to the foliage without heating it. Many extension gardening programs recommend roughly 12 to 16 hours of light per day for seedlings, followed by a period of darkness. A simple outlet timer makes this routine easier.
- Place the light close enough to prevent stretching, following the fixture manufacturer’s guidance.
- Raise the fixture as the seedlings grow so the leaves do not touch it.
- Rotate plants under a window so one side does not lean permanently.
- Keep seedlings away from cold drafts and hot radiators.
- Use a small fan on a gentle setting if air circulation is poor.
More light is not always better. Leaves that bleach, curl, or become unusually hot may be receiving excessive intensity or heat. Adjust gradually and watch the newest growth.
Water by measurement, not by habit
“Water when the soil is dry” can be too vague for a tiny seedling. Small containers hold limited moisture, but young roots also use less water than mature plants. The goal is an evenly moist growing mix with air spaces – not a constantly saturated one.
Try this simple home experiment with two identical trays or groups of seedlings:
- Water one group from the top with a small measuring cup. Water the other from below by placing the container in a shallow tray.
- Record how much water you apply. Start with 1 tablespoon per small cell, then adjust according to container size and drainage.
- After 10 minutes, empty any water remaining in the catch tray.
- Check the mix at the top and near the bottom with a finger or wooden label.
- Repeat the measurement only when the mix has begun to dry slightly, rather than automatically watering every day.
For a 12-cell tray, 1 tablespoon per cell equals 12 tablespoons, or ¾ cup. That is not a universal prescription; it is a starting measurement that helps you see how quickly your particular mix and containers dry. A warm, sunny shelf may require more frequent watering than a cool basement shelf.
Bottom-watering can encourage the mix to absorb moisture gently and may reduce disturbance to delicate stems. Top-water carefully with a narrow-spout can, syringe, or gentle spray when the surface needs attention. Whichever method you use, allow excess water to drain fully.
A variety comparison worth trying
If you grow more than one variety of the same crop, the true-leaf stage is an excellent time to compare them. Plant the varieties in matching containers and place them under the same light. Label everything clearly – “tomato” is not enough if you are growing three different cultivars.
At the first true leaf, record:
- Days from emergence to the first true leaf
- Height from the growing mix to the newest leaf
- Number of true leaves
- Leaf color and shape
- Stem thickness and whether the plant leans
- How quickly the mix dries in each container
You may notice that one tomato variety develops broad leaves quickly while another remains compact. A pepper may grow more slowly than a lettuce, yet still be perfectly healthy for its crop. Comparing like with like helps you avoid discarding a naturally slower variety – or rewarding a fast but weak, stretched seedling.
When to thin seedlings
If several seeds sprout in one cell, wait until you can identify the strongest seedling by its true leaves and overall form. Then remove the extras so the remaining plant does not compete for light, water, nutrients, and root space.
For closely spaced seedlings, snip unwanted plants at the soil surface with clean scissors. Pulling can disturb the roots of the seedling you want to keep. If you sowed in a shared container and need to separate plants, handle them by a leaf rather than the stem; a damaged leaf can be replaced more easily than a crushed stem.
Do not feel that every extra seedling must be saved. One strong plant usually has a better chance than several crowded, weak plants.
Feeding: wait for evidence that the plant is ready
The seed supplies nutrients for germination and the earliest stages of growth. Many commercial seed-starting mixes also contain a small amount of fertilizer, so adding feed immediately can be unnecessary or excessive.
After several true leaves develop, you can consider a diluted, water-soluble fertilizer if the mix contains no nutrients and the seedlings are actively growing. Follow the product label, and err on the weak side for young plants. Pale leaves alone do not prove that fertilizer is needed; poor light, wet roots, cold conditions, or damaged roots can create similar symptoms.
Transplanting without a setback
The first true leaf is a signal to start planning, not an automatic command to transplant. Many seedlings are ready to move when they have one or two sets of true leaves and the root ball holds together when lifted. Check the crop’s instructions, because plants such as tomatoes often tolerate transplanting well, while some root crops prefer direct sowing.
A gentle transplanting routine
- Water the seedlings a few hours before moving them.
- Prepare a clean container with fresh, lightly moistened potting mix.
- Make a hole large enough for the roots to fit without bending sharply.
- Lift the seedling by a leaf, not by the stem.
- Set it at the appropriate depth for that crop and firm the mix lightly.
- Water gently, then return it to bright but not harsh conditions while it recovers.
Tomatoes are an exception to the usual “same depth” approach: they can often be planted deeper because they may form roots along buried portions of the stem. Check crop-specific guidance before using that technique on other plants.
Hardening off: the final lesson for young leaves
Indoor-grown leaves are not automatically prepared for full outdoor sun, wind, and temperature swings. Hardening off gradually acclimates seedlings to life outside.
Begin on a mild day with a couple of hours in a sheltered, shaded location. Over the next 7 to 10 days, increase outdoor time and introduce brighter light gradually. Bring plants in if frost, strong wind, heavy rain, or unusually cold temperatures are expected.
Do not judge readiness by size alone. A small, compact plant with firm growth may transplant better than a tall, lush plant that has never experienced moving air or direct sun.
Read the leaf, then trust your observations
The first true leaf is a quiet but valuable message: your seedling is entering a new stage, and your care should evolve with it. Improve the light, measure your watering, thin with care, feed cautiously, and transplant when the plant and its roots are ready.
Keep a few notes this season. Record sowing dates, emergence, first true leaves, watering amounts, and variety differences. You will soon build a personal guide that is more useful than guesswork – and every tray of seedlings will become a little easier to understand.
Young plants are remarkably forgiving when you give them the basics: clean growing conditions, steady light, careful moisture, and room to grow. Once you know what that first real leaf is telling you, you are already well on your way to raising stronger garden plants.