When a houseplant’s pot is still a comfortable size but the growing mix looks tired, compacted, or crusted with fertilizer salts, you do not always need to wrestle the entire root ball onto the kitchen table. In many cases, you can refresh the upper portion of the mix, improve watering, and give the plant a cleaner start without completely repotting it.
This gentle approach works best for plants that are generally healthy and not severely root-bound. It is especially useful for mature plants that already fill their containers nicely, large floor plants that are difficult to handle, and specimens that dislike frequent root disturbance. The key is knowing when a surface refresh is enough—and when the plant is asking for a more thorough intervention.
First, decide whether the plant really needs repotting
Old-looking soil is not automatically a problem. Potting mix naturally settles over time, and some plants grow happily in the same container for years. Before replacing anything, inspect the plant, the pot, and the way water moves through the mix.
A top-layer refresh is usually reasonable when:
- The plant is growing steadily and producing normally sized leaves.
- The container is still an appropriate size for the plant.
- Water soaks into the mix rather than running straight down the sides.
- The roots are not densely circling the inside of the pot.
- The plant does not wilt unusually soon after watering.
- The old mix has a thin crust or has simply settled several inches below the rim.
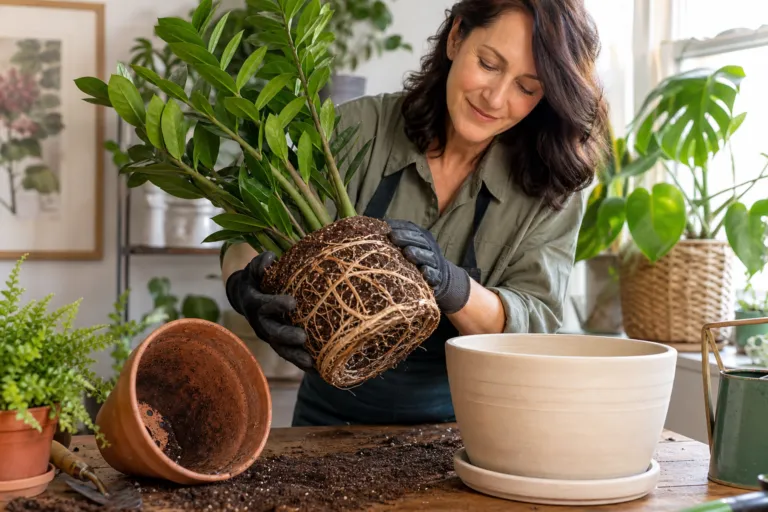
A full repot is more appropriate when roots are emerging from the drainage holes, appearing across the soil surface, or forming a tight mat around the root ball. Other warning signs include soil that dries out extremely quickly, water that refuses to penetrate, repeatedly poor growth, or a plant that wilts between otherwise normal waterings.
Timing matters, too. For most houseplants in the United States, spring and early summer are the easiest seasons for major root work because plants are entering active growth. A surface refresh is less disruptive and can be done at other times, but avoid making large changes when a plant is already stressed by very low light, cold temperatures, heat, pests, or disease.
What “replacing the old soil” really means
You are not trying to excavate every particle of old mix from the pot. That would disturb too many roots and turn a simple maintenance job into a full transplant. Instead, remove the loose upper layer and replace it with fresh, appropriately textured potting mix.
For a small or medium houseplant, removing the top 1 to 2 inches is often a useful starting point. On a large container, you may be able to remove up to 2 or 3 inches, but do not dig deeply enough to expose a large number of roots. If you encounter thick surface roots, work around them rather than pulling them up.
The goal is to remove tired, compacted material while preserving the root system below. Think of it as changing the plant’s “blanket,” not taking apart its entire home.
Choose the right fresh mix
Use a commercial potting mix made for containers, not soil dug from the backyard. Garden soil is usually too dense for indoor pots and can restrict air movement, drain poorly, or introduce unwanted organisms. A good houseplant mix should hold some moisture while still allowing excess water and air to move through the root zone.
For many foliage plants, an all-purpose indoor potting mix is suitable. You can improve the texture for a particularly moisture-sensitive plant by blending in a modest amount of perlite, following the proportions on the product label or a trusted plant-specific guide.
Match the mix to the plant rather than using one formula for everything:
- Pothos, philodendrons, and many tropical foliage plants: Choose a light, airy indoor mix that does not remain soggy.
- Snake plants and succulents: Use a faster-draining cactus and succulent mix, or a suitable commercial mix amended according to the label.
- Orchids: Do not bury them in ordinary houseplant mix. Use a chunky orchid medium designed for their roots.
- African violets: Select a light African violet mix that supports fine roots and good drainage.
Before adding the fresh mix, moisten it lightly in a separate bowl. Dry peat- or coir-based products can resist water at first, while pre-moistened mix settles more evenly around the existing surface.

Step-by-step: refresh the soil without removing the root ball
1. Prepare a clean work area
Cover the table with newspaper or a washable mat. Gather a spoon, small scoop, chopstick or plant label, fresh potting mix, a soft brush, and a container for the old material. If the plant shows signs of pests or disease, keep the work area away from other plants and clean your tools afterward.
2. Check the drainage hole
Before disturbing the soil, make sure the drainage hole is open. A blocked hole can make even excellent potting mix stay wet for too long. If the plant sits inside a decorative cachepot, lift the growing pot out and empty any water that has collected below it.
3. Remove the old upper layer
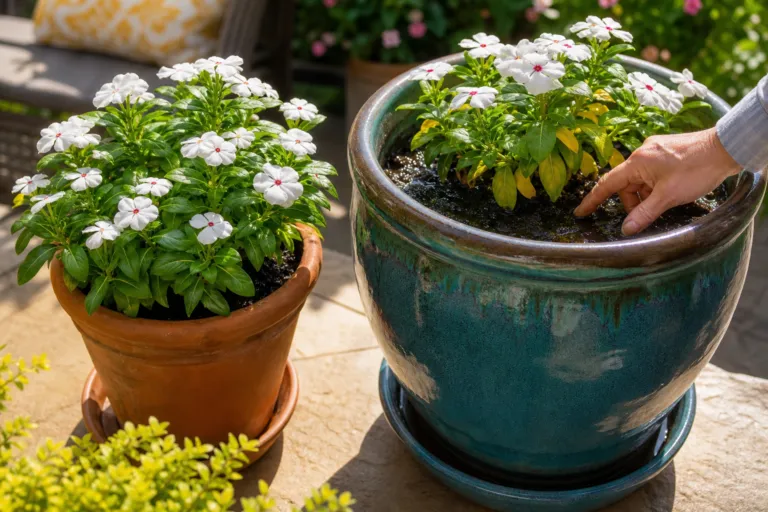
Use a spoon or scoop to lift away the top 1 to 2 inches of mix. Move slowly around the stems and avoid scraping directly across visible roots. If you find a white, crusty deposit, remove that material carefully rather than mixing it deeper into the pot.
Do not automatically remove every white particle. Some potting mixes contain pale perlite, and harmless fungal growth may occasionally appear on organic material. Focus on removing compacted, crusted, foul-smelling, or visibly contaminated material. If the plant has a persistent musty smell, soft stems, or black and mushy roots, a surface refresh may not be enough.
4. Loosen only the surface
Use a chopstick to gently break up a thin layer around the edge of the pot. Keep the tool shallow. You are improving contact between the new mix and the old mix, not aerating the entire root ball. Stop immediately if the tool catches on substantial roots.
5. Add fresh mix
Spoon the moistened mix into the space you created. Keep the plant at its original depth: do not bury the crown, stem base, or trunk more deeply than before. Leave about 1 inch of space below the rim so you can water without spilling over the edge.
Press the new mix lightly with your fingertips, but do not pack it hard. Roots need both moisture and oxygen, and a tightly compressed layer can interfere with both. If the surface settles after watering, add a little more mix rather than filling the pot to the rim.
6. Water carefully
Water slowly enough for the new mix to absorb moisture. If water immediately runs down the sides or drains away while the center remains dry, pause and apply water in two or three smaller passes. Allow the container to drain fully, then empty the saucer after about 15 to 20 minutes.
Do not use the refresh as a reason to water more often. Fresh mix may hold moisture differently from the old layer, so check the plant before watering again.
A simple watering experiment you can actually measure
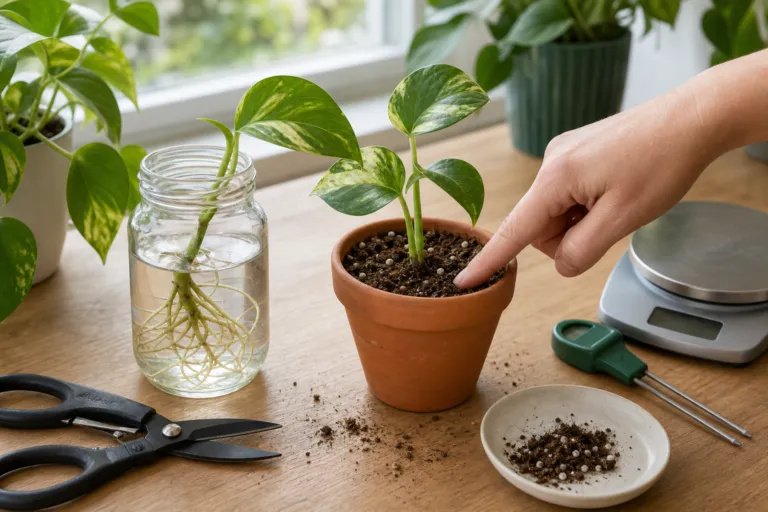
If you are unsure whether your refreshed mix is working, try a small home experiment rather than relying only on the calendar. Choose one plant and record the container’s weight immediately after thorough watering and draining. You can use a kitchen scale for a small pot or simply lift the container and write down how heavy it feels.
Check the pot again every two days. Push a wooden chopstick about 2 inches into the mix, then compare its appearance and feel with the surface. Record the day when the upper layer has dried and the container feels noticeably lighter. Repeat the process for two or three watering cycles.
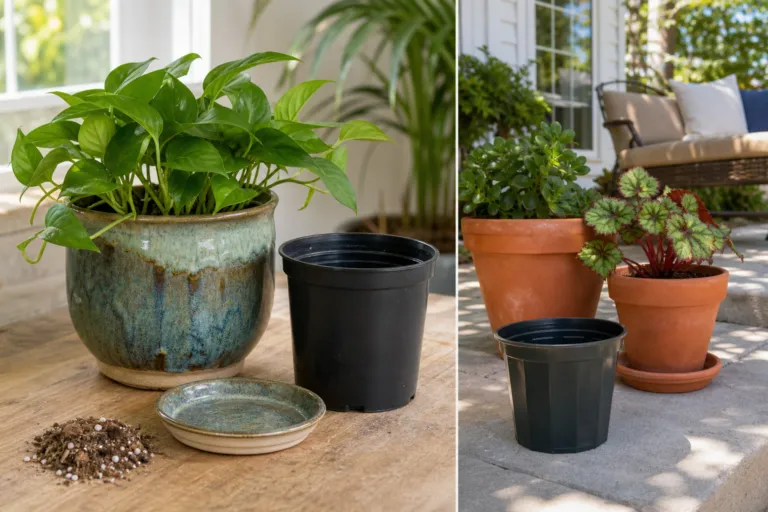
This will not produce a universal watering number—plant size, light, temperature, pot material, and season all matter—but it gives you a useful baseline. For example, a plant that used to require water every five days might take seven days after a fresh, more moisture-retentive top layer. A terracotta pot may dry faster than a plastic pot of the same diameter, while a plant in a bright window may use water much more rapidly than one in a dim corner.
Compare plants instead of treating every pot the same
Different varieties can respond very differently to an aging mix. A vigorous pothos may tolerate a modest surface refresh and quickly send roots into the new layer. A snake plant or jade plant usually benefits from a cautious approach because excessive moisture is more concerning than a little old mix.
Large-leaved tropical plants may need more frequent checks after refreshing because their foliage can lose water quickly in bright light or dry indoor air. Compact plants with fine roots, such as African violets, are better handled gently; avoid digging deeply or leaving coarse chunks on the surface.
When you have several plants, compare them by conditions rather than by species name alone. A pothos in a sunny south-facing window may need water sooner than another pothos several feet from a north-facing window. Pot size, pot material, airflow, and indoor temperature can matter just as much as the label on the plant.
When a surface refresh is not enough
Replace the top layer only if the deeper root zone appears healthy. Plan a complete repot if the plant is severely root-bound, the mix has become water-repellent throughout the pot, or the roots are brown, black, soft, or unpleasantly scented.
A full repot is also the better choice when the container has no drainage hole. Move the plant into a container with drainage, or place the existing growing pot inside a decorative cover pot that allows excess water to escape.
If the plant has outgrown its container, move up only one pot size—generally about 1 to 2 inches wider in diameter. An oversized pot can hold more wet mix than the roots can use, increasing the chance of prolonged saturation. If you want to keep the plant at its current size, you can combine root pruning with fresh mix, but that is a more involved job and should be done carefully during active growth.
Aftercare for the next few weeks
- Place the plant in its usual light unless it is recovering from severe stress.
- Watch the mix rather than following a fixed watering schedule.
- Hold off on heavy fertilizing immediately after the refresh, especially if the new mix contains fertilizer.
- Remove yellowing or damaged leaves, but avoid major pruning at the same time unless necessary.
- Check the undersides of leaves and the soil surface for pests during routine watering.
- Keep the plant’s crown and stems dry if the species is prone to rot.
A little temporary drooping can occur after any disturbance, but worsening symptoms deserve attention. If leaves collapse rapidly, the mix stays wet for many days, or the plant develops a sour odor, investigate the roots and drainage rather than adding more water.
A small job that can make a big difference
Refreshing the upper layer of potting mix is a practical middle ground between doing nothing and completely repotting a houseplant. It lets you remove settled or crusted material, restore a better surface texture, and improve the plant’s growing conditions while leaving most of its roots undisturbed.
Work slowly, keep the plant at the same depth, use fresh container mix, and measure your watering instead of guessing. If the roots are healthy and the pot still fits the plant, this gentle reset may be all your houseplant needs for another season of steady growth.