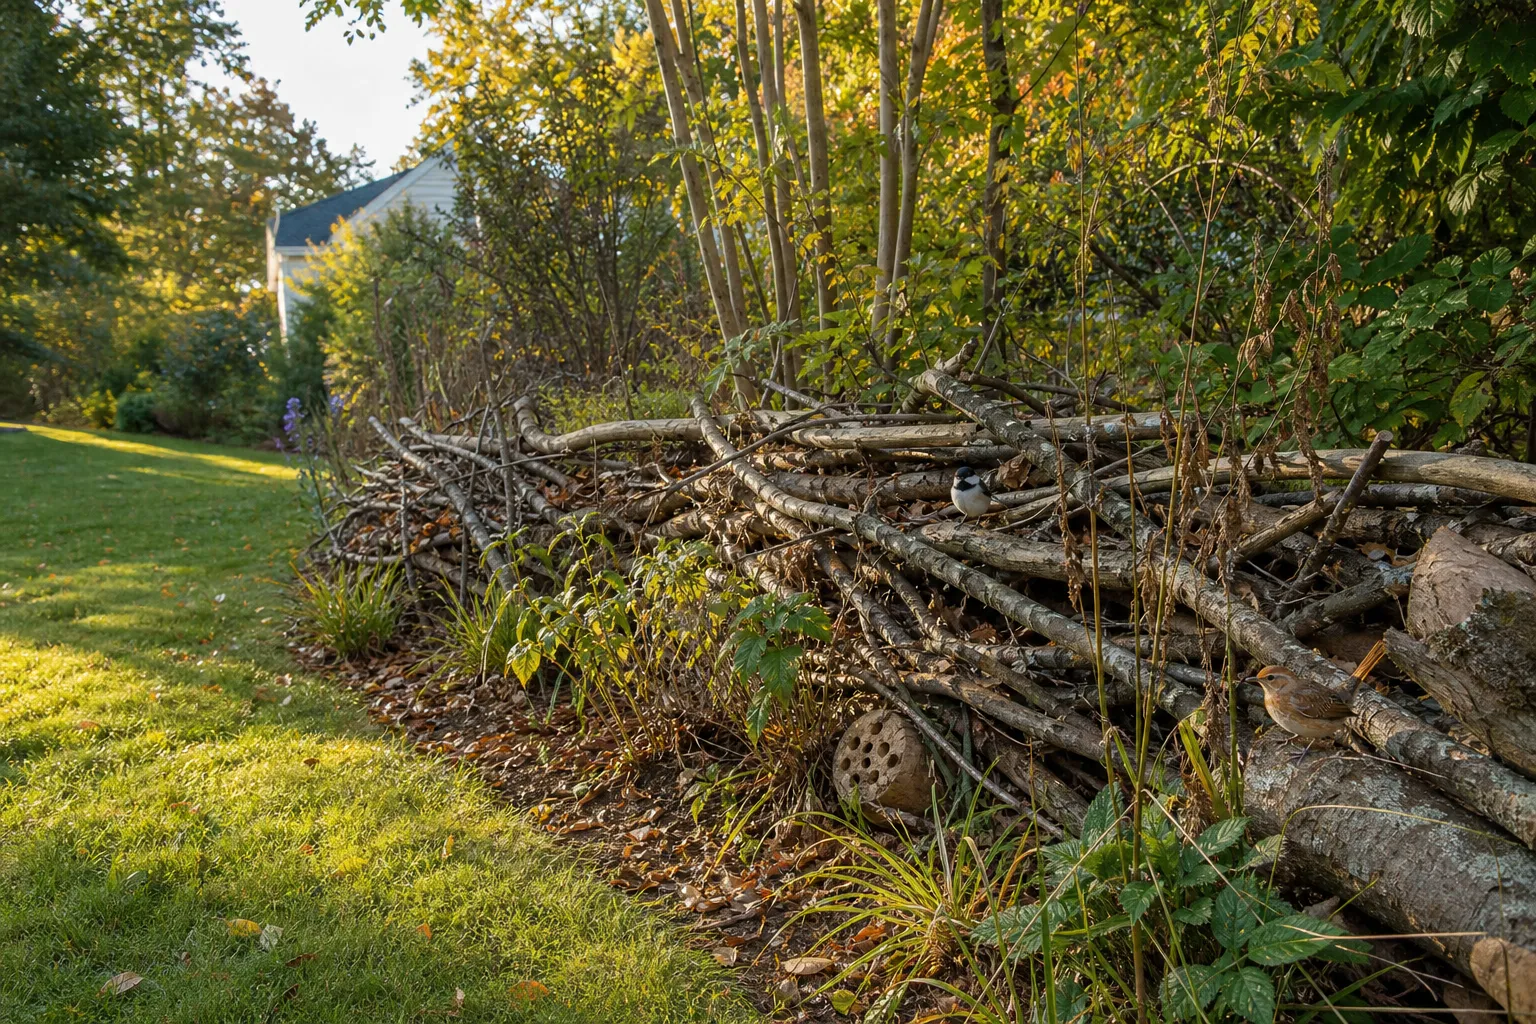
A dead hedge is one of the simplest ways to make an American yard more welcoming to wildlife. Built from fallen limbs, pruned branches and small logs, it creates a low, living-looking boundary that offers shelter, travel routes, hunting spots and nesting material for birds, insects and small animals. Unlike a conventional hedge, it needs no watering, fertilizing or shearing once it is established.
Think of it as a brush pile with a purpose. Instead of dumping branches in a heap, you arrange them in a narrow line—often along the edge of a lawn, vegetable garden, driveway or woodland. The result can be practical, attractive and surprisingly full of activity.
What makes a dead hedge different from a brush pile?
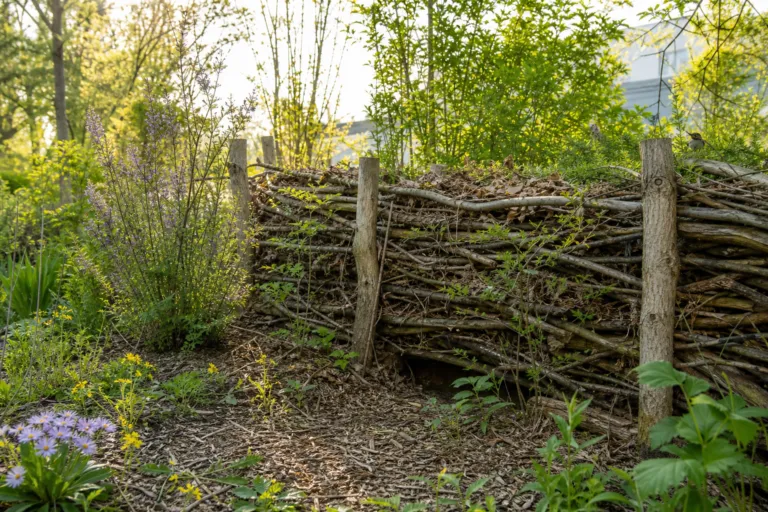
A brush pile is usually a mound of branches built for cover. A dead hedge is longer and more structured. You place stout branches vertically or at an angle, then weave smaller branches between them. Over time, the hedge settles, weathers and blends into the garden.
That linear shape matters. Wildlife often prefers to move along edges rather than cross open lawns. A dead hedge can connect a shrub border to a tree, pond, compost area or patch of tall grass. For a chickadee, wren, rabbit or garter snake, it may function like a small roadside shelter with frequent exits.
- Brush pile: compact cover in one location.
- Dead hedge: a narrow corridor, boundary or screen.
- Living hedge: rooted shrubs or trees that grow and require ongoing care.
You can also combine the three. A dead hedge beneath native shrubs gives wildlife cover at ground level, nesting sites above it and flowers or berries through the growing season.
Why dead wood belongs in a healthy yard
Dead wood is not empty material. As branches age, they develop cracks, cavities, bark pockets and soft areas where insects and other small organisms can live. Birds may investigate those spaces for food, while amphibians, reptiles and small mammals use the structure as shelter from weather and predators.
Woodpeckers and other cavity-making birds are especially important in natural systems because the holes they excavate can later be used by species that cannot make their own cavities. A small residential dead hedge will not replace a mature forest, but it can add one more layer of useful structure to a simplified landscape.
Decaying branches also return organic matter to the soil. The process is gradual: the hedge settles, fungi and insects break down the wood, and small amounts of nutrients become available around its base. You do not need to turn the material or accelerate decomposition. Its slow decline is part of the benefit.
Choose the right location before you build
Start with a site where the hedge can remain undisturbed for several years. A property edge, back corner, woodland margin or boundary between lawn and garden often works well. The best location usually has some nearby food or cover, such as native shrubs, seed-bearing perennials, leaf litter or a water source.
Sunlight still matters. A dead hedge does not need full sun, but nearby plants do. If you plan to soften the structure with native flowers or shrubs, give them the light they require. Morning sun and afternoon shade can suit many woodland-edge plants, while open prairie-style plantings generally need at least six hours of direct sun.
Good drainage is equally important. Avoid placing a thick hedge in a low spot that stays saturated after rain. Persistent moisture will speed decay, which is not dangerous by itself, but it can make the structure slump quickly. If your soil is heavy clay, build slightly above grade with larger logs at the base rather than burying the branches in wet ground.
Keep safety and local conditions in mind
- Do not place a dead hedge against a house, shed, deck or wood fence.
- In wildfire-prone areas, keep woody material well away from structures and follow local defensible-space guidance.
- Avoid blocking sidewalks, drainage swales, utility access or sightlines near driveways.
- If rats or other nuisance animals are a persistent issue nearby, choose a smaller, more open design rather than a large dense shelter.
- Check neighborhood or municipal rules before building near a property line.
How to build a dead hedge in one afternoon
You do not need special materials. A pair of gloves, hand pruners, loppers, a mallet and a wheelbarrow are usually enough. Use clean, untreated branches from your own yard or from a source where you know the material is free of invasive plants and unwanted seed heads.
1. Mark a narrow line
For a first project, try a section 6 to 12 feet long and 2 to 3 feet wide. A narrow hedge is easier to build and maintain than a large one. You can extend it later as more branches become available.
2. Drive in sturdy upright posts
Use straight branches or untreated poles roughly 1½ to 3 inches in diameter. Push or hammer them into the ground in two parallel rows, leaving about 12 to 18 inches between the rows. Space the uprights 12 to 24 inches apart, depending on how much material you have.
In loose soil, set the posts 12 to 18 inches deep. In rocky ground, place the hedge where existing stones or roots can help stabilize it. The uprights do not need to be perfectly vertical; a slightly irregular profile looks more natural and creates additional pockets.
3. Weave in the larger branches
Lay long branches horizontally between the uprights, alternating the direction of each piece. Tuck the thick ends into gaps and allow smaller side shoots to stick out. This first layer creates the backbone of the hedge.
4. Fill the gaps with smaller material
Add thinner limbs, vine-free prunings and twiggy branches. Work from the bottom upward, but do not pack the structure solid. Leave openings roughly 3 to 6 inches wide in several places so animals can pass through or shelter inside.
5. Finish with a loose top
Use leafy branches, evergreen boughs or thin brush across the upper layer. The top should shed some rain while remaining open enough to avoid becoming a heavy, unstable mass. As the hedge settles, add more material to the low spots.
Which branches work best?
Use a mixture of sizes and shapes. Large logs slow the rate of collapse, medium branches create structure, and fine twigs fill sheltered spaces. Hardwood branches generally last longer than soft, fast-decaying material, but a mix produces more varied habitat.
Freshly cut branches can be useful, especially when they still carry twigs or leaves, but you do not need to seek out green wood. Fallen limbs and old prunings are excellent. Avoid wood that has been painted, stained or treated with preservatives.
Be cautious with branches from aggressive vines or plants that spread easily from cuttings. If you are unsure whether a pruning can root or carry seeds, do not weave it into the hedge. Local extension offices can help identify troublesome plants in your region.
A simple variety comparison for the planting edge
The dead hedge itself is not a plant collection, but the living border beside it can determine what kind of wildlife uses the space. Instead of choosing one “best” shrub, compare plants by function and by the conditions in your yard.
- Dry, sunny edge: consider regionally native shrubs and grasses adapted to heat and lean soil. They often need less supplemental watering after establishment.
- Part-shade woodland edge: choose native shrubs with dense branching and seasonal fruit or flowers suited to your state or region.
- Moist but well-drained border: select plants that tolerate regular moisture without requiring permanently saturated soil.
- Small urban yard: favor compact shrubs and a low dead hedge that does not obstruct windows, paths or neighbors’ access.
Do not assume that a plant advertised as “wildlife-friendly” will perform equally well everywhere. Native species vary widely by region, and a shrub that thrives in Georgia may struggle in Minnesota or Arizona. Match the plant to your USDA hardiness zone, soil and available light, then verify regional suitability with a local extension office or native-plant society.
Measure watering instead of guessing
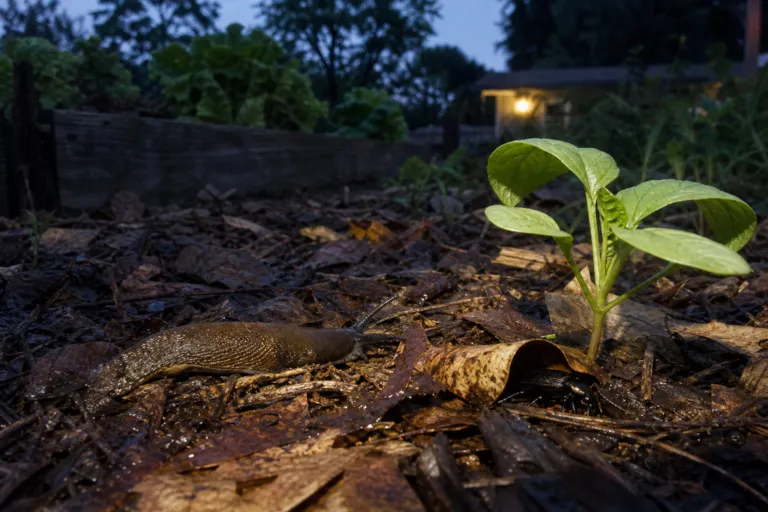
The dead hedge itself does not need irrigation. Any watering is for the living plants you add nearby. Overwatering is one of the most common causes of stressed landscape plants, especially when gardeners assume that more water is always better.
For a practical home test, place a straight-sided tuna can or small rain gauge beside a new planting bed. Run a soaker hose or hand-water slowly, then measure the collected water. One inch of water across 1 square foot equals about 0.62 gallons, so a 10-square-foot planting area receiving 1 inch uses roughly 6.2 gallons.
Rather than watering a little every day, check the soil several inches below the surface. If it is still cool and moist, wait. If it is dry where the new plant’s roots are growing, water slowly and deeply. A useful trial is to compare two equal planting sections: give one section ½ inch of water once a week and the other smaller drinks more frequently, then observe leaf color, wilting and soil moisture for two to three weeks. Adjust for rainfall, temperature and plant type rather than treating the numbers as a universal rule.
Newly planted shrubs need more attention than established plants. Once roots spread into surrounding soil, many regionally adapted plants can rely more on rainfall, although drought, sandy soil and extreme heat may change that equation.
What wildlife might use it?
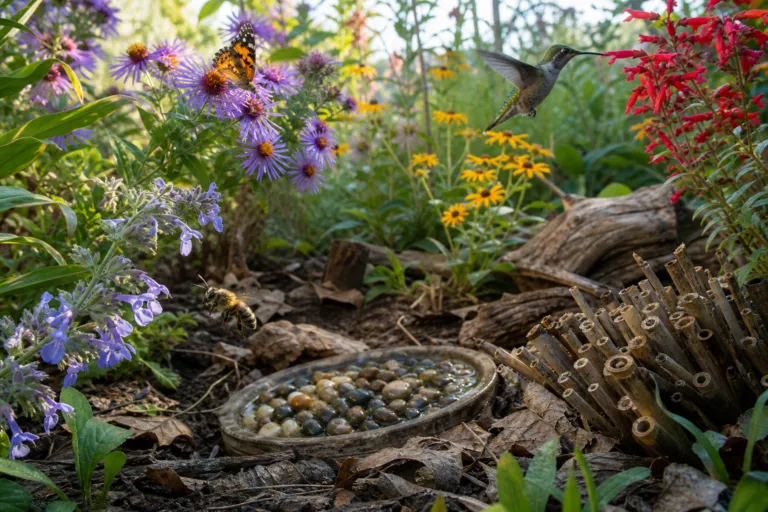
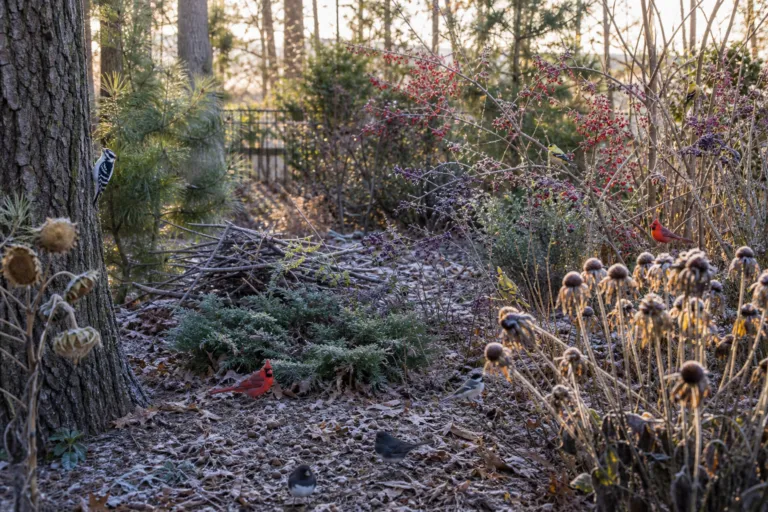
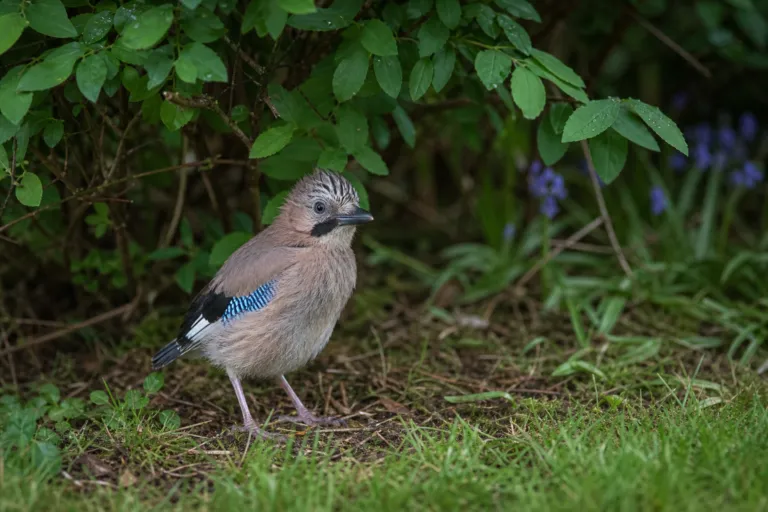
Expect the first visitors to be small and easy to miss. Wrens, sparrows, chickadees and cardinals may perch on the outer branches or slip into the cover. Rabbits, chipmunks, mice, snakes, frogs and toads may use the lower spaces, depending on your region and surrounding habitat.
Insects are part of the picture too. Beetles and other small decomposers help break down the wood, while insect-eating birds may search the bark and crevices. Cavity-nesting bees can benefit from nearby dead wood, particularly when the hedge is paired with flowering native plants and bare, well-drained soil.
You may not see wildlife immediately. Habitat works best as a network, not a single feature. Add leaf litter beneath shrubs, retain some seed heads through winter, grow a variety of native plants and reduce unnecessary disturbance. A dead hedge becomes more valuable when it connects several of these elements.
Maintain it lightly and observe often
Plan on a seasonal check rather than a weekly chore. In spring and fall, add fallen branches to replace material that has settled. If the hedge leans, push a few new uprights into the ground and weave fresh limbs through the weak section.
- Keep paths and access points clear.
- Remove sharp branches that protrude into walkways.
- Watch for instability after heavy snow, ice or strong winds.
- Leave stable, decaying wood in place unless it creates a safety problem.
- Do not disturb occupied nests or obvious dens; wait until the area is inactive.
Take a photo when you build the hedge and another every few months. You will see how quickly it changes shape, which plants volunteer nearby and which animals begin using it. That observation is often more rewarding than a perfectly tidy border.
Let your yard be useful, not merely neat
A dead hedge turns ordinary yard waste into a durable garden feature. It can soften a fence, divide spaces, protect young plantings from foot traffic and give wildlife a place to move through an otherwise open yard. It also offers a valuable gardening lesson: a healthy landscape does not need to be spotless.
Begin with one small section using branches you already have. Choose a safe location, build loosely, avoid overwatering the living plants nearby and give the structure time to settle. Before long, your “pile of sticks” may become one of the busiest and most useful edges in the garden.