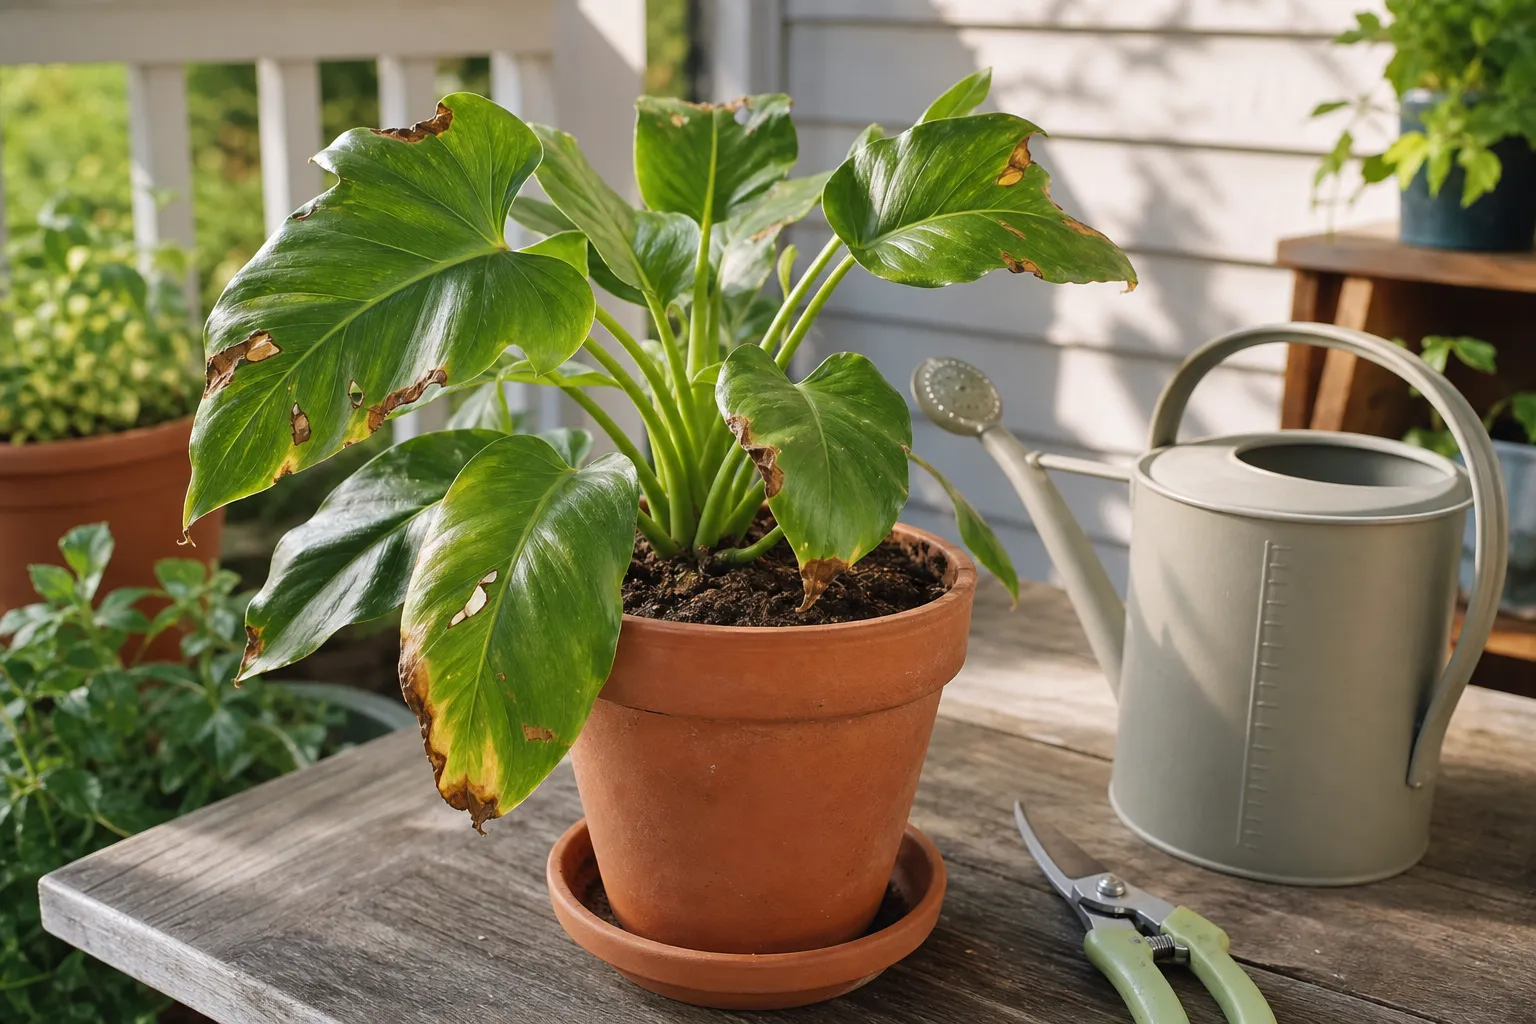
When a plant looks battered, your first instinct may be to reach for the scissors. Brown tips, ragged edges, chewed holes and yellow patches can make even a healthy plant look beyond hope. Removing the ugliest leaves feels like progress—and sometimes it is.
But cutting away every imperfect leaf can make recovery harder. A leaf that looks damaged may still contain plenty of living green tissue. That tissue continues to capture light and make sugars, giving the plant energy to produce roots, stems and new leaves. If you remove too much foliage at once, you may take away the very resources the plant needs to rebuild.
The better approach is not “never prune damaged leaves.” It is to decide why the leaf is damaged, how much healthy tissue remains, and whether the plant needs those leaves while it recovers.
A damaged leaf is not always a dead leaf
Leaves rarely switch from fully useful to completely useless in a single moment. Sunscald, wind, hail, underwatering, cold exposure, insects and physical bruising may damage only part of a leaf. The brown or torn section cannot usually repair itself, but the remaining green area may still photosynthesize.
Photosynthesis is the plant’s way of turning light, water and carbon dioxide into sugars. Those sugars support new growth and help maintain the plant’s existing roots and stems. In practical terms, a leaf with a brown quarter and a green three-quarters may still be doing valuable work.
This matters most after a stressful event. A plant that has lost roots, suffered drought, endured a heat wave or been moved indoors may already have less water and energy available. Removing its remaining green leaves can reduce its ability to recover.
Think of green tissue as the plant’s recovery budget
Imagine a tomato plant after a hailstorm. Many leaves may be shredded, but pieces of green tissue remain. If the stems and growing points are intact, the plant may use that remaining foliage while it develops new leaves. Cutting every ragged leaf immediately could leave the plant with little working canopy and force it to spend stored energy before it can replenish its supply.
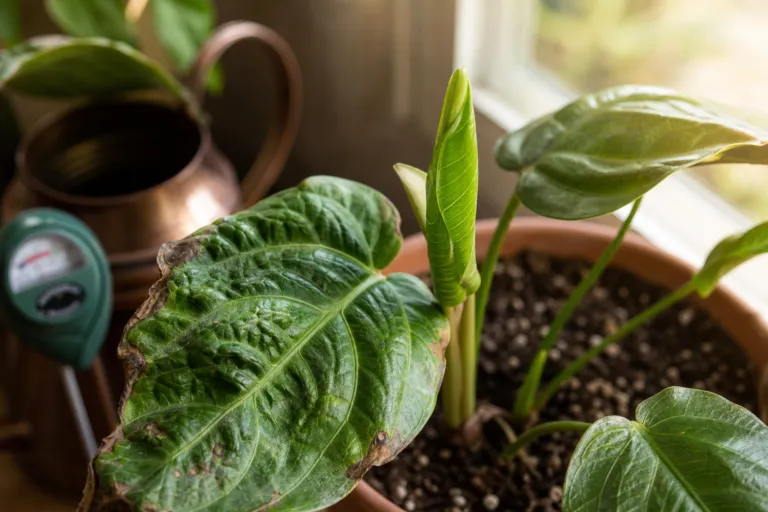
The same principle applies to houseplants. A pothos with crispy margins, a monstera with a torn leaf or a fern with dry fronds may look untidy, yet the healthy tissue can still contribute to the plant’s energy balance.
When removing a damaged leaf is the right move
Selective removal can protect a plant, improve airflow and make it easier to monitor a problem. The key is to remove leaves for a clear reason rather than simply because they are unattractive.
- Remove leaves that are mostly dead. If a leaf is completely brown, collapsed or dry and brittle, it contributes little or nothing to photosynthesis.
- Remove leaves with spreading disease symptoms. Rapidly enlarging spots, water-soaked patches, fuzzy growth or a suspicious pattern affecting several leaves deserves attention. Diseased material may spread through splashing water, tools, insects or plant debris.
- Remove leaves that are soft and rotting. A mushy leaf pressed against wet soil or another stem can become a source of decay.
- Remove badly infested leaves when pests are concentrated there. If a leaf is heavily covered with insects or webbing, discarding it may reduce the immediate pest population.
- Remove leaves that are blocking essential airflow. This is especially useful in crowded vegetable plants and dense shrubs where foliage stays wet for long periods.
When you cut, use clean, sharp scissors or pruners. Avoid tearing the leaf, and wash your hands or clean the tool between plants when disease is possible. Place suspect leaves in the trash rather than adding them to a home compost pile unless you are confident your compost reaches temperatures high enough to destroy the problem.
When it is better to leave the leaf alone
Not every brown patch indicates an active disease. Environmental stress often creates cosmetic damage that will not spread once conditions improve. A leaf may have been scorched by intense afternoon sun, chilled by a cold draft, bruised by a pet or dried by hot wind.
In those cases, removing the leaf does not correct the cause. The plant may lose useful green tissue while the same stress damages the next flush of growth. First adjust the growing conditions, then wait and watch.
- Leave a leaf with substantial green tissue if the damage is dry, stable and not spreading.
- Leave mildly chewed or torn leaves when the pest is gone and the leaf still functions.
- Leave older leaves that are yellowing slowly if the plant is otherwise healthy and still growing.
- Leave a leaf after a sudden environmental change until you understand the pattern.
A leaf that looks imperfect can also serve as a useful diagnostic record. If you remove it too quickly, you may lose clues about whether the plant is reacting to drought, excess moisture, light intensity, temperature or pests.
First diagnose the cause, then decide what to cut
Start with the pattern, not the color. Look at where the damage appears and how it is changing over time.
Brown tips and crispy edges
Brown tips often appear after dry soil, low humidity, salt buildup or hot, drying air. On outdoor plants, drought, reflected heat and wind can play similar roles. Trim only the dead portion if you want to improve the appearance, but leave a narrow brown edge rather than cutting into healthy green tissue.
Yellowing lower leaves
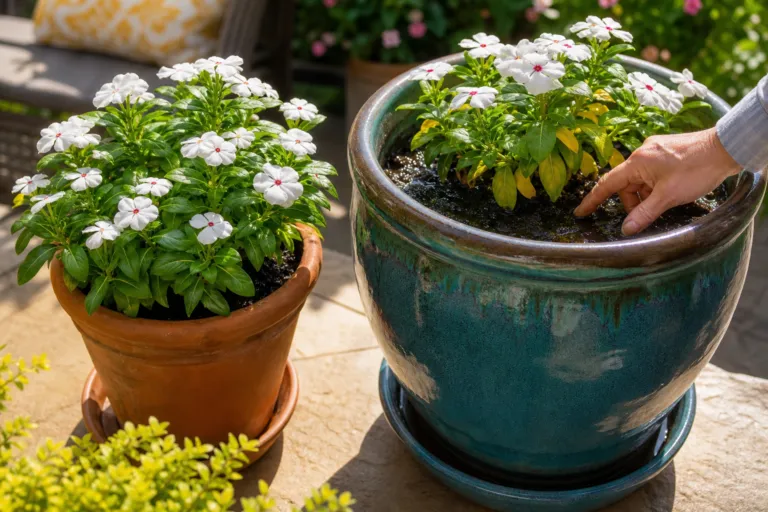
An older lower leaf may yellow naturally as the plant reallocates resources to newer growth. Several yellow leaves at once, especially with slow growth or wet soil, can signal a root or watering problem. Check the soil moisture and drainage before pruning heavily.
Spots, blotches and expanding lesions
Spots that enlarge, merge or appear on multiple leaves deserve closer inspection. Improve spacing and airflow, avoid wetting foliage late in the day, and remove clearly infected leaves when recommended for the specific plant and problem. A single leaf with a stable mark after physical damage may not need removal.
Holes and ragged edges
Chewing insects, slugs, hail and wind can all create holes. Examine the plant at different times of day for active pests. If the leaf still has a broad green surface, keeping it may help the plant recover while you address the cause.
How much foliage can you safely remove?
There is no universal percentage that works for every plant. A vigorous, well-rooted plant in active growth can often tolerate more pruning than a recently transplanted, drought-stressed or root-damaged plant. Species also differ in how quickly they replace leaves.
As a cautious rule for a stressed plant, remove the worst leaves first and avoid stripping the entire canopy in one session. If you must remove several leaves, pause and observe the plant for a week or two before making additional cuts. Keep the healthiest leaves, especially those near active growing points.
For woody plants, damaged branches may require a different approach from damaged leaves. Do not respond to a few injured leaves by severely cutting back a tree or shrub. Major canopy loss can expose branches and trunks to additional stress, and large pruning decisions may require an experienced arborist.
Different plants, different recovery strategies
Variety and growth habit matter. A compact basil plant, a vining pothos and a woody blueberry bush should not receive identical treatment.
- Leafy herbs and annual vegetables: Keep enough healthy foliage to maintain growth, but remove leaves that touch the soil or show clear disease. Plants such as tomatoes may need selective removal of infected lower leaves, while healthy upper foliage remains important for fruit development.
- Houseplants: Correct light, watering and drainage problems before making a major cut. A damaged leaf can remain useful for months, even if it is no longer attractive.
- Succulents: Let damaged tissue dry naturally when possible. Cutting into a thick, water-storing leaf or stem creates a wound that may complicate recovery if conditions stay damp.
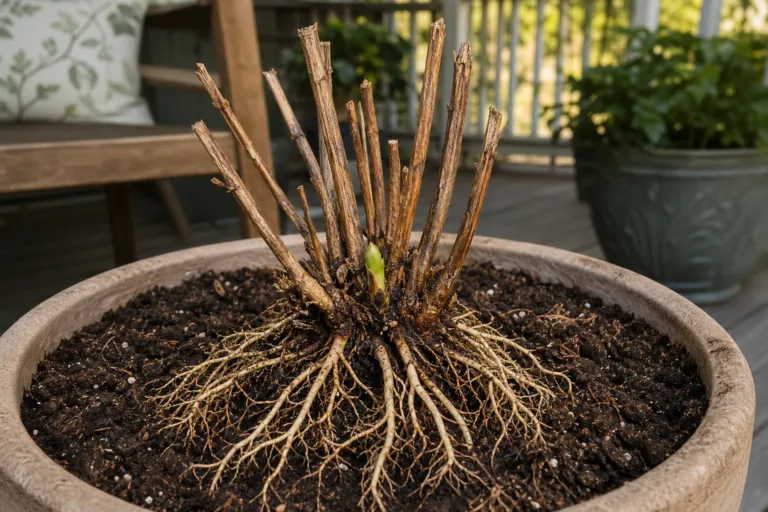
- Perennials: After hail or wind damage, wait long enough to see which stems and leaves continue growing. Remove collapsed or diseased material, but do not automatically cut every shredded leaf.
- Shrubs and trees: Focus on broken, dead or diseased wood rather than cosmetic leaf damage. Preserve the canopy unless a qualified professional recommends more extensive pruning.
A simple home experiment: keep versus cut
If you are unsure, try a small comparison instead of treating the entire plant the same way. This works particularly well with a vigorous houseplant or a few similar vegetable plants.
- Choose two similar plants, or divide one plant’s stems into two comparable groups.
- Record the starting number of green leaves and take a quick photo.
- On one plant, remove only leaves that are mostly dead or clearly diseased. On the other, leave moderately damaged leaves in place.
- Give both plants the same light, soil conditions and watering routine.
- After 7 and 14 days, record new leaves, stem growth, wilting and the spread of damage.
This is not a laboratory trial, but it can reveal how your particular plant responds. You may find that a variety with thin, delicate leaves declines quickly after heavy pruning, while a vigorous basil or coleus rebounds rapidly. The observation is more useful than following a rigid rule.
Measure watering instead of guessing
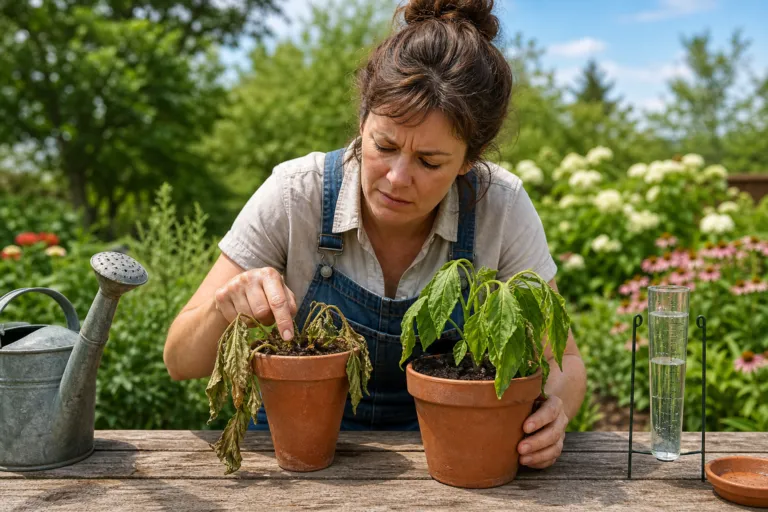
Recovery depends heavily on the roots. After leaf damage, many gardeners either drown the plant or let it dry out because they are trying to “help.” A simple measurement can prevent both mistakes.
For a container plant, check the soil about 1 inch below the surface with your finger. If it feels dry at that depth and the plant’s care requirements call for watering, apply water slowly until a small amount drains from the bottom. For a 10-inch container, that may be roughly 2 to 4 cups, but the exact amount depends on the potting mix, plant and drainage. Measure what you use rather than assuming every pot needs the same volume.
Record the date, amount and soil condition. If the pot remains wet for a week, reduce the amount or improve drainage. If it becomes bone-dry in a day or two, investigate heat, root crowding, pot size and plant demand. Consistent moisture—not constantly wet soil—gives damaged plants a better chance to rebuild.
A recovery routine that works better than drastic pruning
Once you have removed only what truly needs to go, focus on the basics.
- Move the plant away from harsh afternoon sun, cold drafts or strong wind if those conditions caused the damage.
- Water according to soil moisture and the plant’s normal needs.
- Check stems, leaf undersides and soil surface for pests.
- Improve spacing and airflow around outdoor plants.
- Avoid heavy fertilizing immediately after severe stress or root damage.
- Wait for new growth before making additional cosmetic cuts.
Do not expect a damaged leaf to become perfect again. Your goal is to protect the plant’s living tissue and encourage healthy new growth. A new leaf is often the clearest sign that the recovery plan is working.
The gentle-pruning principle
When you see damage, pause before you prune. Ask three questions: Is the damage spreading? Is the leaf mostly dead? Does removing it solve a problem? If the answer to all three is no, leaving the leaf in place may be the kinder choice.
Removing every damaged leaf can make a plant look tidier, but recovery is a biological process, not a beauty contest. Keep the green tissue that still works, remove material that threatens the plant, and correct the stress that caused the damage. With a little patience—and a measured approach—many battered plants can rebuild far more successfully than they first appear to.