You check the compost pile expecting warmth, steam, and the unmistakable scent of damp earth. Instead, it sits there – cold, still, and stubbornly full of last month’s leaves. Nothing seems to be happening.
Before you declare the pile a failure, take a closer look. A compost pile rarely “dies” without leaving clues. It may be too dry after a stretch of summer weather, too wet after heavy rain, short on nitrogen-rich ingredients, starved of oxygen, or simply too small to hold heat. Sometimes the pile has not stopped working at all; it has simply moved from a fast, hot phase into a slower curing stage.
The good news is that most silent piles are easy to restart. With a quick inspection, a measured drink of water, and the right mix of materials, you can often bring decomposition back to life.
First, find out whether the pile is actually stalled
Temperature is helpful, but it is not the only sign of activity. A mature compost pile naturally heats up and later cools down as the easiest-to-digest materials disappear. A cool pile may be finished, resting between additions, or genuinely stalled.
Look for these signs before you start rebuilding:
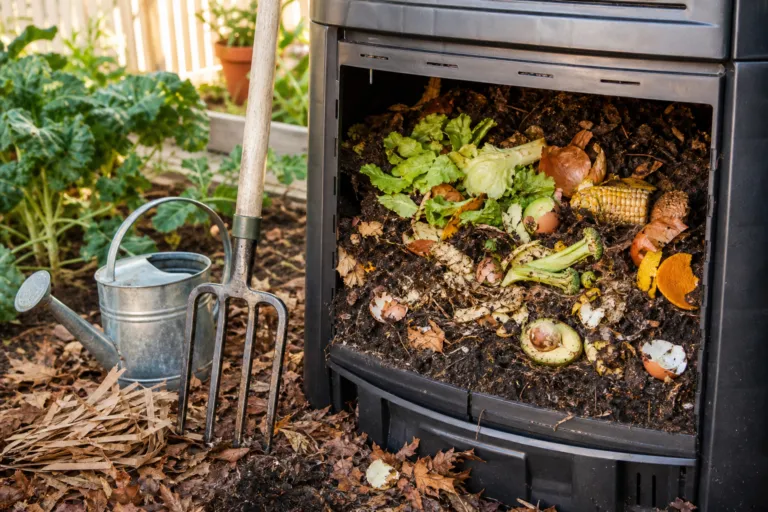
- Finished or curing compost: The material is dark brown, crumbly, and earthy-smelling. You may still see a few twigs or tough stems, but fresh food scraps have mostly disappeared.
- An active pile: The center feels warmer than the outside, the volume is slowly shrinking, and the material is becoming softer and darker.
- A stalled pile: The contents look much as they did weeks ago, the pile feels cold throughout, and the material may be bone-dry, soggy, tightly packed, or dominated by one type of ingredient.
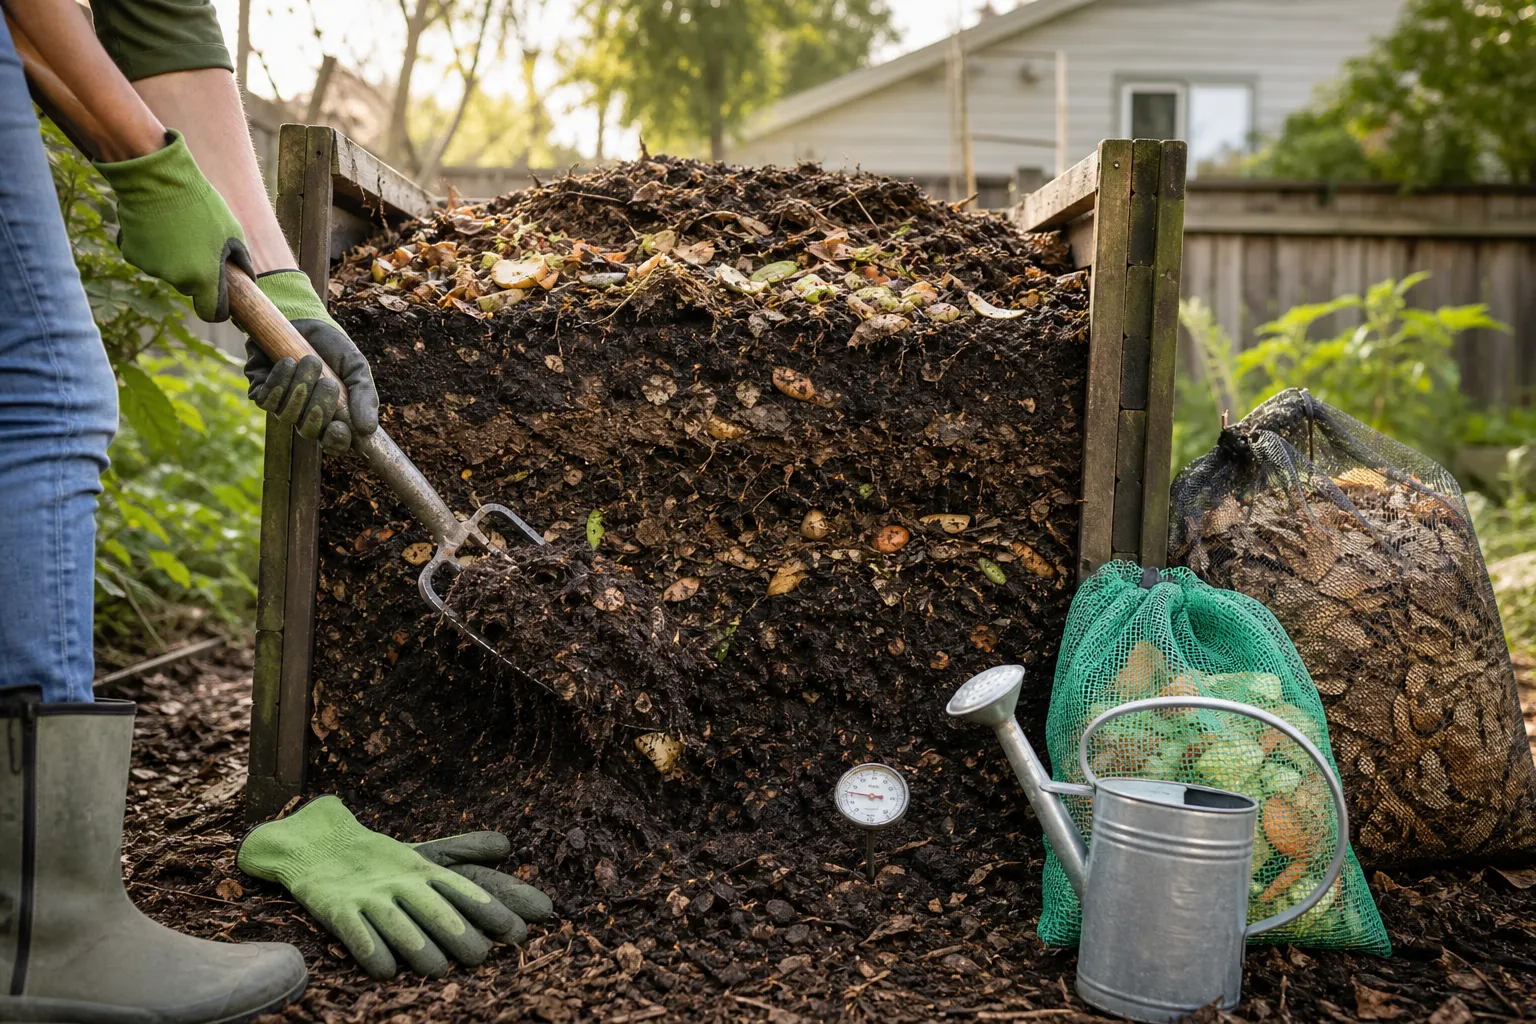
If you have a compost thermometer, push it into the center rather than measuring the surface. A well-managed active pile may reach roughly 130°F to 160°F. Smaller backyard piles often run cooler, and a cool reading alone does not prove that decomposition has stopped.
The four essentials your microbes need
Compost is powered by communities of microorganisms that need four basic things: carbon, nitrogen, water, and oxygen. Think of them as the pile’s fuel, diet, drink, and breath. If one becomes severely limited, decomposition slows even when the other three are plentiful.
1. Moisture: the most common summer problem
Microorganisms need a thin film of water around organic particles. When the pile dries out, they cannot move nutrients efficiently or reproduce at a useful pace. This is especially common in hot, windy weather, in uncovered bins, and in piles made mostly from dry autumn leaves or shredded cardboard.
Use the squeeze test at several depths. Grab a handful from the center and squeeze it firmly:
- If it feels dusty and falls apart immediately, the pile is too dry.
- If it holds together like a damp sponge and feels moist but does not drip, the moisture level is probably suitable.
- If water runs out or the material feels slimy, the pile is too wet.
Do not simply soak the surface and walk away. Turn the pile while adding water so moisture reaches dry pockets. For a small backyard pile of about 3 feet by 3 feet by 3 feet, start with approximately 1 to 2 gallons of water, turning thoroughly as you go. Check the center again after several hours or the next day. A large pile may need more, but gradual watering is safer than flooding it.
For a more precise home experiment, weigh a dry five-gallon bucket before filling it with compost material. After adding water and mixing, weigh it again. One gallon of water weighs about 8.3 pounds, so adding 1 gallon to a 5-gallon bucket increases the weight by about 8.3 pounds. You do not need laboratory accuracy; the goal is to learn how quickly your pile dries and how much water produces a damp, springy texture rather than a muddy one.
In USDA Zones 8 through 10, especially during hot, dry spells, check moisture weekly. In colder northern zones, a pile may slow during winter because microbial activity declines with low temperatures. That seasonal pause is normal and often resumes when temperatures rise and fresh material is added.
2. Oxygen: when a pile becomes a wet brick
Most backyard composting depends on aerobic decomposition, meaning microorganisms work with oxygen. When a pile becomes compacted, air spaces disappear. Excess rain, dense grass clippings, finely shredded material, and layers of food scraps can all squeeze oxygen out.
A pile short on air may smell sour, swampy, or rotten rather than pleasantly earthy. It may also feel cold and wet even though plenty of “green” material is present.
To restore airflow:
- Turn the pile with a garden fork, moving material from the outside into the center.
- Break apart matted grass clippings and wet leaf layers.
- Mix in coarse browns such as dry leaves, small twigs, torn cardboard, or untreated wood chips.
- Avoid packing fresh material into a solid layer; distribute it loosely instead.
Turning too frequently can dry the pile and waste your effort, so focus on conditions rather than a rigid schedule. Turn when the pile smells unpleasant, has obvious wet or dry pockets, or feels compacted. During the first few weeks of an actively managed pile, turning every few days can help; a slower pile may need attention only every week or two.
3. Carbon and nitrogen: the brown-and-green balance
Brown materials supply carbon, which gives microorganisms energy and structure. Green materials supply more nitrogen, which supports growth and reproduction. You do not need to calculate an exact carbon-to-nitrogen ratio for a home pile, but you do need variety.
Brown materials include:
- Dry leaves
- Shredded plain cardboard and uncoated paper
- Small twigs and untreated wood chips
- Straw and dried plant stalks
Green materials include:
- Fruit and vegetable scraps
- Fresh grass clippings
- Spent coffee grounds and paper filters
- Fresh weeds that have not gone to seed
- Green garden trimmings
A pile that is mostly dry leaves may remain cool and slow because it lacks readily available nitrogen. A pile made mostly from food scraps or fresh grass may turn wet, compacted, and smelly because it contains too much moisture and not enough fibrous structure.
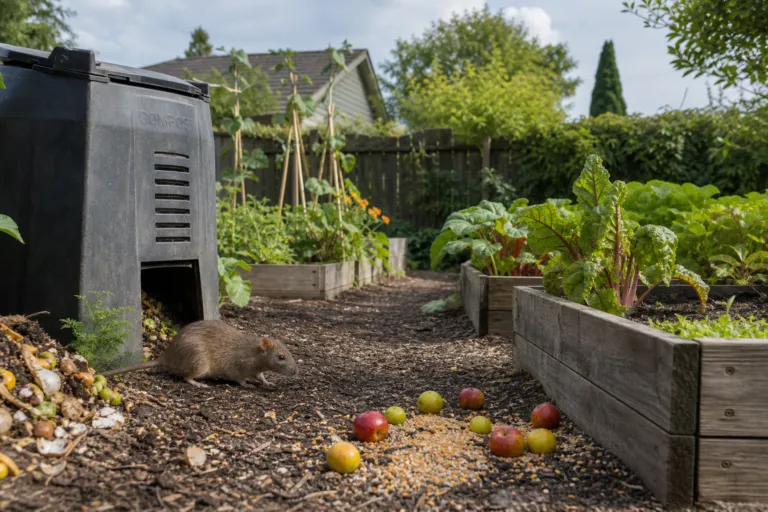
As a practical starting point, add about two to three buckets of browns for every bucket of fresh greens or food scraps. Cover food scraps with 4 to 8 inches of browns to reduce odors and discourage animals. Mix the ingredients rather than building thick, separate layers.
4. Particle size: small is helpful, but not always better
Chopping or shredding plant material exposes more surface area to microorganisms and can speed decomposition. A chopped vegetable stem disappears faster than a whole one, and shredded leaves break down more quickly than thick, matted leaves.
However, very fine material can compact tightly and restrict airflow. Aim for a varied texture: combine small food scraps with shredded leaves, plus some coarse stems, twigs, or wood chips. The mixture should feel loose enough for a garden fork to enter without forcing it.
What the pile is telling you
“It is completely dry.”
Add water gradually while turning. If the pile contains many dry leaves, moisten each layer as you rebuild it rather than pouring water onto the top. Covering the pile with a breathable tarp during prolonged dry weather can reduce moisture loss, but leave room for air exchange.
“It is wet, cold, and smelly.”
First, turn it thoroughly. Then mix in dry, bulky browns. If the pile is sitting in a low area where rainwater collects, improve drainage or move it to a spot with good drainage. Avoid adding more food scraps until the texture becomes loose and the odor improves.
“It contains almost nothing but leaves.”
Leaves can make excellent compost, but they may decompose slowly when packed into a dense layer. Shred them with a mower, mix in nitrogen-rich material such as fresh grass clippings or vegetable scraps, and add a little moisture. If you have a large supply of leaves, consider a separate leaf-mold pile; it will break down more slowly but can produce a valuable soil conditioner.
“It is full of grass clippings.”
Fresh grass clippings can mat together and block air. Spread them in thin layers, mix them with dry leaves, and allow clippings to wilt briefly before adding large quantities. If the pile already smells sour, add coarse browns and turn rather than adding more greens.
“It is warm only in the center.”
This often means the pile is too small or has dried around the edges. A core of about 3 feet in each direction generally holds heat better than a shallow heap. Add more compatible material, mix the outside into the center, and protect the pile from excessive drying.
A simple restart plan for a silent pile
Set aside 20 to 30 minutes for a full reset. You are not trying to make the pile perfect; you are trying to correct its most obvious limitation.
- Open the pile. Pull material from the top and outside into a temporary spot so you can inspect the center.
- Remove obvious contaminants. Take out plastic, produce stickers, treated wood, glossy paper, and other materials that do not belong in a backyard pile.
- Check moisture at multiple depths. Do not judge the pile by its surface alone.
- Break up mats and clumps. Separate compacted grass, wet leaves, and large woody pieces.
- Rebuild with texture. Mix greens and browns, adding coarse material if the pile is dense.
- Add water only as needed. Start with a measured amount, turn, and repeat the squeeze test.
- Monitor for one week. Check the center after two or three days, then again around day seven.
If the pile remains cool but looks moist, loose, and odor-free, add a modest amount of nitrogen-rich material and mix it in. Coffee grounds, fresh grass clippings, and fruit or vegetable scraps can help, but avoid dumping in a large concentrated layer.
Compare your materials instead of guessing
Not all ingredients decompose at the same speed. Tender lettuce leaves and melon rinds disappear quickly. Corn cobs, avocado skins, woody stems, pinecones, and thick branches take much longer. A pile can seem silent simply because the remaining ingredients are naturally resistant.
Try a small comparison test. Place equal handfuls of chopped vegetable scraps, whole vegetable scraps, shredded leaves, and small wood chips in four labeled mesh bags or open-sided containers within the pile. Check them after two, four, and eight weeks. You will see which materials break down quickly in your climate and which ones need chopping or extra time.
This test also helps compare different brown materials. Shredded maple leaves may disappear faster than leathery oak leaves, while wood chips may remain visible for months. Neither material is “bad”; they simply play different roles in the pile.
When should you stop trying to heat it?
Not every pile needs to stay hot. Hot composting requires enough volume, moisture, nitrogen, and active management. A smaller or loosely managed pile may compost at a cooler pace, and that can still produce useful finished compost.
Once the pile no longer reheats after mixing, stop adding fresh material if you want to finish it. Let it cure for at least four weeks, turning occasionally if it becomes compacted. Finished compost should look dark and crumbly, smell earthy, and contain few recognizable food scraps.
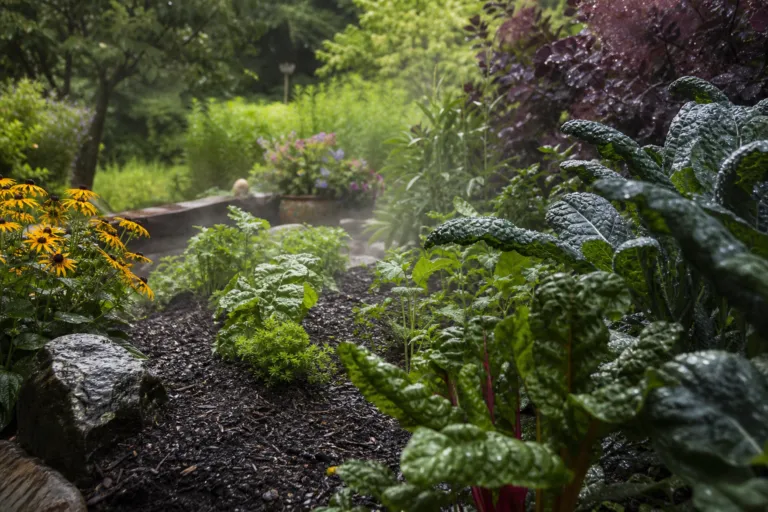
Do not use unfinished compost as a thick layer around young plants. Large amounts of partially decomposed material may continue breaking down in the garden and can temporarily compete for available nitrogen. Screen out chunky pieces and return them to the active pile.
Keep the next pile from going quiet
- Save a supply of dry leaves before winter and keep them under cover.
- Mix food scraps with browns every time you add them.
- Chop large scraps and woody stems when convenient.
- Check moisture during hot, dry weather and after heavy rain.
- Use a fork to loosen compacted areas before odors develop.
- Keep meat, dairy, grease, pet waste, diseased plants, and herbicide-treated plant material out of a typical backyard pile.
- Keep the pile accessible year-round so maintenance does not become a chore you avoid.
A silent compost pile is not a verdict; it is feedback. Check the moisture, open up the air spaces, rebalance the ingredients, and give the microbes time to respond. Once you learn to read those clues, composting becomes less about following a rigid recipe and more about making small, sensible adjustments – exactly the kind of gardening skill that improves with every season.