You bring home a lush, vigorous plant, place it in a pretty pot, and wait for the new leaves to appear. Then… nothing. The plant is still green, but it seems to have pressed pause.
Usually, this does not mean you have failed—or that the plant is dying. A plant that moves from a bright greenhouse, nursery bench or garden center into a home suddenly experiences a new combination of light, temperature, humidity, airflow, watering and root space. It may spend several weeks adjusting before it resumes visible growth.
The good news is that most causes are easy to investigate. Instead of adding more fertilizer or watering on a fixed schedule, treat the plant like a small environmental detective story. Look at the leaves, feel the soil, inspect the roots when necessary and make one change at a time.
First, know what “stopped growing” really means
Plants do not produce new leaves at a steady rate all year. Growth naturally slows when light levels fall, temperatures change or the plant enters a seasonal rest period. Some plants also grow in pulses: a new leaf may appear, expand and harden before the next one begins.
A healthy plant may be adjusting if it has:
- Firm stems and leaves with a generally healthy color
- No spreading spots, webbing, sticky residue or clusters of insects
- Soil that dries at a reasonable pace rather than remaining wet for weeks
- At least occasional signs of activity, such as a swelling bud, unfurling leaf or new root
By contrast, yellowing that spreads quickly, mushy stems, a sour-smelling potting mix, persistent wilting or widespread leaf drop deserves faster attention.
The biggest change is often light
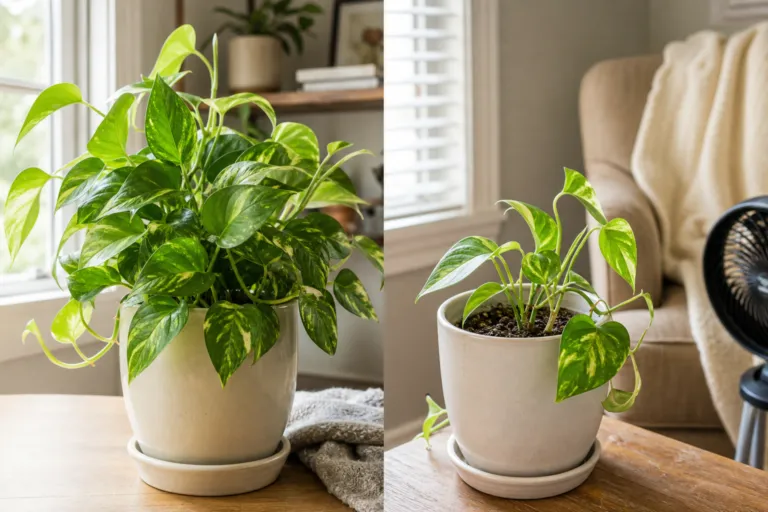
Light powers photosynthesis—the process plants use to make energy. A plant may look as though it is sitting in a bright room, but indoor light is much weaker than outdoor or greenhouse light, especially when the plant is several feet from a window.
This explains why a plant can remain alive yet stop producing new growth. It has enough energy to maintain existing leaves, but not enough surplus energy to build new ones.
Window direction is only the beginning
A south-facing window generally provides the strongest light in the United States, while east- and west-facing windows often offer moderate light. A north-facing window usually provides lower light, although the exact result depends on trees, buildings, curtains, season and latitude.
Distance matters, too. Moving a plant from the windowsill to a nearby table can reduce the light it receives considerably. Sheer curtains, tinted glass and neighboring buildings can reduce it further.
Try placing the plant closer to its brightest suitable window for two or three weeks. If it came from a shaded display, avoid immediately putting it in intense direct afternoon sun. Gradual adjustment helps reduce leaf scorch.
Compare plants by variety, not just by appearance
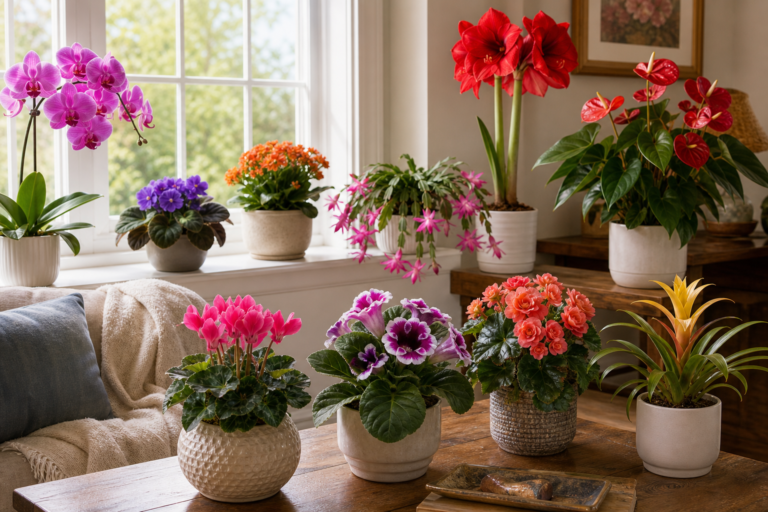
Two plants that look equally healthy at the store may respond very differently at home. A snake plant or ZZ plant can tolerate lower light and may grow slowly even under good care. A hibiscus, citrus tree or many flowering plants usually need much brighter light to keep growing and blooming.
Even within one plant type, cultivars can differ. A green-leaved pothos often tolerates lower light better than a heavily variegated selection because green tissue contributes more to photosynthesis. A compact, slow-growing ZZ plant should not be judged by the same growth schedule as a fast-growing vining plant.
Moving shock can temporarily pause growth
Plants grown in controlled conditions may experience a short adjustment period when they arrive in your home. The change can include lower light, drier air, cooler or warmer temperatures, new airflow and a different watering pattern.
It is normal for some plants to lose a few leaves or show mild yellowing during this transition. The adjustment should generally be temporary rather than a steadily worsening decline.
For the first couple of weeks, keep a new plant away from your collection while you inspect it for pests or disease. Give it stable conditions instead of moving it from room to room. Avoid repotting, pruning and fertilizing all at once unless there is an urgent problem.
A gentle settling-in routine
- Place the plant in bright light appropriate for its species.
- Keep it away from heating vents, air-conditioning blasts and cold drafts.
- Allow the potting mix to guide watering rather than following a calendar.
- Wait until the plant shows signs of stability before feeding or repotting.
- Make changes gradually, especially when increasing direct sun.
Watering problems can hide behind slow growth
Both underwatering and overwatering can stop new growth. A dry plant cannot maintain normal leaf function, while waterlogged roots may lack oxygen and become damaged. The confusing part is that wilting can occur in both situations.
Do not decide when to water by the day of the week. Check the soil. For many common houseplants, push your finger about 2 inches into the mix. If it feels dry at that depth, the plant may be ready for water. Plants with shallow roots, moisture-loving species and small pots may need a different approach, while cacti and succulents usually need the mix to dry more thoroughly.
Measure one watering instead of guessing
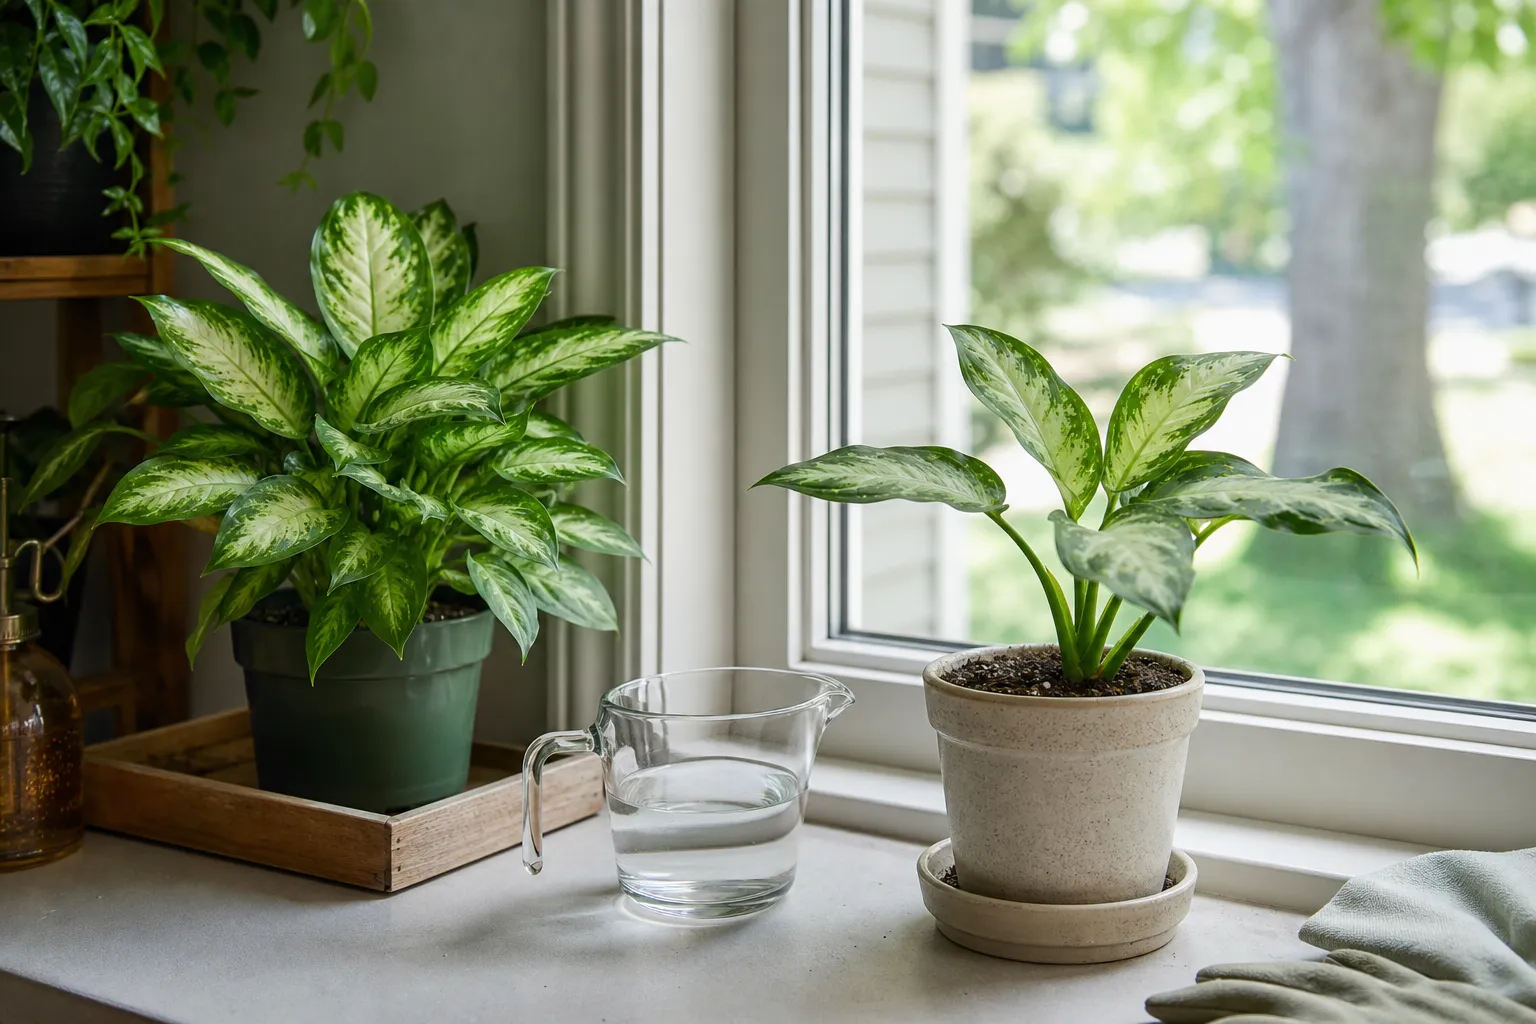
As a simple home experiment, choose one plant and record its watering for a month. Weigh the dry pot if you have a kitchen scale that can handle it, or measure the water you add with a measuring cup.
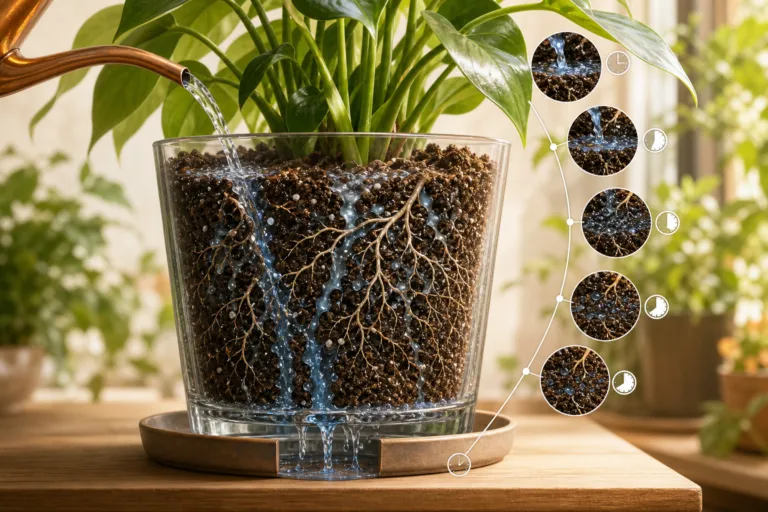
For example, a 6-inch pot might initially need about 2 to 3 cups of water to moisten the mix thoroughly, but the correct amount depends on the potting mix, root mass and drainage. Pour slowly until a small amount drains from the bottom, then empty the saucer. The goal is to wet the root ball evenly, not to keep the pot sitting in water.
Record three details:
- Date and amount of water added
- How many days passed before the top 2 inches became dry
- Whether the leaves looked firm, limp, yellow or unchanged
After several weeks, you will have a much better guide than a generic instruction such as “water once a week.” A plant in a sunny room may use water quickly; the same plant in a dim corner may stay wet for a long time.
The pot may be too small—or much too large
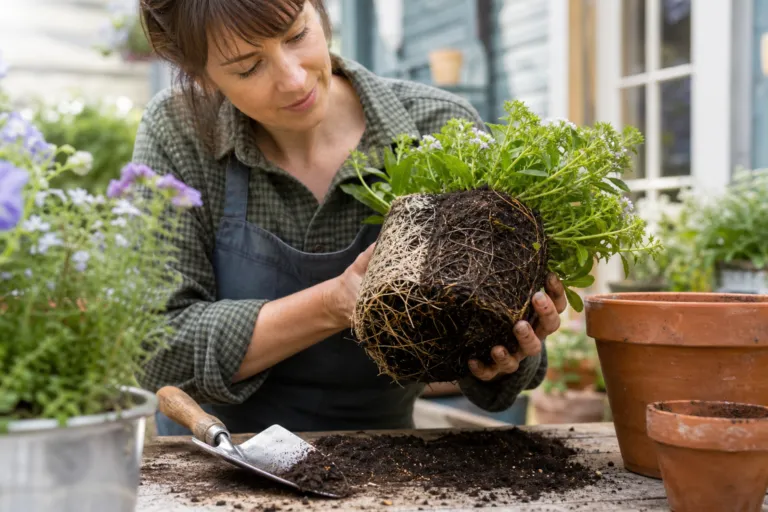
Roots support top growth, absorb water and nutrients, and help anchor the plant. If roots have filled the container, growth may slow because the plant has little room left for new roots. Look for roots circling densely around the root ball, roots emerging from drainage holes or a plant that dries out unusually fast.
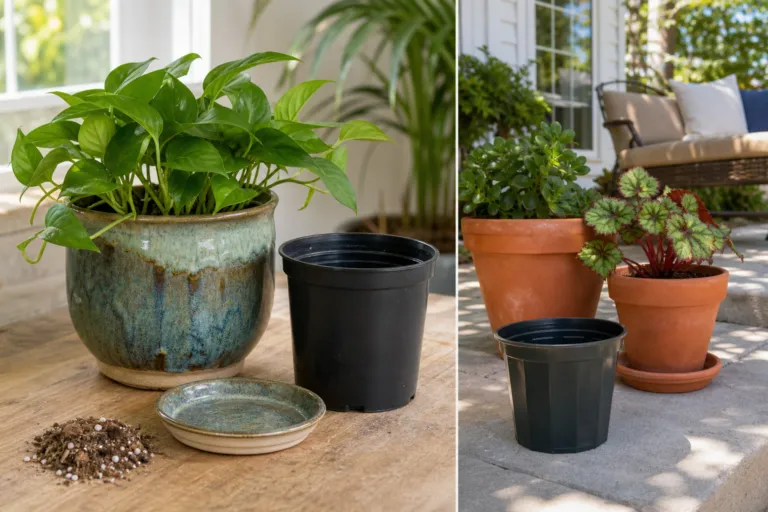
However, a larger pot is not automatically better. A pot that is much bigger than the root system holds more moisture after watering, increasing the risk of a constantly wet root zone. When repotting is appropriate, choose a container only modestly larger than the current one and make sure it has drainage holes.
When to repot a newly purchased plant
Do not repot simply because the nursery pot looks unattractive. If the plant is stable and the soil drains well, let it settle first. Consider repotting sooner if the container has no drainage, the roots are severely crowded, the mix stays wet for an unusually long time or the plant is clearly top-heavy.
Handle the root ball gently. Disturbing roots can create another pause in growth, so give the plant time to recover after the move.
Temperature and humidity influence the pace
Many popular houseplants come from tropical or subtropical regions. They may tolerate ordinary indoor conditions but grow more slowly when temperatures drop, nights become cold or dry air increases water stress.
Keep plants away from drafty doors and windows during cold weather, as well as vents that blow hot or cold air directly onto leaves. Stable conditions usually help more than trying to create a dramatically humid room.
If the air is very dry, a room humidifier can help. Grouping plants together may also modestly increase humidity around their leaves. Pebble trays are often less powerful than people expect, so use them only if they do not leave the pot standing in water.
More fertilizer is rarely the first answer
Fertilizer supplies nutrients, but it cannot compensate for insufficient light, damaged roots or poor drainage. In fact, feeding a plant that is barely growing can cause problems because it may not use the nutrients efficiently. Excess fertilizer salts can accumulate in the potting mix and injure roots.
Wait until the plant is actively growing and otherwise stable. Then use a complete houseplant fertilizer according to the label, often at a diluted rate for routine feeding. During short winter days, many indoor plants need little or no fertilizer because their growth naturally slows.
Seasonal rest is not failure
In much of the United States, indoor light levels drop sharply in late fall and winter even when room temperatures remain comfortable. Plants may respond by producing fewer leaves, using less water and resting until longer days return.
During this period, check the soil more often than you water it. A plant that needed water every seven days in summer might need it every two or three weeks in a dim winter room. The exact interval depends on the species and conditions, so use the soil and the plant’s condition as your guide.
A practical troubleshooting checklist
If your plant has not produced new growth, work through this list in order:
- Check the light. Is the plant receiving the intensity it needs, or is it several feet from the nearest window?
- Inspect the soil. Is it bone-dry, soggy for many days or compacted and pulling away from the pot?
- Check drainage. Does the container have an open drainage hole, and can excess water escape?
- Look for pests. Examine leaf undersides, stems and new growth for insects, webbing or sticky residue.
- Consider temperature. Is the plant next to a draft, radiator, fireplace or air vent?
- Assess the roots. If watering and light seem reasonable but the plant declines, inspect the root ball for severe crowding or decay.
- Give it time. After making one sensible adjustment, wait two to four weeks before judging the result.
Think in trends, not dramatic daily changes
A plant’s progress is easier to judge with photographs. Take one picture from the same angle every week and note new leaves, leaf color, soil moisture and watering dates. This can reveal gradual improvement that is difficult to notice day by day.
Look for small wins: a bud swelling, a leaf unfurling, firmer stems or a longer interval between waterings. These signs often appear before a burst of visible growth.
The pause is often part of the process
When a plant stops growing after coming home, it is usually responding to a new environment rather than rejecting your care. The most common culprits are lower indoor light, a change in watering, moving shock, seasonal slowdown, crowded roots or temperatures that do not suit the plant.
Start with light and soil moisture, make changes gradually and resist the urge to fix everything at once. Once your plant has stable conditions, it may reward you with new growth—but even a quiet, healthy plant is still doing important work below the soil and maintaining the leaves it already has.
Give it a little time, observe carefully and adjust with purpose. Successful houseplant care is less about perfect routines than about learning what your particular plant is telling you.