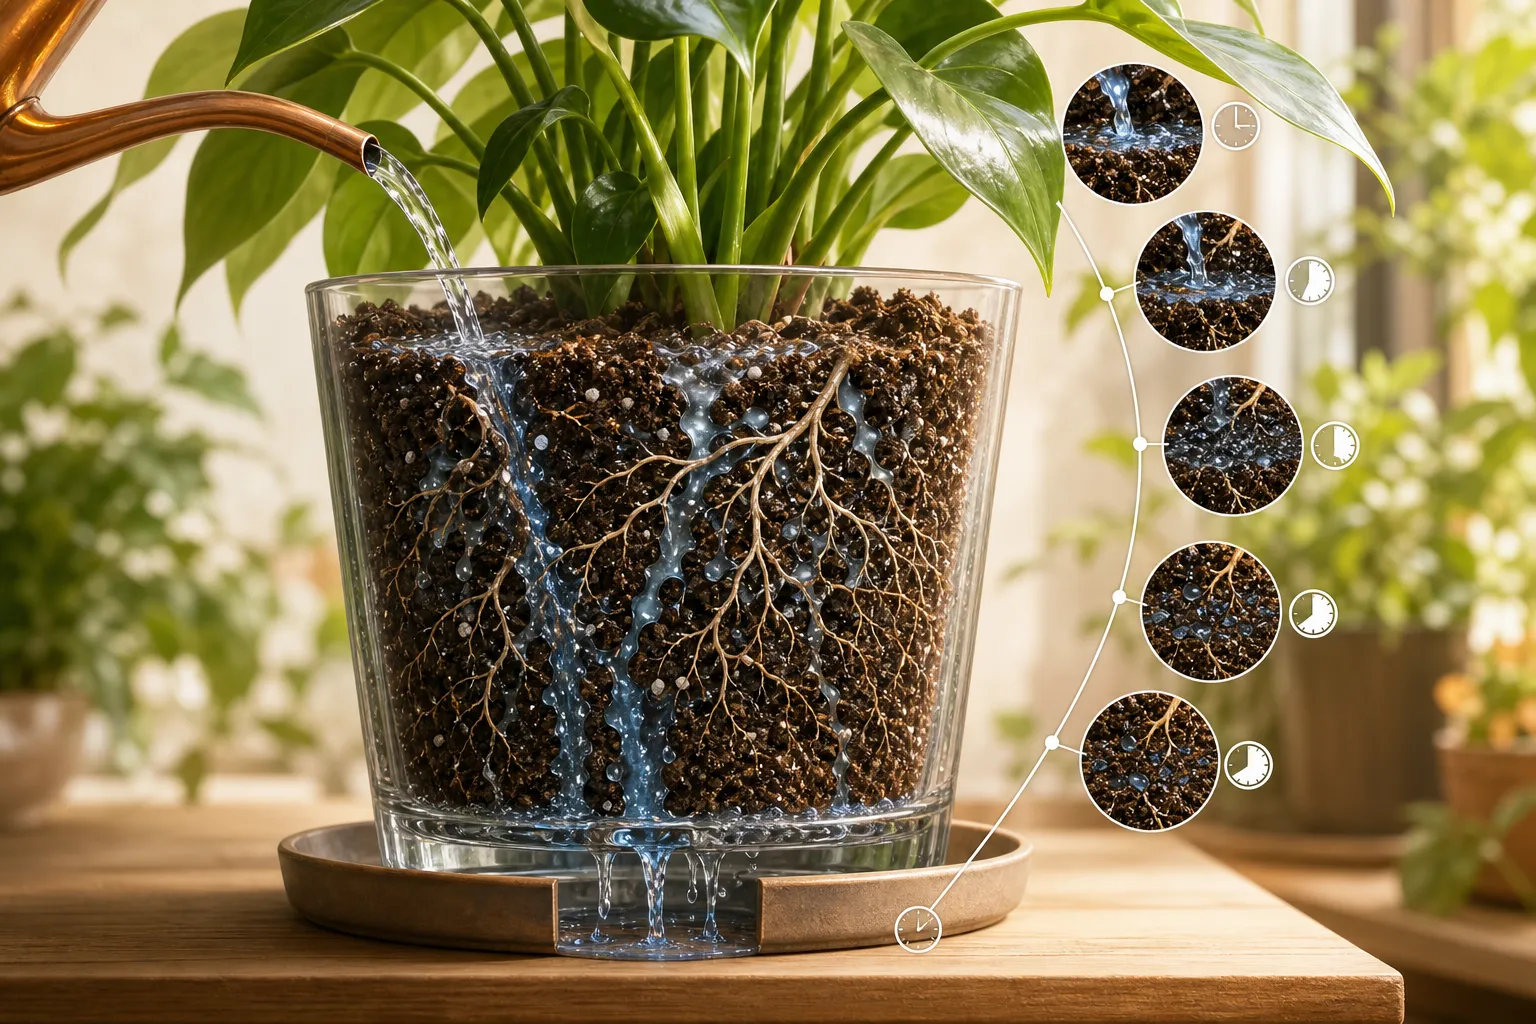
Watering can look like a simple chore: pour, wait for a little runoff, and move on. But inside the pot, those first 10 minutes are busy. Water travels through pores in the potting mix, pushes air around the roots, dissolves small amounts of nutrients, and eventually leaves through the drainage hole—or stays trapped if the container and mix cannot let it go.
Understanding this short sequence makes watering much easier. You do not need laboratory equipment or a degree in soil science. A few observations—how quickly water disappears, when runoff begins, how heavy the pot feels, and whether the mix remains soggy—can tell you a great deal about what is happening below the surface.
Minute 0: Water lands on the surface
The first few seconds depend on the condition of the potting mix. If the mix is already slightly moist, water usually spreads and begins moving downward almost immediately. If it has become very dry, especially in a peat-based mix, water may bead on top, run down the sides, or drain through cracks before the middle of the root ball becomes wet.
That surprising behavior does not always mean the pot is well watered. Very dry mix can become temporarily water-repellent as it shrinks away from the pot wall. A quick splash may escape through gaps while leaving dry pockets around the roots.
What to look for
- Even darkening: the surface changes color across most of the pot.
- Beading or channeling: water sits on top or races down one narrow path.
- Immediate runoff: water exits almost as soon as it enters, which may indicate a very dry, compacted or root-filled pot.
For a thirsty container, try watering slowly in two or three passes. Add enough to moisten the top, wait a minute, then add more. This gives the mix time to rehydrate instead of forcing water around the root ball.
Minute 1: Water moves through the mix’s pores
Potting mix is not a solid block. It contains large and small spaces, or pores. Some pores hold water; others hold air. Ingredients such as perlite, pine bark, vermiculite, coconut coir and peat help create a balance between moisture retention and drainage.
As water moves downward, it fills some of those spaces. The air that occupied them has to move elsewhere—usually upward and out of the mix, or sideways through the pot. This is why a thoroughly watered container may briefly smell earthy and feel heavier: water has replaced much of the air in the pore spaces.
That temporary saturation is normal. The important next step is drainage. Once gravity removes the freely moving water, larger pores begin to refill with air. Roots need that air for respiration, so a pot that drains well can be wet without remaining suffocated.
Minutes 2–3: The root zone becomes a wet, living interface
Roots do not simply sit in water and absorb everything around them. Fine roots and root hairs contact the thin films of water coating mix particles. From there, the plant takes up water and dissolved mineral nutrients through the root surface.
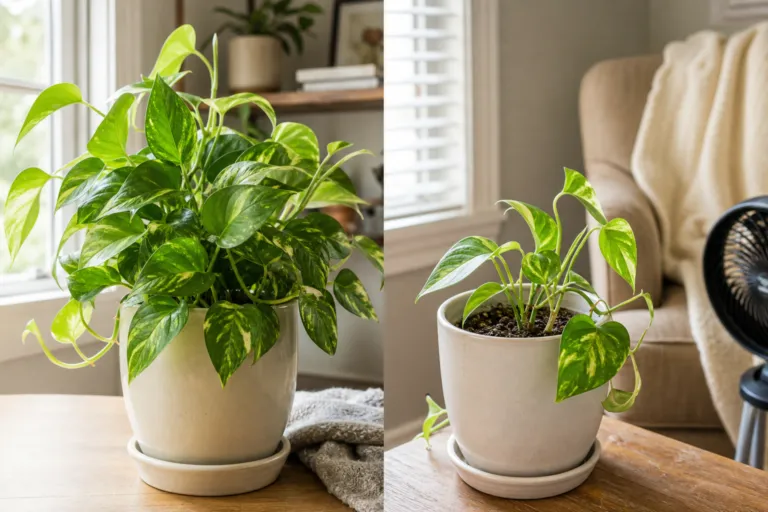
The plant’s demand varies. A vigorous tomato in a sunny patio container may draw water quickly during a hot afternoon. A peace lily in a cool, dim room may use far less. A recently repotted plant, a plant with damaged roots, or a dormant plant may also take up water differently from a rapidly growing one.
Water uptake begins quickly, but it is not an instant refill of the leaves. Water must travel through the roots and stems. As moisture leaves the plant through tiny leaf openings called stomata, that ongoing loss helps pull more water upward through the plant’s internal water-conducting tissues.
Why watering the surface is not the same as watering the roots
A damp top inch can be misleading. In a tall pot, the upper layer may be wet while the lower root zone remains dry—or the opposite may happen if the mix has settled and holds water near the bottom. This is why checking moisture at more than one depth is useful.
For small houseplants, push a finger about 1 inch into the mix. For larger containers, use a wooden skewer, chopstick or moisture probe and check several inches down. Pull it out and examine whether it feels cool and damp, or comes out nearly clean and dry.
Minutes 3–5: Drainage begins to reveal the pot’s design
In a container with an open drainage hole and a well-structured potting mix, excess water begins leaving the bottom after the mix has been wetted enough for water to connect through the pores. The exact timing varies widely. It depends on pot diameter and height, mix texture, root density, how dry the mix was, and how quickly you poured.
Runoff is useful information, but it is not a perfect scorecard. Water appearing at the bottom proves that some water traveled through the pot; it does not prove that every part of the root ball is evenly moist.
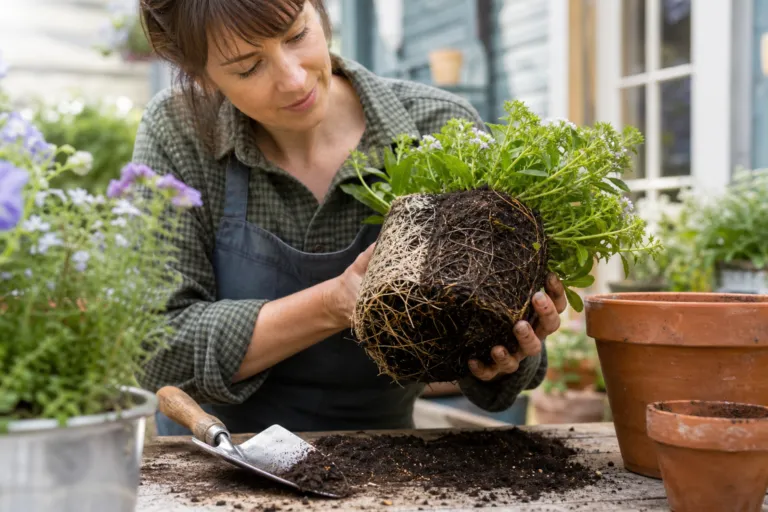
If water runs out immediately, the plant may be root-bound, the mix may have shrunk from the pot wall, or the mix may contain large channels. If no water drains after a generous, slow watering, check whether the container has a blocked hole, an overfilled saucer, or a dense mix that drains poorly.
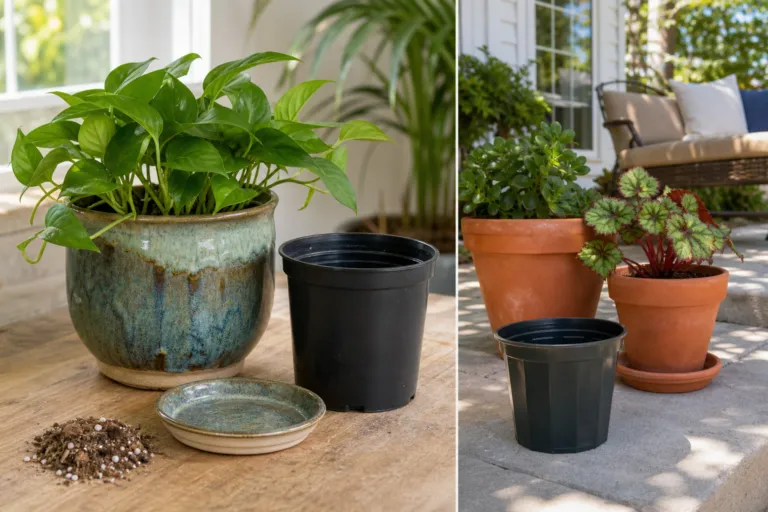
The pot material matters
- Unglazed clay: porous walls can allow moisture to evaporate and air to move through the container, so the mix often dries faster.
- Plastic and glazed ceramic: these hold moisture longer because the walls are mostly nonporous.
- Decorative cachepots: an inner pot may drain correctly while the outer pot traps runoff. Empty it after watering.
Never assume a layer of gravel at the bottom fixes a container without a drainage hole. It does not create an exit for water. A true drainage opening, kept clear, is the practical solution.
Minutes 5–7: Water redistributes—and gravity takes over
After the first wave of drainage, water continues to redistribute through the mix. Some remains attached to particles and organic matter; some sits in smaller pores that drain slowly; some continues downward and exits.
This is the point when a pot may feel noticeably heavier. The added weight is a useful, low-tech moisture signal. If you lift the container just after watering and again when the plant needs water, you will gradually learn its “full” and “ready” weights.
Do not expect every pot to dry from the top down at the same rate. A broad, shallow pot behaves differently from a deep nursery container. A crowded root ball may channel water quickly. A mix rich in fine organic material may stay damp longer than a bark-heavy, airy mix.
Minutes 7–10: The balance between water and air starts to settle
By the 10-minute mark, the container is often no longer in its most saturated state, provided it has good drainage. Freely draining water has begun to leave, while smaller amounts remain available around the roots. Air begins returning to some of the larger pores.
This balance—moisture plus oxygen—is what healthy roots need. “Moist” does not mean every pore is full of water. A good container mix usually holds both water and air at the same time.
In a pot that stays saturated, the situation is different. Water occupies spaces that should contain air, and roots may struggle to respire. Prolonged saturation can weaken roots and create conditions associated with root disease. The warning sign is not one wet watering; it is a pattern of soil that remains soggy for days, especially when the plant is declining.
A simple 10-minute watering experiment
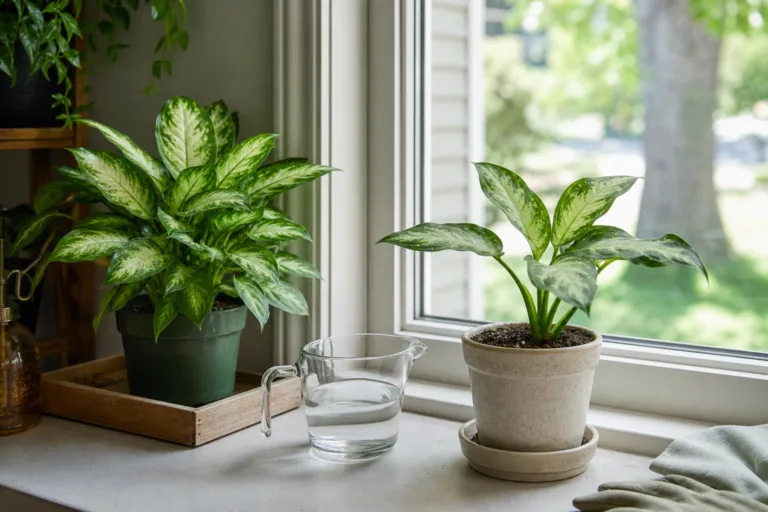
You can observe this process with one plant, a measuring cup and a timer. Choose a container with a drainage hole and do not disturb the plant while you test it.
- Check the mix at the surface and about 1 to 2 inches below it.
- Weigh the pot on a bathroom scale, or simply lift it and note how heavy it feels.
- Measure 1 quart of water. Pour it slowly over about 30 seconds.
- Record when the surface becomes evenly damp and when the first runoff appears.
- Place a measuring cup beneath the drainage hole and collect runoff for the next 10 minutes.
- At the end, compare the amount poured with the amount collected.
For example, if you add 1 quart and collect 3 fluid ounces during the test, most of the water stayed in the potting mix or left slowly later. If you collect nearly the entire quart almost immediately, investigate channeling, a shrunken mix or a heavily root-filled container. These numbers are observations for your pot, not universal targets.
Compare two different plants
Repeat the test with a plastic pot and an unglazed clay pot of similar size. You may notice that the clay container feels lighter sooner, particularly in warm, dry conditions. Then compare a loose, barky mix with a fine, compact mix. The loose mix may drain faster while still needing more frequent watering; the fine mix may retain moisture longer but offer less air if it remains saturated.
This small experiment turns vague advice into personal knowledge. Your indoor humidity, window exposure, pot material and potting mix all matter more than a rigid watering calendar.
What nutrients are doing during those 10 minutes
Water can dissolve and move soluble nutrients through the potting mix. That movement helps roots access nutrients, but it also means repeated heavy watering can carry some nutrients out of the container.
If you use fertilizer, follow the product label and avoid treating every watering as a feeding. Containers have limited nutrient reserves, but excess fertilizer can damage roots and accumulate as salts. Periodic thorough watering with plain water may help reduce buildup when the plant and local water quality make that appropriate.
Watch for a white crust on the mix or pot rim, browned leaf edges and poor growth, but remember that these symptoms can have several causes. Do not diagnose a nutrient problem from one sign alone.
How to improve the first 10 minutes
- Use a quality potting mix rather than dense garden soil in containers.
- Water slowly enough that the mix can absorb the moisture.
- For very dry mix, pause and water again instead of flooding the pot at once.
- Confirm that the drainage hole is open and the saucer is not holding standing water.
- Empty decorative outer pots after watering.
- Adjust frequency for light, temperature, humidity, plant size and pot material.
- Check moisture below the surface instead of relying only on appearance.
The practical takeaway
During the first 10 minutes after watering, a pot changes from a mostly air-filled root environment to a wet one, then gradually moves back toward a balance of water and oxygen. Water spreads, dissolves nutrients, contacts roots, drains through the mix and changes the pot’s weight.
Your goal is not to keep the container permanently wet. Aim for a thorough watering followed by enough drying for the plant’s needs and for air to return to the root zone. Once you start watching the pot—not just the leaves—you will become much better at knowing when to water, how slowly to pour and when a drainage problem needs attention.