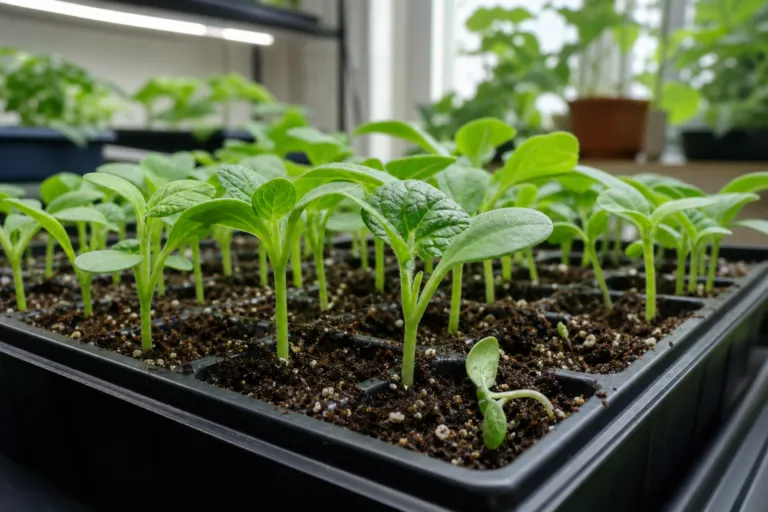
Few gardening disappointments feel bigger than checking your seed tray one morning and finding tiny seedlings collapsed at the soil line. Sometimes the seeds never emerge at all. Other times, healthy-looking sprouts suddenly wilt, topple over, and disappear in a matter of days.
This familiar problem is called damping-off. It is not one single disease, but a group of seedling diseases caused by several soilborne fungi and fungus-like organisms. The good news is that damping-off usually depends on a combination of conditions – excess moisture, poor drainage, cool soil, weak light, crowding, and contaminated supplies. Change those conditions, and you can dramatically improve your results.
What is damping-off?
Damping-off affects seeds and very young seedlings during their most vulnerable stage. The organisms responsible can include species of Pythium, Rhizoctonia, Fusarium, and Phytophthora. Some are true fungi; others are fungus-like water molds. For a home gardener, the practical takeaway is the same: these pathogens thrive when young plants remain wet, slow-growing, and crowded.
Damping-off can happen before or after emergence:
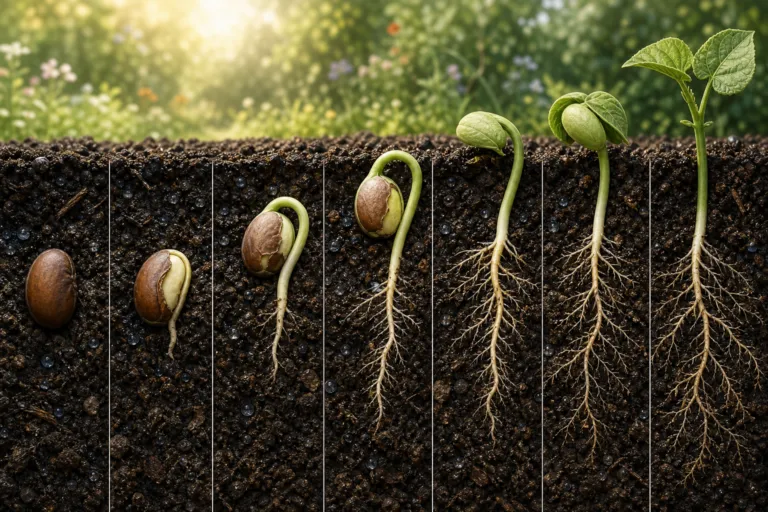
- Before emergence: A seed begins to germinate but rots underground. You see empty cells or bare patches and may assume the seed was old or infertile.
- After emergence: The stem becomes thin, soft, brown, or black at the soil line. The seedling wilts, falls over, and usually dies.
Once seedlings develop several true leaves and a stronger root system, they generally become less vulnerable. Your goal is to help them pass quickly and safely through that delicate early stage.
How to recognize the warning signs
Damping-off often spreads in small clusters. One or two seedlings may collapse first, followed by neighboring plants in the same cell pack or tray. Look closely at the base of the stem rather than only at the leaves.
Common symptoms
- Seeds fail to emerge even though the medium stays wet.
- Newly emerged seedlings wilt despite moist potting mix.
- The lower stem looks water-soaked, pinched, gray, tan, brown, or black.
- Seedlings lie flat on the surface as if someone snipped them at ground level.
- Roots look sparse, brown, soft, or rotten.
- White, fine, cobweb-like growth appears on damp plant tissue or potting mix.
Not every fallen seedling has damping-off. Cutworms, poor seed quality, dry roots, inadequate light, and mechanical damage can cause similar trouble. If the stem is cleanly severed above the soil, investigate pests. If it is constricted and rotted at the soil line, damping-off is more likely.
Why seedlings are especially vulnerable
Young seedlings have tender stems and small root systems. They cannot tolerate long periods of saturated soil, and they may grow slowly when light or warmth is inadequate. That gives soilborne pathogens more time to attack delicate roots and stems.
The most common risk factors include:
- Waterlogged or poorly drained potting mix
- Containers without drainage holes
- Cool, wet soil that slows germination
- Overcrowded seedlings and poor air movement
- Weak light, which produces thin, stretched stems
- Reused trays, dirty tools, or contaminated benches
- Garden soil or unfinished compost used in seed-starting containers
- Seeds planted too deeply, delaying emergence
- Heavy overhead watering that splashes soil and spreads pathogens
Start clean: the foundation of prevention
Sanitation may not be glamorous, but it is one of the most effective ways to prevent damping-off. Pathogens can travel in old potting mix, soil stuck to trays, dirty tools, plant debris, hands, and irrigation water.
Before sowing, make this your routine
- Use a fresh, commercially prepared seed-starting mix rather than garden soil.
- Choose a lightweight mix that drains freely but still holds enough moisture for germination.
- Wash reusable pots and trays thoroughly to remove every bit of old mix.
- Disinfect cleaned containers according to the product label or a trusted extension recommendation, then rinse when appropriate and let them dry completely.
- Clean scissors, dibblers, plant labels, and other tools before use.
- Keep seed-starting supplies off dirty floors and away from outdoor soil.
- Use clean water, especially if your hose or watering can has contacted garden soil.
Do not assume that a bag of old potting mix is still clean simply because it looks dry. Store unused mix sealed and protected from splashing water, soil, and plant debris.
Water carefully – not constantly
Moisture is essential for germination, but saturated conditions create the perfect setting for damping-off. The surface should not remain shiny, muddy, or permanently wet. Aim for evenly moist mix with air spaces around the roots.
Rather than watering by habit, check the tray. Press a finger lightly into the top half-inch of mix, or lift a container before and after watering so you learn how much its weight changes. A seed tray that feels heavy and cool for days may be staying too wet.
A simple watering measurement
Try this small home experiment with one 3-inch pot filled with the same mix you use for seeds. Weigh the dry pot and mix, then add water slowly until a small amount drains from the bottom. Weigh it again. The difference approximates the amount of water held immediately after thorough watering.
For example, if the dry setup weighs 10 ounces and the freshly watered setup weighs 14 ounces, it has gained about 4 fluid ounces of water by weight. Instead of automatically adding another 4 ounces the next day, check the pot first. In a warm, bright room it may need water sooner than in a cool basement, and a small cell may dry faster than a large container.
This is not a universal watering schedule; it is a way to replace guesswork with observation. Many seedlings need water every few days, not several times a day. The mix, container size, crop, room temperature, and airflow all matter.
Better watering methods
- Water from the bottom by setting containers in a shallow tray for a short time, then drain away excess water.
- Use a narrow-spout can or gentle stream aimed at the mix, not the leaves.
- Use a spray bottle only for light surface moisture during the earliest stage; misting alone may wet the top while leaving lower roots dry.
- Allow excess water to drain fully before returning trays to their shelf.
- Empty standing water from saucers and propagation trays.
Give seedlings the conditions they need to grow quickly
Vigorous seedlings are better equipped to move beyond the most vulnerable stage. Good light, appropriate warmth, and correct sowing depth are therefore part of disease prevention – not just ways to improve appearance.
Light
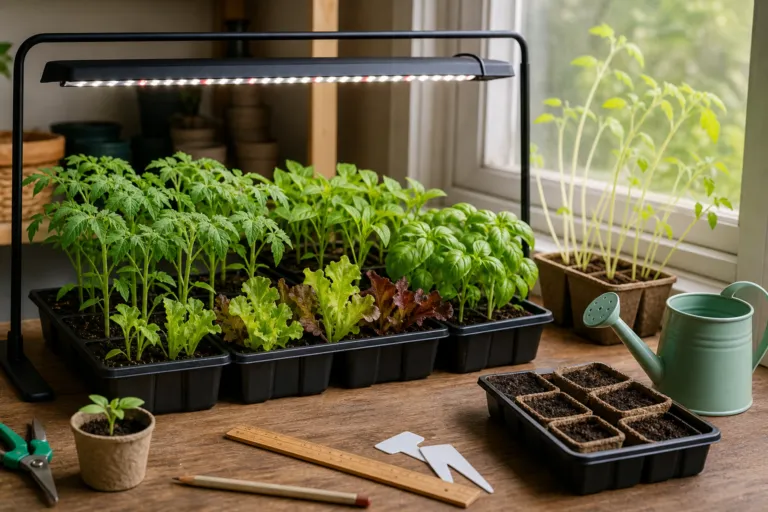
A bright windowsill may work for a few crops, but many indoor seedlings become thin and stretched without supplemental light. Place a grow light close enough to provide strong, even illumination without overheating the plants. Aim for roughly 12 to 16 hours of light daily, followed by a dark period.
When seedlings stretch, their stems become longer and weaker. They may lean, rub against one another, and remain closer to damp potting mix, all of which makes early problems harder to manage.
Temperature
Use the germination temperature recommended for the crop on the seed packet. For many indoor crops, bottom heat that keeps the mix around 70° to 75°F can speed germination and early root growth, but do not leave a heat mat running without a thermostat or allow the mix to become hot and dry.
Warmth is not a cure-all. Some damping-off organisms also cause trouble in warm conditions, particularly when moisture and humidity remain high. Think of heat as a tool for achieving quick, healthy emergence – not as permission to keep the tray wet.
Depth and spacing
Sow seeds at the depth listed on the packet. Planting too deeply delays emergence and keeps the developing seedling in contact with damp soil for longer. Once seedlings appear, thin crowded cells promptly. Good spacing improves air circulation and makes it easier to water the mix without constantly wetting foliage.
Compare varieties, but do not expect immunity
Different varieties can vary in vigor, germination speed, and tolerance of stressful conditions. Some seed packets may identify cultivars with disease resistance, but resistance depends on the specific crop and disease. A variety described as resistant to one problem is not automatically protected from damping-off.
If you are comparing varieties, run a fair test:
- Use the same fresh mix, container size, sowing depth, temperature, light, and watering method.
- Give each variety the same number of seeds.
- Record emergence dates, germination percentage, and the number of seedlings that remain healthy after two weeks.
- Repeat the test in another season before drawing a strong conclusion.
For example, you might compare two tomato varieties in separate labeled cell packs. If one produces taller, earlier seedlings with fewer losses, that may reflect stronger seed quality or better early vigor – but one trial cannot prove that the variety is inherently damping-off resistant.
What to do when damping-off appears
Act quickly. A seedling that has collapsed from damping-off rarely recovers, and leaving infected material in the tray gives the problem more opportunity to spread.
- Remove collapsed seedlings and the surrounding potting mix from their cells.
- Place diseased material in the trash rather than the compost pile.
- Move healthy seedlings into a clean tray if the original container is crowded or contaminated.
- Improve airflow and light immediately.
- Reduce watering frequency while keeping roots from becoming completely dry.
- Clean and disinfect the tray, tools, and work surface before starting another batch.
Do not try to bury the rotted stem deeper or prop it upright with extra mix. Unlike some stem-cutting problems, a seedling with a decayed base usually cannot rebuild that damaged tissue.
Should you use a fungicide?
For most home seed starting, prevention is the better first choice. Seed treatments and registered products exist for certain crops and situations, but products differ by plant, pathogen, application method, and location. Some treatments can injure young roots or interfere with germination if used incorrectly.
If you consider a pesticide, read the entire label first and confirm that it is registered for the crop and use site in your state. Never apply a product to edible seedlings unless the label specifically permits that use. When in doubt, contact your county extension office for crop-specific guidance.
A reliable seed-starting checklist
Before sowing your next tray, run through this short list:
- Fresh seed-starting mix: check.
- Clean containers with drainage holes: check.
- Seeds sown at the recommended depth: check.
- Bright light ready before seedlings emerge: check.
- Warmth suited to the crop: check.
- Gentle, measured watering plan: check.
- Room for airflow and timely thinning: check.
- Clean hands, tools, and work surfaces: check.
Damping-off can feel mysterious when a tray fails without warning, but it usually responds to very practical changes. Keep the mix moist rather than soggy, help seedlings grow steadily, and treat sanitation as part of planting – not as an emergency cleanup step.
With a clean setup and a little attention to water, light, temperature, and spacing, you can give your seedlings a much better start. And if one sowing fails, do not give up: remove the problem, reset the conditions, and try again. Many successful gardens begin with exactly that second, better-planned tray.