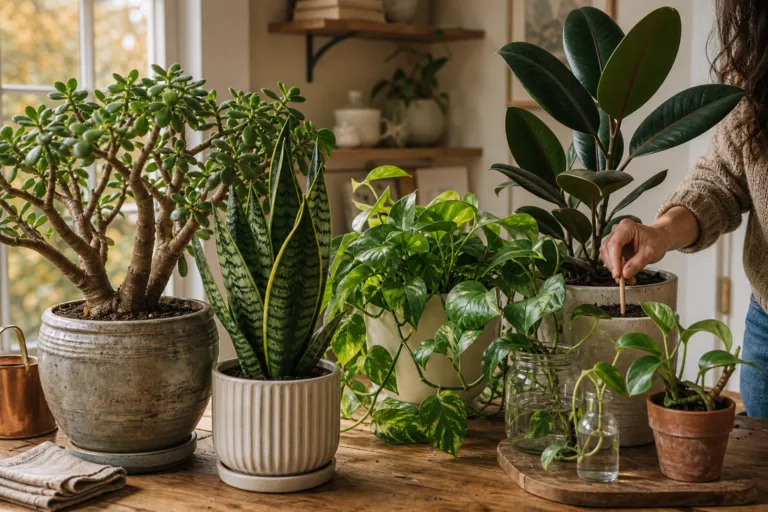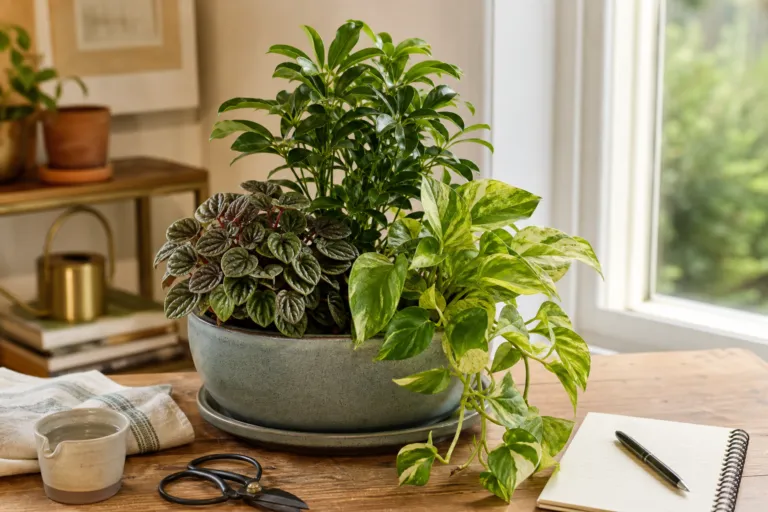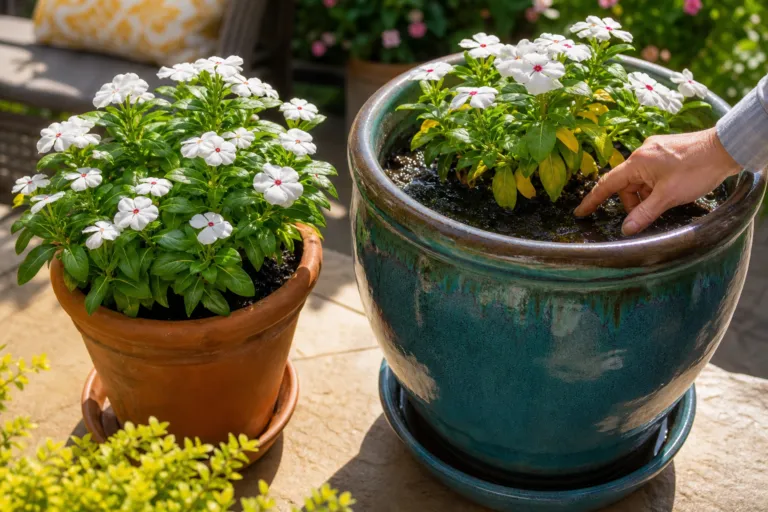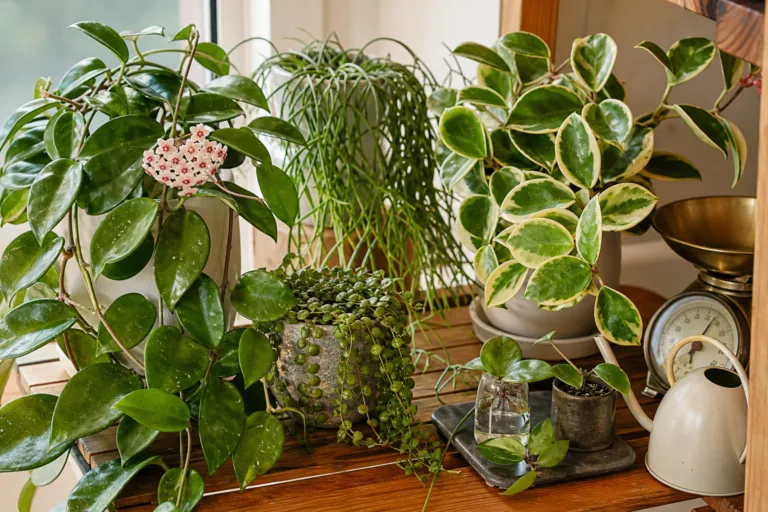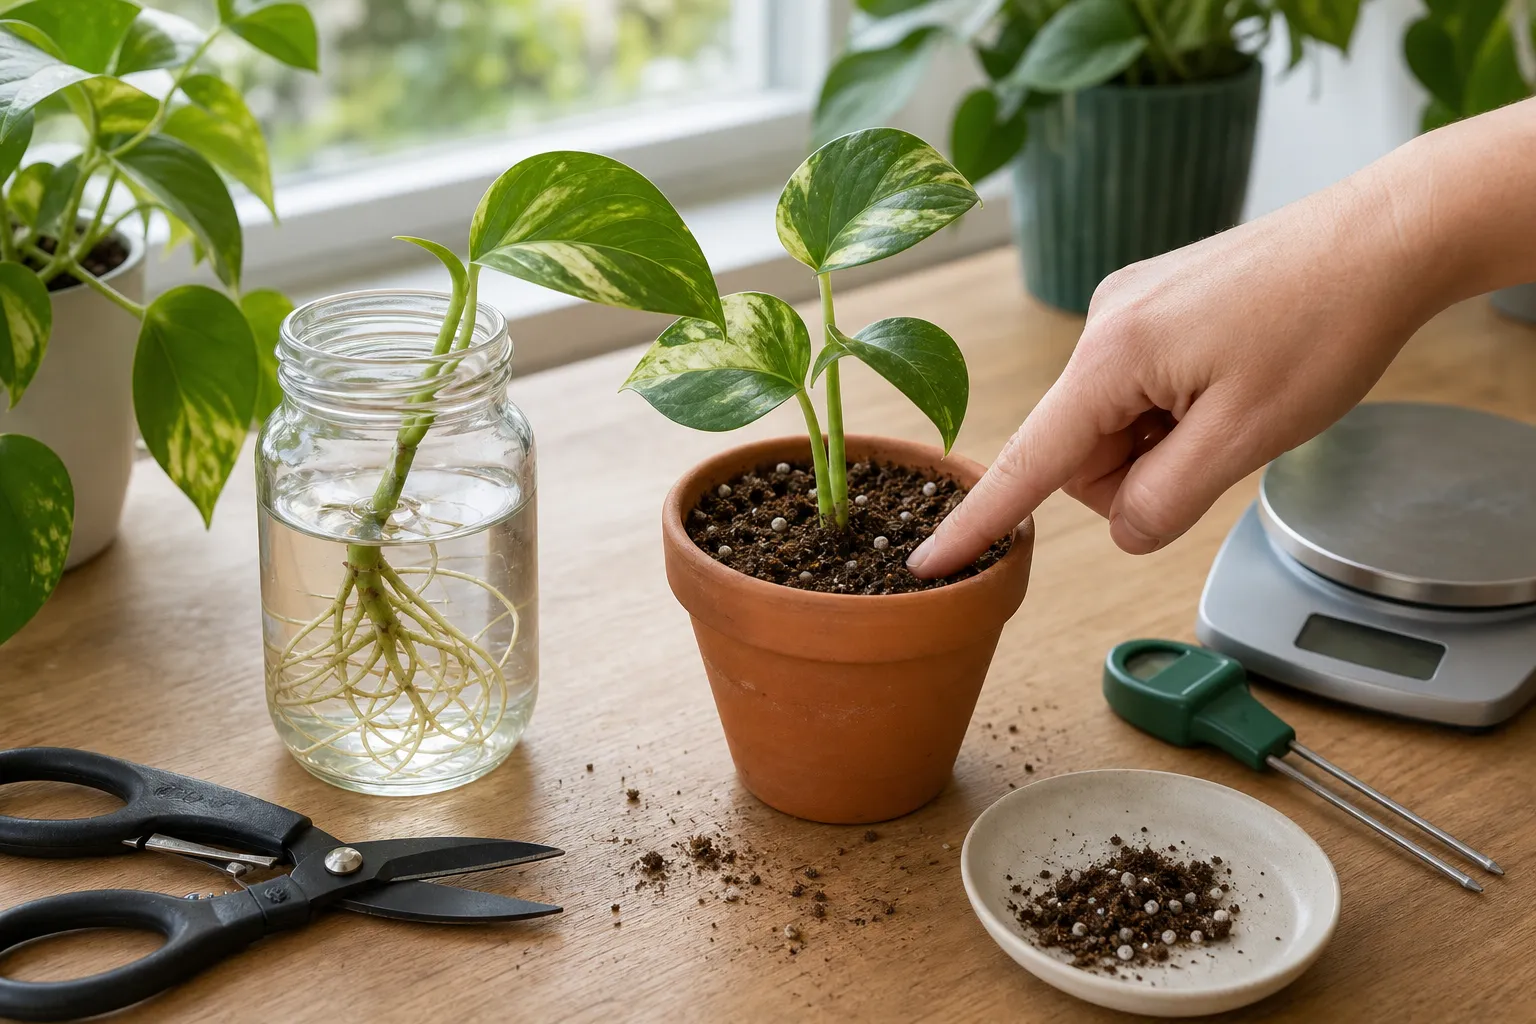
Few gardening moments feel more magical than watching roots appear on a cutting in a glass of water. A pothos vine, philodendron stem, tradescantia cutting, or herb sprig can seem ready for its own pot as soon as those pale roots reach an inch or two long.
Then the move happens – and the plant droops, pauses, loses a leaf, or even collapses. It is easy to assume you did something wrong. Usually, though, the cutting is simply adjusting to a completely different root environment.
Water propagation is an excellent way to start many plants, but roots grown in water do not automatically function like roots grown in potting mix. With a gentle transition, a suitable container, and careful moisture control, you can give your new plant a much better chance of settling in.
Water roots and soil roots do different jobs
The roots you see in a jar have developed in an environment where water is always close by and oxygen conditions are different from those in a porous potting mix. They are adapted to absorbing moisture directly from the surrounding water, often with relatively little need to explore for it.
Once planted, those roots must do several new things at once. They need to make contact with moist particles, cope with air spaces between those particles, and begin branching through the mix. They also have to tolerate brief changes between wetter and drier conditions.
That does not mean water-grown roots are “bad.” It means they are young and specialized for their original conditions. Illinois Extension notes that roots formed in water may be weaker and can adapt less easily to potting mix than roots formed in a rooting medium. The plant may need time to replace or supplement its first roots with better-adapted soil roots.
Five reasons a water-rooted cutting may struggle
1. The roots are too short or too delicate
A few white bumps are encouraging, but they may not yet support a leafy cutting. Before potting, look for several healthy roots rather than one long, fragile strand. Roots around 1 to 2 inches long are a useful starting point for many common houseplant cuttings, although the ideal timing varies by species.
More roots are not always better. Roots left in water for too long can become tangled, brittle, or difficult to spread through a small pot without damage. If the roots are long enough to wrap around themselves, consider potting the cutting soon rather than waiting for a dramatic root mass.
2. The potting mix stays too wet
New growers often reason that a plant coming from water should be kept saturated. In a pot, that approach can remove the air spaces roots need. Constantly soggy mix may leave the cutting unable to exchange gases at the root surface, and the stem base can become vulnerable to rot.
Choose a fresh, quality potting mix made for containers – not soil dug from the yard. A mix containing materials such as perlite, fine bark, coco coir, or peat can provide a useful balance of moisture retention and drainage. The exact blend depends on the plant: a moisture-loving pothos can handle a more water-retentive mix than a succulent or many culinary herbs.
3. The new pot is much too large
A tiny cutting in a large container creates a broad volume of mix that may remain wet for a long time. The plant has only a small root system, so it cannot use that moisture quickly.
Start with a small pot, often 2 to 3 inches across, with a drainage hole. The container should be large enough to hold the roots without bending them sharply, but not so large that the cutting disappears in a deep reservoir of wet mix. Move up one pot size when the plant has clearly rooted and begins active growth.
4. The cutting loses water faster than its roots can replace it
Leaves continue to release moisture after planting. This natural process, called transpiration, can outpace water uptake while the roots are adjusting. The result is a limp stem or wilted foliage even when the mix feels moist.
Bright, indirect light is usually safer than strong direct sun during the first week or two. Direct afternoon sunlight can heat the leaves and increase water loss before the new root system is ready.
5. The stem is planted too deeply
Only the rooted portion and the appropriate node need to sit below the mix. Burying a large section of stem or allowing leaves to rest against wet soil can increase the chance of decay.
Remove leaves that would sit below the surface, make a narrow planting hole, and gently settle the roots into it. Firm the mix lightly so the roots make contact, but avoid packing it down hard.
How to make the move from water to soil
Step 1: Check the cutting before planting
- Look for firm stems and healthy, pale roots.
- Remove any slimy, brown, or obviously damaged root sections with clean scissors.
- Make sure at least one healthy node remains connected to the cutting if the plant requires a node to produce new growth.
- Plant promptly rather than letting the roots dry out in open air.
Step 2: Prepare the mix and pot
Pre-moisten the potting mix so it feels evenly damp but not muddy. This matters because very dry mix can initially repel water, while saturated mix leaves little room for air.
Use a clean container with a drainage hole. A decorative cover pot is fine, but empty any water that collects beneath the nursery pot after watering. Never rely on a container without drainage unless you are highly confident in measuring moisture and the plant’s needs.
Step 3: Plant at the same general depth
Use a pencil or your finger to create a hole. Place the roots downward and spread them as naturally as you can. Cover the roots and the necessary node, then gently press the mix around the base.
Water slowly until a small amount drains from the bottom. This settles the mix around the roots and shows that the entire root zone has been moistened. Do not keep adding water after the pot has drained.
Step 4: Reduce stress while roots adjust
Place the cutting in bright, indirect light with moderate warmth. Higher humidity can reduce leaf water loss, but the plant still needs air movement. If you use a clear plastic bag or humidity dome, keep it from touching the leaves and open it daily for ventilation.
Wait before fertilizing. Freshly potted cuttings are focused on root adjustment, and extra fertilizer is rarely the solution to early transplant stress. Once you see new growth, follow the plant’s normal feeding guidance and use a properly diluted houseplant fertilizer if needed.
A simple watering test with real measurements
Rather than watering by the calendar, try a small measurement experiment. It helps you learn how quickly your specific pot and mix dry in your home.
- Water the newly potted cutting until drainage begins, then let the pot drain completely.
- Weigh the pot and plant with a kitchen scale. Record the number in ounces.
- Check the pot each day without watering. Note whether the mix is still damp and whether the plant looks firm.
- Weigh it again when the upper 1 inch of mix feels dry. The difference gives you an estimate of water lost since the last watering.
- Water with roughly the amount needed to restore moisture, allowing a little drainage, and record the new weight.
For example, if a freshly watered pot weighs 18.4 ounces and weighs 15.9 ounces when the top inch is dry, the plant and mix have lost about 2.5 ounces of water. That is not a universal watering prescription, but it gives you a useful reference for that pot in that room.
For a second check, insert your finger about 1 inch into the mix. If it feels dry at that depth and the plant is otherwise stable, water thoroughly. If the surface is dry but the mix below remains damp, wait and check again the next day. Small pots in warm, bright rooms may need water more often than those in cool, dim locations.
Do different plants respond differently?
Absolutely. A comparison of common cuttings makes the difference clear.
- Pothos and heartleaf philodendron: Often forgiving and quick to root in water, but they can still wilt when planted if the mix is too wet or the pot is oversized.
- Tradescantia: Usually grows readily from cuttings, yet soft stems can rot when buried deeply or kept constantly wet.
- Spider plant plantlets: Often transition smoothly, especially when they already have small roots and are planted in a lightly moist mix.
- Fiddle-leaf fig or rubber plant cuttings: Can be slower and less predictable. A brief pause after potting does not necessarily mean failure.
- Succulents and many drought-tolerant plants: Frequently do better from a dry or lightly moist propagation method rather than sitting in water for an extended period.
- Herbs such as basil or mint: May root quickly, but their soft tissues need good airflow and careful watering to avoid rot.
Species, season, stem maturity, light, temperature, and the condition of the original cutting all influence the result. A method that works beautifully for pothos may be a poor choice for a woody shrub or succulent.
Try a side-by-side home experiment
If you regularly propagate plants, compare methods instead of relying on memory. Take several healthy cuttings from the same parent plant and label them clearly.
- Root one group in water.
- Root a second group directly in a moist, airy propagation mix.
- Use the same light, temperature, and container size where practical.
- After roots form, pot the water-rooted group and the mix-rooted group in identical containers.
- Record survival, wilting, new leaves, and the number of days until active growth resumes.
Do not treat a single failed cutting as proof that a method never works. Repeat the comparison with a second batch, especially if the first trial occurred during a cold winter or a very hot summer. Your home’s humidity, window exposure, and watering habits can strongly affect the outcome.
Signs of adjustment versus signs of trouble
A little drooping during the first several days can be normal. The cutting may also pause before producing new growth while it redirects energy toward its roots.
Watch more closely if you notice:
- A soft, darkening stem base
- A sour smell from the potting mix
- Rapid yellowing accompanied by constantly wet soil
- Roots that turn brown and mushy
- Leaves collapsing even though the mix remains saturated
If the stem is still firm, remove the plant carefully and inspect the roots. Trim away damaged portions with clean tools, allow the remaining healthy tissue to dry briefly if appropriate for the species, and repot into fresh, barely moist mix. If the entire stem has become soft or discolored, the cutting may not recover – but a healthy node can sometimes be saved and restarted.
Give the new plant time
The first goal after planting is not rapid growth. It is stable contact between roots and mix. Keep conditions steady, avoid repeatedly pulling the cutting up to check it, and make changes slowly.
Water propagation remains one of the easiest and most enjoyable ways to multiply houseplants. Just remember that the jar is a nursery, not the final destination. When you choose a small draining pot, use an airy mix, protect the leaves from excessive sun, and measure moisture instead of guessing, your cutting can make the transition with far less drama.
So if your newly potted plant looks discouraged for a few days, do not give up immediately. Check the roots, check the moisture, and give it a little time. With practice, you will learn which plants prefer water first, which prefer mix from the beginning, and exactly how to help each one make the journey successfully.